35
Timer-recording radio
programs
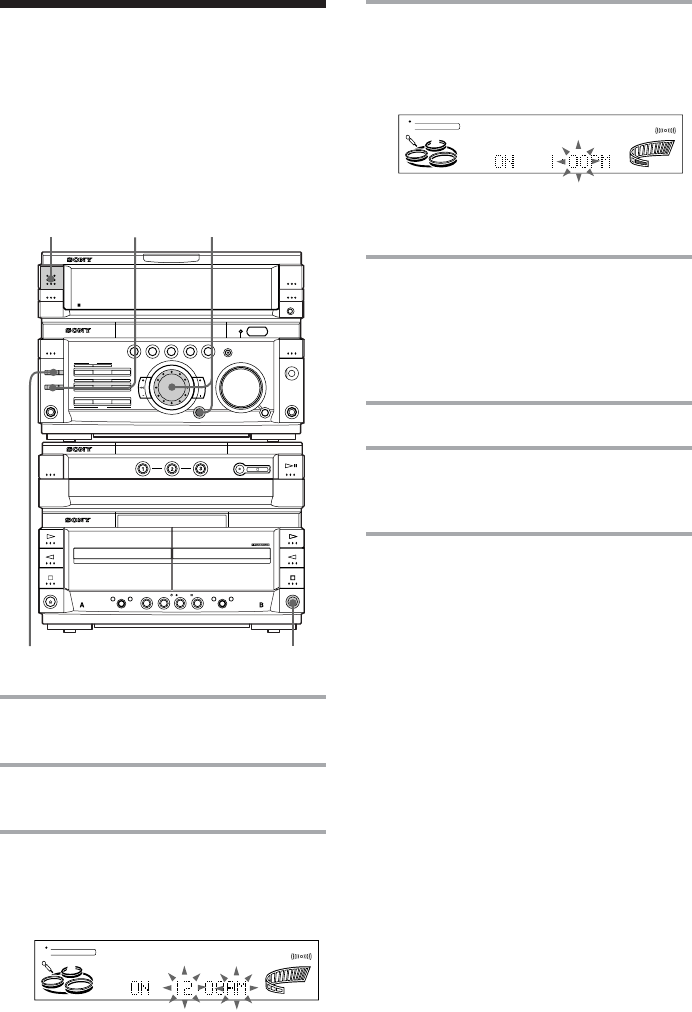
4 Set the time to start recording.
Turn jog dial to set the hour, then press
ENTER/NEXT.
The minute indication starts flashing.
Turn jog dial to set the minute, then
press ENTER/NEXT.
The hour indication flashes again.
5 Set the time to stop recording
following the above procedure.
The start time appears, followed by the
stop time, the recording source and the
radio station, then the original display
appears.
6 Insert a recordable tape.
7 Turn off the power.
When the recording starts, the volume
level is set to the minimum.
To check the setting
Press TIMER SELECT and turn the jog dial to
select “REC”, then press ENTER/NEXT. To
change the setting, start over from step 1.
To cancel the timer operation
Press TIMER SELECT and turn the jog dial to
select “TIMER OFF”, then press ENTER/
NEXT.
Note
If the power is on at the preset time, the recording
will not be made.
To timer-record, you must preset the radio
station (see “Step 3: Presetting radio
stations”) and set the clock (see “Step 2:
Setting the time”) beforehand.
1 Tune in the preset radio station (see
“Listening to the radio”).
2 Press CLOCK/TIMER SET.
“SET (DAILY 1)” appears.
3 Turn jog dial to select “REC”, then
press ENTER/NEXT.
“ON” appears and the hour digits flash
in the display.
ß
DOLBY NR
DOLBY NR
PROGRAM
REPEAT1
REPEAT1
SHUFFLE
SHUFFLE
ALL DISCS1
TUNED
TUNED
MONO
MONO
STEREO
STEREO
SYNC
SYNC
STEP
MHz
MHz
kHz
kHz
REC
REC
SUR
VOLUME
1
SLEEP
DAILY 2
1 REC
t
ß
DOLBY NR
DOLBY NR
PROGRAM
REPEAT1
REPEAT1
SHUFFLE
SHUFFLE
ALL DISCS1
TUNED
TUNED
MONO
MONO
STEREO
STEREO
SYNC
SYNC
STEP
MHz
MHz
kHz
kHz
REC
REC
SUR
VOLUME
1
REC SLEEP
DAILY 1 2
t
TIMER
SELECT
6
7
2
3,4,5
DSP
CD


