


14
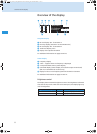
Putting the receiver into operation
The rack mount “ears” are already attached to the receiver at the factory.
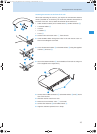
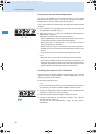
To mount the device into a 19" rack:
̈ Slide the receiver into the 19" rack.
̈ Secure the rack mount “ears”
1 to the rack using four screws (not
included).
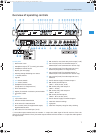
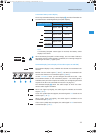
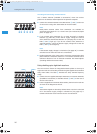
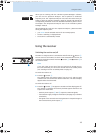
Connecting the antennas
The two antenna inputs R and O allow you to connect either:
y the two supplied telescopic antennas to the rear of the receiver (see
next section) or
y the two supplied telescopic antennas to the front of the receiver (see
“Mounting the antennas to the front of the rack” on page 15) or
y two remote antennas to the rear of the receiver (see “Mounting and
connecting remote antennas” on page 16).
In addition, the receiver has two daisy chain outputs
Q and P for
supplying the antenna signals to further receivers (see “Daisy chaining up
to eight twin receivers” on page 16).
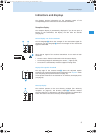
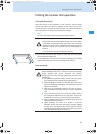
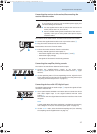
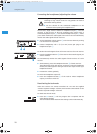
Connecting the antennas to the rear of the receiver
The telescopic antenna can be mounted quickly and easily and are suitable
for all applications where – good reception conditions provided – a
wireless transmission system is to be used without a large amount of
installation work.
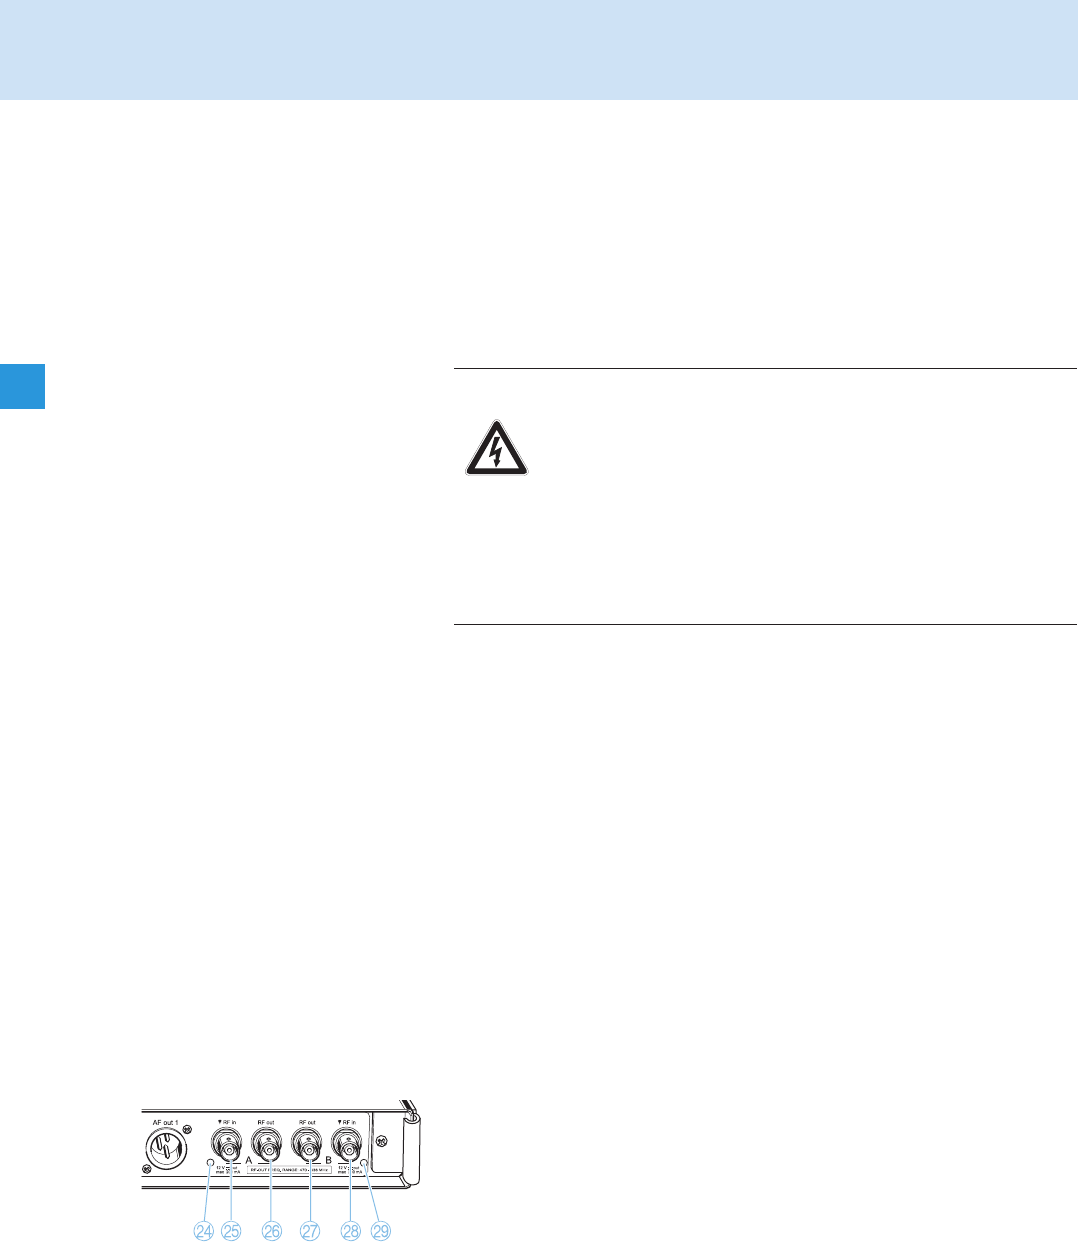
̈ Connect the telescopic antennas to the BNC sockets
O and R at the
rear of the receiver.
̈ Align the telescopic antennas upwards in a V-shape.
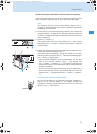
CAUTION! Danger of short-circuit due to uninsulated antennas!
If you switch the booster supply voltage on, a 12 V DC voltage is
applied to the antennas – even when you switch the receiver off!
If uninsulated antennas come into contact with objects which
conduct electricity, this voltage can produce sparking and audio
interference.
̈ Either use insulated antennas or
̈ always mount uninsulated antennas so that they cannot
come into contact with objects which conduct electricity.
EM3732_516551_0108_Sp6.book Seite 14 Dienstag, 18. Dezember 2007 11:55 11