


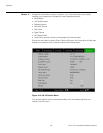

Operation
66 Runco LS-10i Installation/Operation Manual
PRE
L
IMINAR
Y
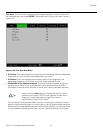
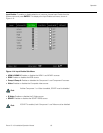
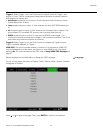
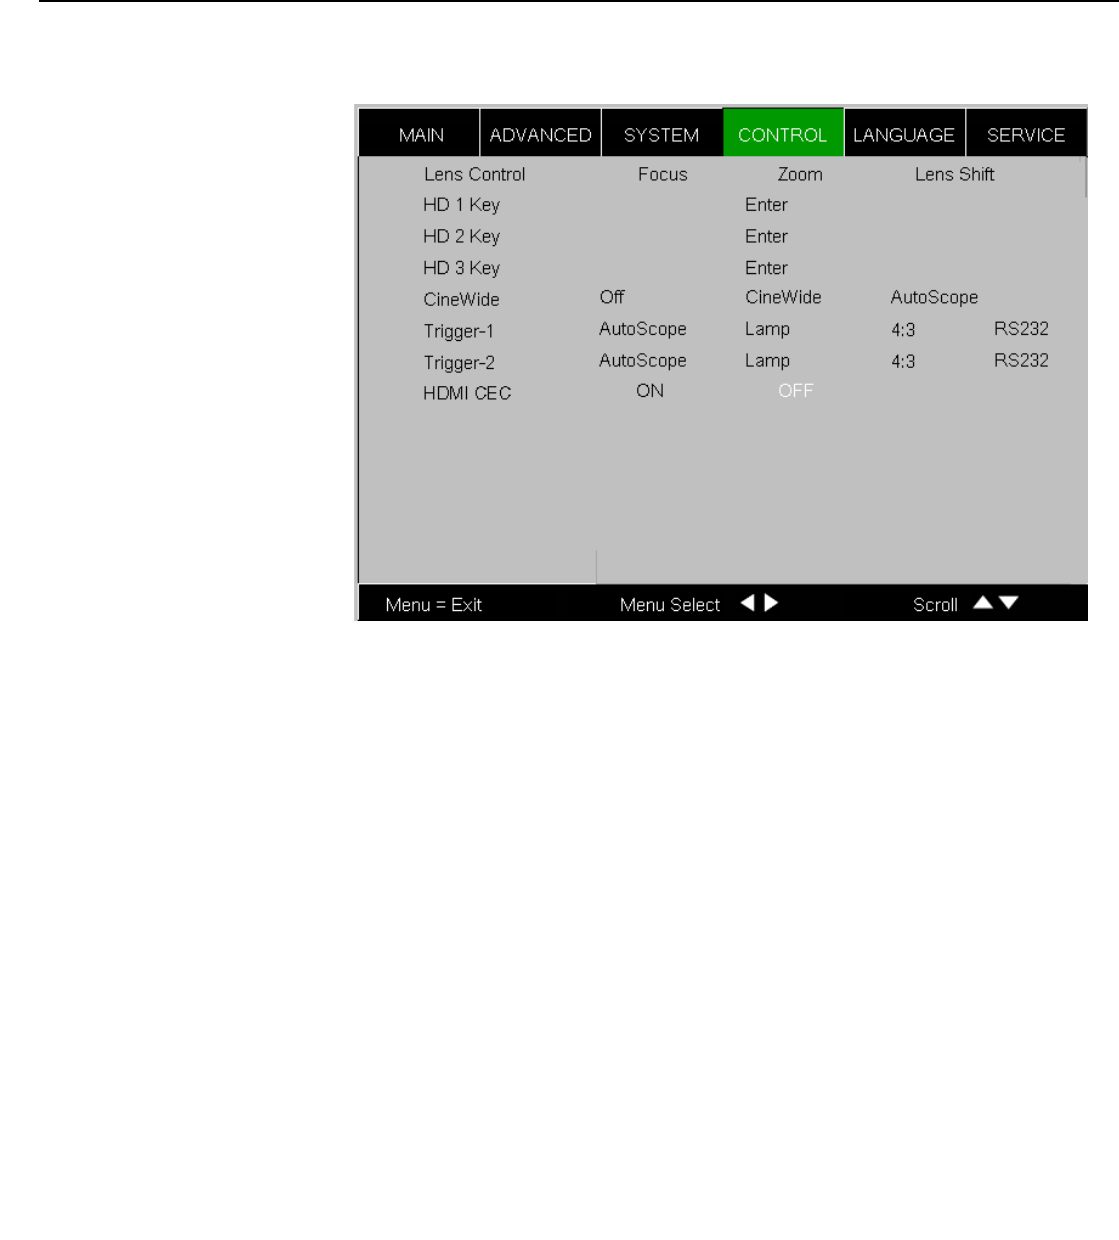
Control Select Control from the Main Menu to set various options related to control of the
projector.
Figure 4-17. LS-10i Control Menu
Lens Control: Select Lens Control from the Control menu to perform lens adjustments
(focus, zoom and lens shift). For detailed instructions, refer to Primary Lens
Adjustments on page 38.
HD 1 Key / HD 2 Key / HD 3 Key: These menu items assign the function of the HD 1,
HD 2 and HD 3 buttons on the remote.
There are eight sources corresponding to the eight connections to the projector. When
you assign a source to the HD 1, HD 2 or HD 3 button, the projector immediately goes to
that source when the button is pressed.
If the chosen source is disabled via the Input Enable menu (refer to page 63), this setting
has no effect.
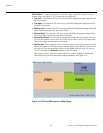
You can also assign one or more of these buttons to the PIP function. When you do, the
projector switches to the next available “PIP Select“ state each time the button is pressed.
Refer to PIP Select on page 54 for more information.
CineWide: Select CineWide from the Control menu and set it according to the installed
lens configuration, as follows:
• For a standard LS-10i (no anamorphic lens), choose Off.
• For an LS-10i with a fixed anamorphic lens, choose CineWide.
• For an LS-10i with a motorized anamorphic lens, choose AutoScope.
➤