


Installation
38 Runco LS-10i Installation/Operation Manual
PRE
L
IMINAR
Y
3.7
Turning on the Power
1. Turn on your source components.
2. Press the ON button on the remote control to turn on the LS-10i. The LED flashes
green to indicate that it is warming up.
3. When the projector is ready for use, the LED turns off.
3.8
Primary Lens
Adjustments
To access the motorized lens controls, use the FOCUS, ZOOM and LENS buttons on
the LS-10i remote control unit (described on page 11).
Alternatively, press MENU on the remote control. Select Control from the Main Menu,
then press or to highlight Lens Control.
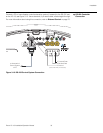
The LS-10i gives you a great deal of control over the picture size, position and focus.
Focus To access the motorized lens focus control, press or to highlight Focus and press
ENTER. Then, use the button to focus the projected image nearer or the button to
focus the projected image farther away.
Zoom To access the motorized lens zoom control, press or to highlight Zoom and press
ENTER. Then, use the button to make the picture larger (zoom in) or the button to
make the picture smaller (zoom out).
Lens Shift To access the motorized lens shift control, press or to highlight Lens Shift and press
ENTER. Then, use the and buttons to adjust the vertical lens position or the
and buttons to adjust the horizontal lens position.
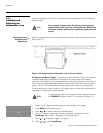
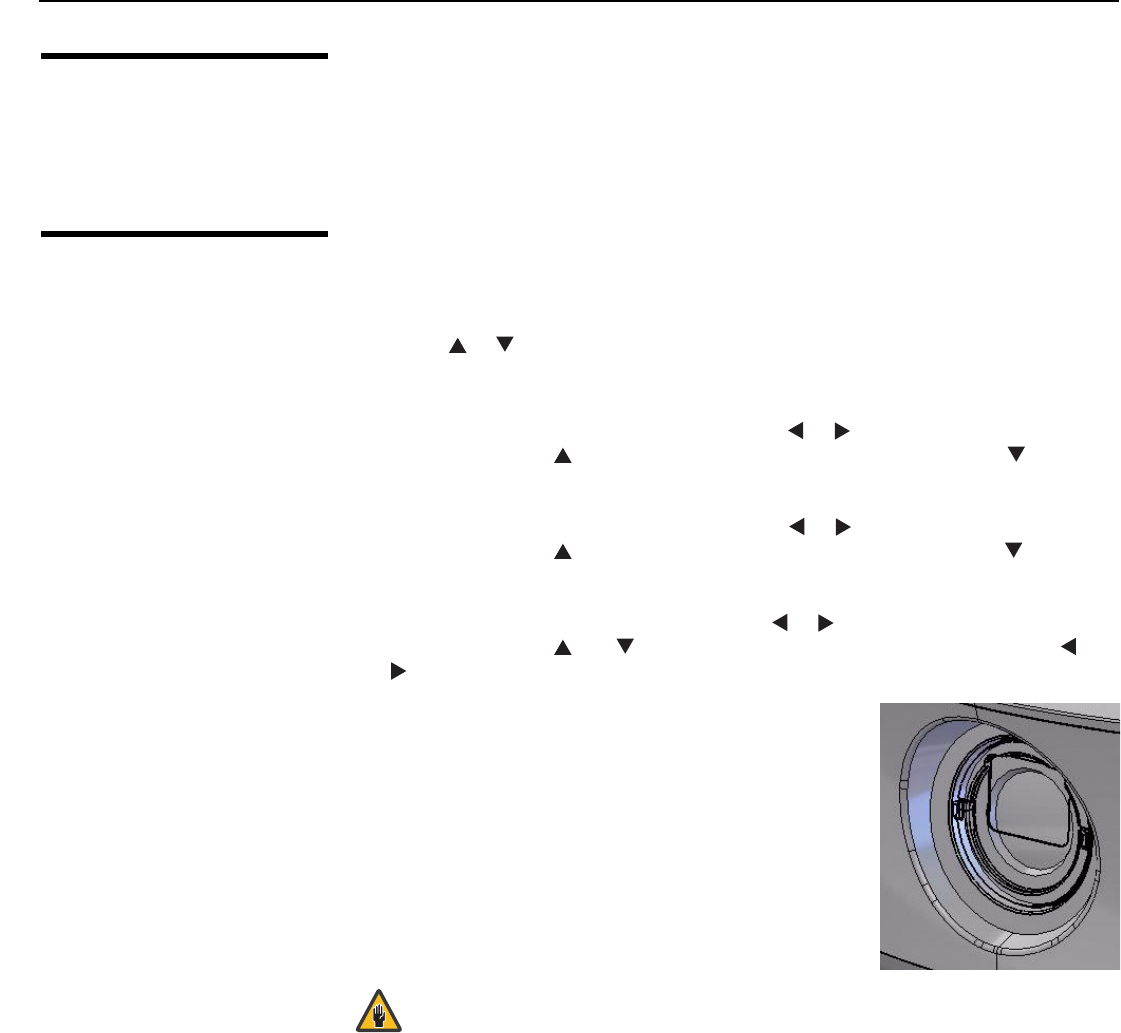
Installing the Optional Stray Light Shield: For
installations that require significant vertical lens shift (50% or
more of the screen height), a lens shield is provided with the
LS-10i that minimizes stray light around the image.
The light shield attaches to threads at the end of the lens.
Or, if you have installed a lens filter, you can attach the light
shield to it.
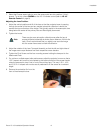
To install or remove the light shield, squeeze the two side
"wings" to snap it into place or release it.
➤
➤
➤
Do not use the stray light shield unless the amount of vertical lens
shift exceeds 50 per cent of the screen height.
Caution