Advanced setup
11
82
En
3 Select the component that corresponds with the
one you connected to that input
Select between
DVD/LD
,
TV/SAT
,
VCR1
,
VCR 2
,
CD
,
CD-R
or
MD
.
• Use the
/
(cursor up/down)
buttons and
ENTER
to
do this.
• If you assign a digital input to a certain function (for
example,
DVD/LD
) then any digital inputs previously
assigned to that function will automatically be
switched off.
4 When you're finished, select ‘Exit’.
You will return to the Input Assign menu.
Assigning the component video inputs
• Default settings:
Component-1
–
OFF
Component-2
–
OFF
If you used component video cables to connect your
video equipment you must tell the receiver which device
it is, or else you may see the S-video or composite video
input instead of the component video signal.
1 Select ‘Component-In Select’ from the Input
Assign menu.
2 Select the number of the component video input
to which you’ve connected your video component.
The numbers correspond with the numbers beside the
inputs on the back of the receiver.
3 Select the component that corresponds with the
one you connected to that input.
• Use the
/
(cursor up/down)
buttons and
ENTER
to
do this.
• If you connect any source component to the receiver
using a component video input, you should also have
your TV connected to this receiver's component video
MONITOR
output.
4 When you're finished, select ‘Exit’.
You will return to the Input Assign menu.
Assigning the i.LINK inputs
If you assign i.LINK-equipped components to an input
(for example
DVD/LD
), you will be able to select both
audio and video signals from i.LINK-equipped
components using the corresponding
MULTI CONTROL
button (or
MULTI JOG
dial on the front panel).
1 Select ‘i.LINK Input’ from the Input Assign menu.
If no i.LINK-equipped components are connected
i.LINK
Input
cannot be selected.
2 Select an i.LINK-equipped component.
When a number of i.LINK-equipped components are
connected to your receiver, the i.LINK-equipped
component you are looking for might be listed on
additional display screens.
•
i.LINK
is displayed after unassigned device names
(e.g.
DV-868AVi [i.LINK]
).
• If a connected devices cannot output (playback) a
source using the i.LINK connection,
[- - - -]
is
displayed after the input device name (e.g.
DV-
868AVi [- - - -]
). Non-compatible devices cannot be
assigned to inputs.
• When the cables for an assigned input device
become loose or the power is cut to the device, an
asterisk (
*
) appears before the device name (e.g.
*DV-868AVi [DVD/LD]
).
3 Select the component that you want to assign.
Use the
/
(cursor up/down)
buttons and
ENTER
.
When you assign an i.LINK-equipped video component,
select the input source to which you have connected the
video signal from the component.
• If you assign an i.LINK input to a certain function (for
example
DVD/LD
) then any digital inputs previously
assigned to that function will automatically be set to
i.LINK
(not assigned).
•
TUNER
,
PHONO
and
USB
inputs cannot be
assigned.
4 When you're finished, select ‘Exit’.
You will return to the Input Assign menu.
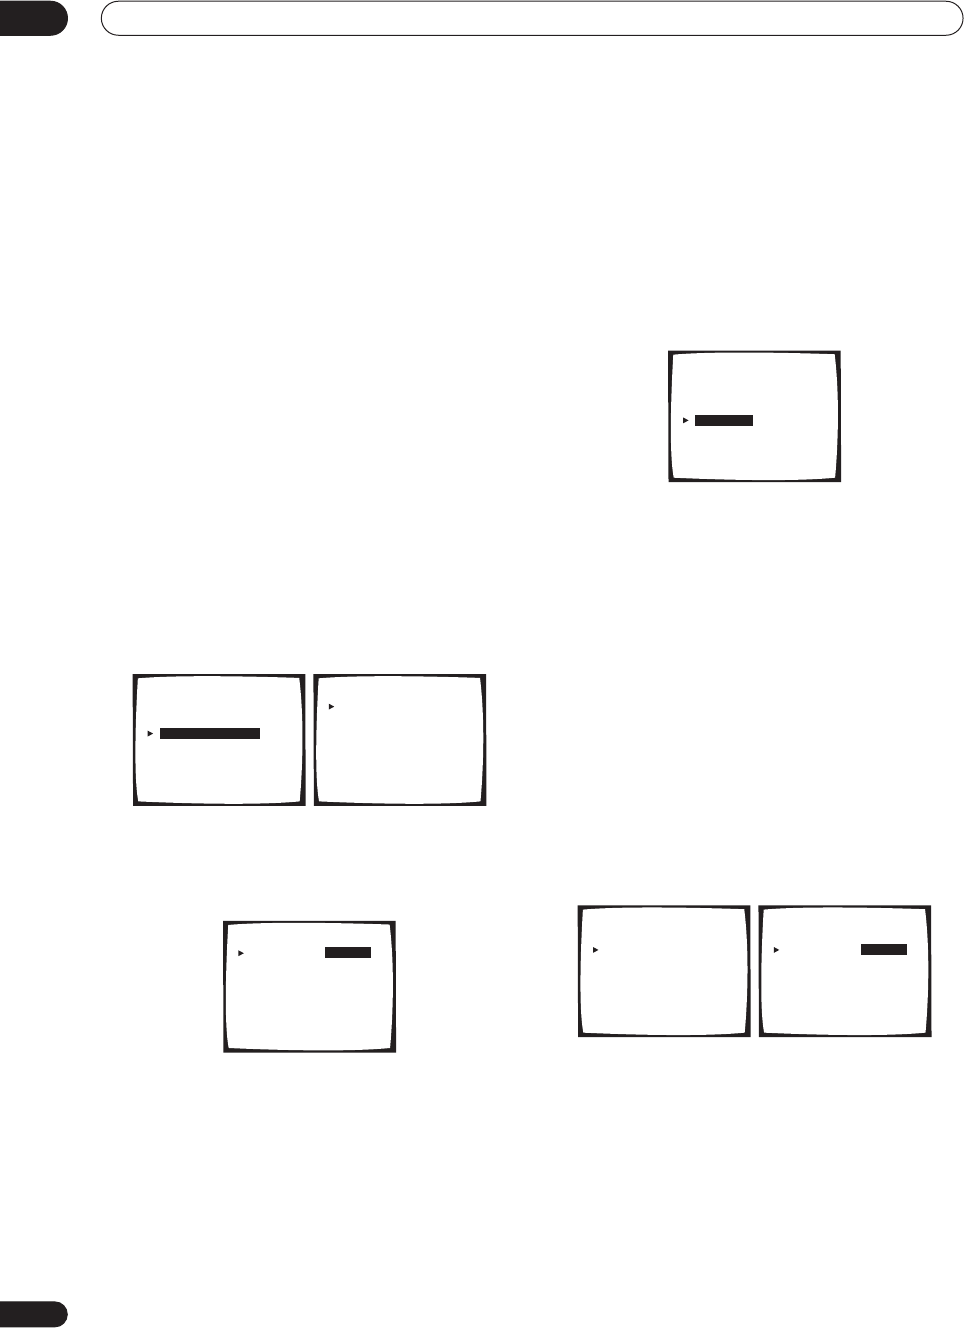
3. Input Assign
[Digital-In Select ]
[Component-In Select ]
[i.LINK Input
]
[Exit
]
Component - In Select
Component - 1 [ OFF ]
Component - 2 [ OFF ]
[ Exit ]
Component - In Select
Component - 1 [ DVD/LD ]
Component - 2 [ OFF ]
[ Exit ]
3. Input Assign
[Digital-In Select ]
[Component-In Select ]
[i.LINK Input
]
[Exit
]
i.LINK Input
1 DV - 868AVi [ i.LINK ]
[ Exit ]
i.LINK Input
1 DV - 868AVi [ DVD/LD ]
[ Exit ]
VSX-AX5Ai.book 82 ページ 2004年6月2日 水曜日 午後3時27分


