


50
Basic Setup
—Continued
This section explains how to specify the TV system used
in your area. (This setting is not available on the Ameri-
can model.)
Note:
• This procedure can also be performed by using the
TX-NR901’s [SETUP] button, [ ]/[ ]/[ ]/[ ]
buttons, and [ENTER] button.
If you connect an -compatible Onkyo MiniDisc
recorder to the TX-NR901’s TAPE IN/OUT sockets, so
that functions such as Auto Power On/Off work
properly, you must change the input source display.
This setting can only be changed on the TX-NR901.
Note:
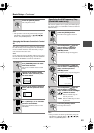
•To return to the original setting, while “MD” is being
displayed, press and hold down the [TAPE] input
selector button until “TAPE” appears on the display
(about 3 seconds).
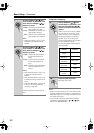
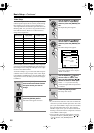
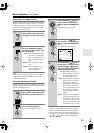
Specifying the TV System
(not American models)
1
Press the scroll wheel, and then
press the [SETUP] button.
The main menu appears onscreen.
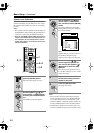
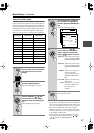
2
Use the Up/Down [ ]/[ ] but-
tons to select “0. Hardware
Setup,” and then press the
[ENTER] button.
The Hardware Setup menu appears.
3
Use the Up/Down [ ]/[ ] but-
tons to select “4. TV Format,” and
then press the [ENTER] button.
The TV Format menu appears.
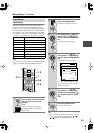
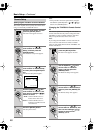
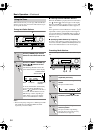
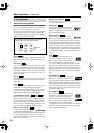
4
Use the Up/Down [ ]/[ ] but-
tons to select “a. TV Format,” and
then use the Left/Right [ ]/[ ]
buttons to select:
Auto:
The TX-NR901 automati-
cally detects the TV system.
PAL:
Select if the TV system in
your area is PAL.
NTSC:
Select if the TV system in
your area is NTSC.
5
Press the [SETUP] button.
The setup menu closes.
ENTER
ENTER
ENTER
ENTER
0-4.TV Format
a.TV Format
:Auto
Quit:[SETUP]
ENTER
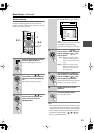
Changing the Input Source Display
for Use with a MiniDisc Recorder
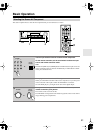
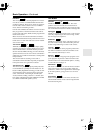
1
Press the [TAPE] input selector
button so that “TAPE” appears
on the display.
2
Press and hold down the [TAPE]
input selector button until “MD”
appears on the display (about 3
seconds).
PUSH TO OPEN
STANDBY/ON
STANDBY
MASTER VOLUME
TUNER
PHONO
NET AUDIOC
D
TAPE
DVD
VIDEO
3
VIDEO
5
VIDEO
4
VIDEO
2
VIDEO
1
VCR
2
VCR
1
ZONE
2
()
GRN
REC
()
RED
AUDIO
SELECTOR
DISPL
AY
PURE AUDIO UPSAMPLING
OFF
ON
POWER
1, 2
TAPE
TAPE