17
Powering Up and Setting the Clock—
Continued
You can set the CR-L5 so that the time is displayed while
the CR-L5 is in Standby mode.
1
With the CR-L5 turned on, press and
hold the CR-L5’s [STANDBY/ON] but-
ton for more than 2 seconds.
To turn off the time display, repeat this procedure.
Notes:
• Setting the CR-L5 to display the time will slightly
increase the power consumption in Standby mode.
You can display the day and time at anytime.
1
Press the [CLOCK CALL] button.
The day and time appear on the display.
Press the [DISPLAY] button to toggle between 12- and
24-hour formats.
Press the [CLOCK CALL] button again to return to the
previous display.
If the correct day and time appear on the display, you
can skip the following sections and go straight to page 19
for information on using and enjoying your CR-L5.
If “Adjust” appears on the display:
The clock has not been set for one of the following reasons:
• The FM antenna is not connected properly or the signal is
too weak.
Check the antenna connection or install an outdoor FM
antenna (see page 15), and try setting again (see “Setting
ACCUCLOCK to Use a Specific Station” on this page).
• The detected RDS station does not support CT (Clock
Time) information.
Some RDS stations don’t support CT. In this case you
should specify the station to be used (see “Setting
ACCUCLOCK to Use a Specific Station” on this page).
If the wrong day or time appears on the display:
If you live close to the border with another country, the CT
information may have been taken from a radio station in
another time zone. In this case you should specify another
station and try setting again (see “Setting ACCUCLOCK to
Use a Specific Station” on this page).
The ACCUCLOCK function normally uses the FM station
with the strongest signal to set the clock. If the clock cannot
be set properly using that station, you can specify which FM
station the ACCUCLOCK function should use. This must
be an FM station that supports RDS CT (Clock Time) infor-
mation.
1
Press the [TIMER] button.
“Clock” appears on the display.
If the clock has already been set, a timer option appears
instead. In this case, you’ll need to press the [TIMER]
button repeatedly until “Clock” appears.
2
Press the [ENTER] button.
“AccuClock” appears on the display.
If “Manual Adj.” appears, use the Up/Down [ ]/[ ]
buttons to select “AccuClock”.
3
Press the [ENTER] button.
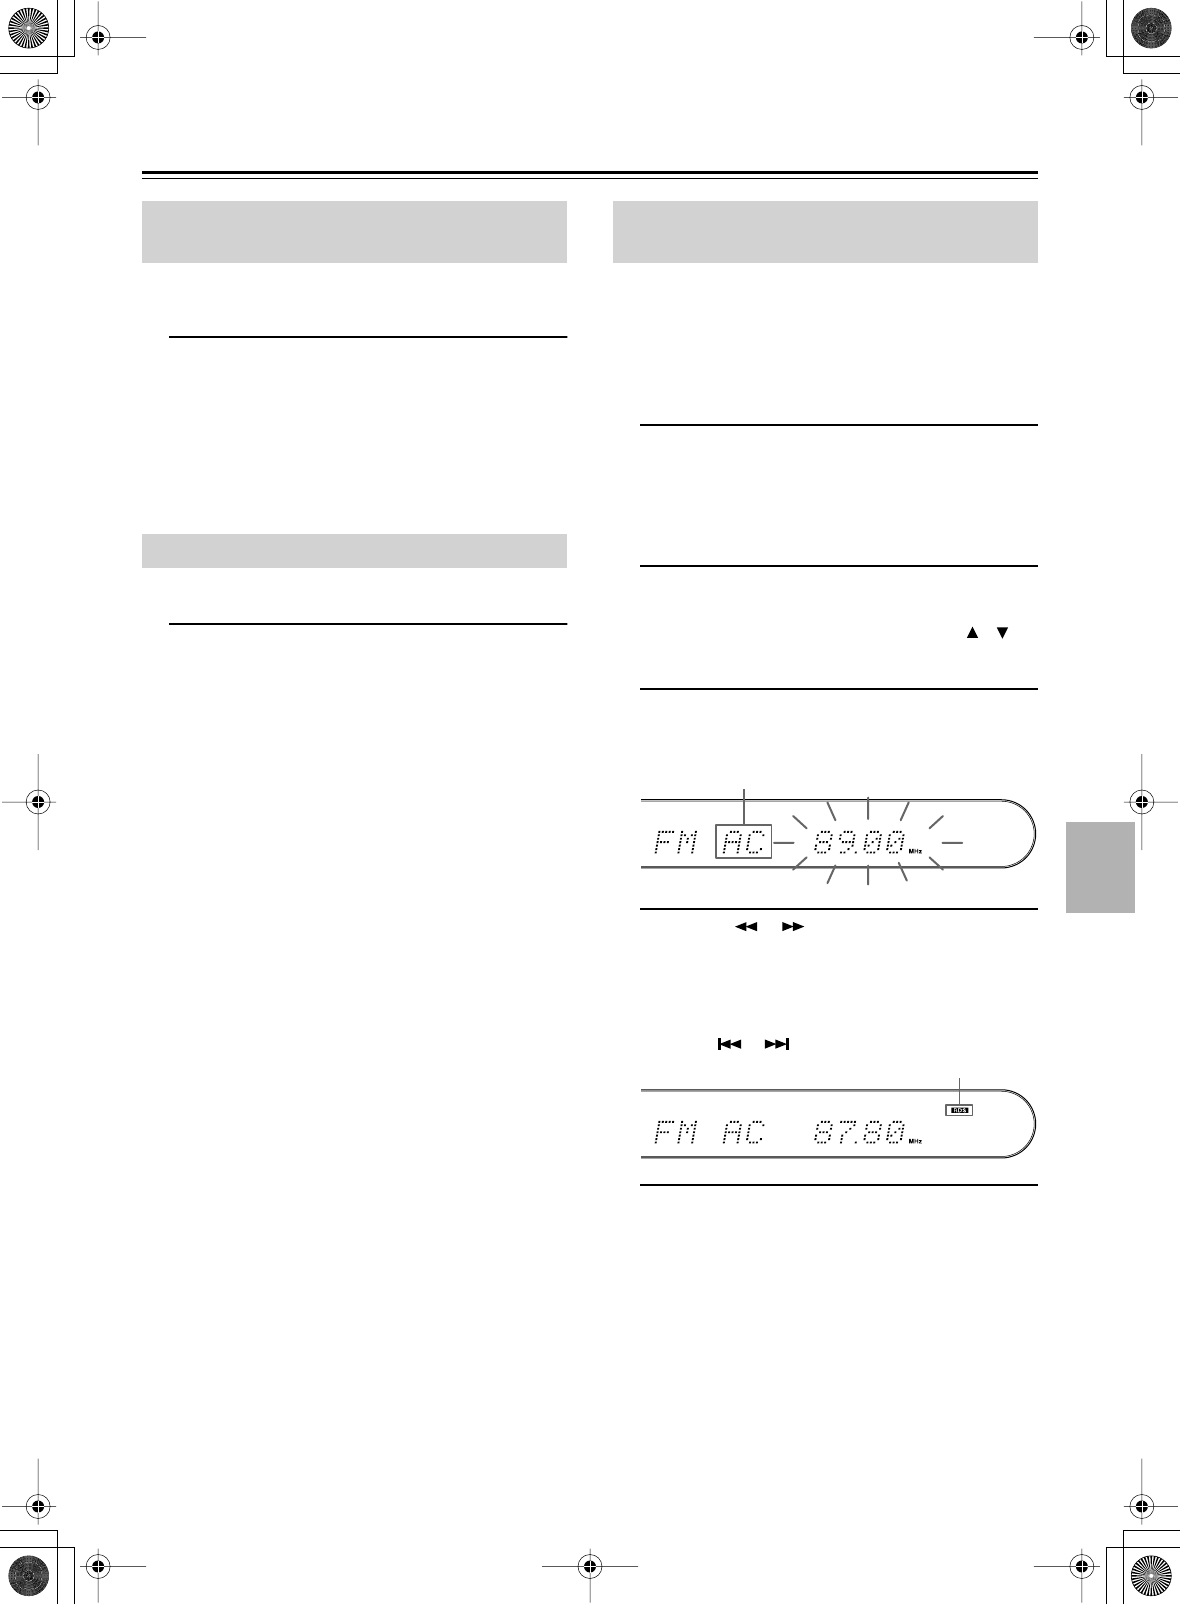
The display appears as shown (the frequency will be
different).
4
Use the [ ]/[ ] buttons to tune into
the FM station.
The RDS indicator appears when tuned into a station
that supports RDS, as shown.
If you’ve stored some radio presets, you can use the
PRESET [ ]/[ ] buttons to select the FM station.
5
Press the [ENTER] button.
While the clock is being set, “Wait” flashes on the dis-
play. It may take a few minutes to set the clock.
When the clock has been set, the message “Clock
Adjusted” scrolls across the display, then the day and
time are displayed for a while.
Notes:
• If the clock has not been set correctly, specify another FM
station and try again, or set the clock manually (see
page 18).
• If you don’t want the clock to be updated automatically,
you can turn off the ACCUCLOCK function (see page 16).
Displaying the Time in Standby
Mode
Displaying the Day & Time
Setting ACCUCLOCK to Use a
Specific Station
AC means ACCUCLOCK
RDS indicator


