


Calibration Utility for MACINTOSH
2–13
Part No. 1H9659 September 1997
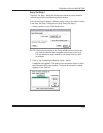
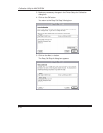
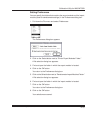
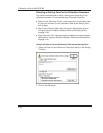
NOTE: If you want to print an updated test print, you can click on the
<<Back
button to return to the Easy Cal Step 4 dialog box.
If cluster number 225 on the updated test print is the most neutral
gray, then the calibration is successful. Type 225 in the
Cluster
Number
text box and go to step 3.
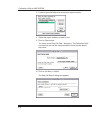
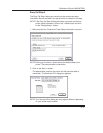
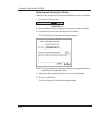
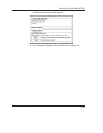
3. Click on the
Done
button.
The printer calibration begins. When the calibration is complete, the
following dialog box appears.
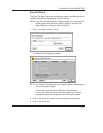
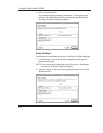
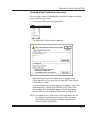
4. Do one of the following:
If you do not want to make another test print and you do not want
to save the calibration table, click on the
Quit
button to quit the
Calibration Utility.
or
If you want to save the calibration table, click on the
Proceed
button to access a document window. Refer to “Using the
Calibration Document Window” on page 2–24.
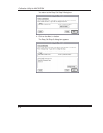
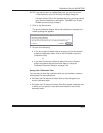
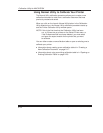
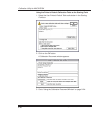
Saving Your Calibration Table
You may want to save the calibration table you just created to use as a
starting point for later calibrations.
Pull down the File menu and select
Save
to save changes to the
current calibration table.
Pull down the File menu and select
Save As
to access a selection box
in which you can specify a new name and location for the current
calibration table.