


39
Adjusting Sound
You can make sound adjustment to your preference after completing basic setting.
Sound adjustment operations are only possible while the receiver is ready for Zone 1 operations.
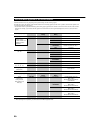
Basic Adjustment Items
On the following pages, you can adjust the items listed below:
• You can adjust only the items applicable to the current sound
mode.
• If Analog Direct is in use, you cannot make any sound
adjustments except for “SUBWFR LVL.”
Items To do See page
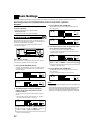
EQ 63Hz Adjust equalizer pattern at 63 Hz. 40
EQ250Hz Adjust equalizer pattern at 250 Hz. 40
EQ 1kHz Adjust equalizer pattern at 1 kHz. 40
EQ 4kHz Adjust equalizer pattern at 4 kHz. 40
EQ16kHz Adjust equalizer pattern at 16 kHz. 40
SUBWFR LVL Adjust the subwoofer output level. 40
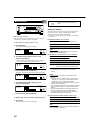
FRNT L LVL Adjust the left front speaker output
level. 40
FRNT R LVL Adjust the right front speaker output level. 40
CENTER LVL Adjust the center speaker output level. 40
SURR L LVL Adjust the left surround speaker output
level. 40
SURR R LVL Adjust the right surround speaker output
level. 40
SBACK LVL Adjust the surround back speaker(s)
output level. 40
EFFECT*
1
Adjust the effect level. 41
ROOMSIZE*
1
Select the room size for your virtual
listening room. 41
LIVENESS*
1
Select the liveness level for your
virtual listening room. 41
CTR TONE*
2
Make the center tone soft or sharp. 41
PNRM CNTRL*
3
Add “wraparound” sound effect with
side-wall image. 41
CNTR WIDTH*
2,3
Adjust the center channel localization
between the center speaker and the
left/right front speakers. 41
DIMENSION*
3
Adjust sound localization position. 41
CNTR GAIN*
2,4
Adjust sound localization of the
center channel. 41
Notes:
*
1
Adjustable when one of the DAP modes or Mono Film (see pages
48 and 49) is in use.
*
2
Cannot be adjust when center speaker is set to “NONE” (see page
34).
*
3
Adjustable when Pro Logic IIx Music or Pro Logic II Music (see
page 42) is in use.
*
4
Adjustable when Neo:6 Music (see page 43) is in use.
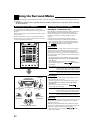
IMPORTANT:
Check the following before or while using the buttons and controls.
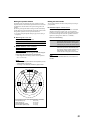
For Zone 1 operations:
The ZONE 1 indicator lights up on the unit’s display.
• When using the unit:
–“ZONE2” is not shown in the unit’s main display.
• When using the remote control:
–Set the ZONE 1/ZONE 2 selector to ZONE 1.
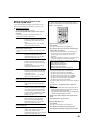
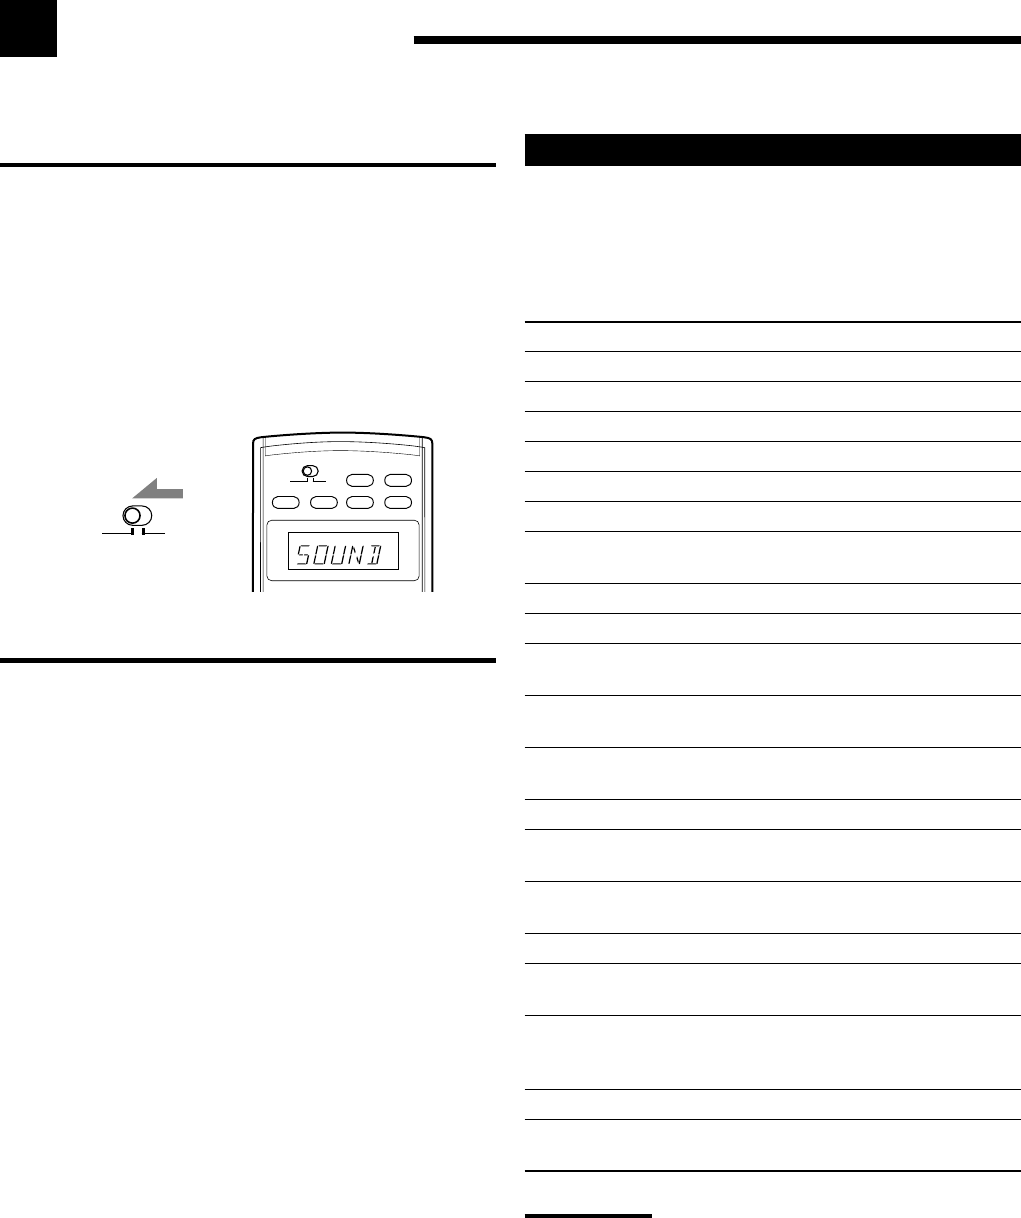
–Check the indication shown on the remote’s display when you
press a button—this indicates the remote control operation mode
together with multi-room operation mode (either for ZONE 1 or
ZONE 2) for about two hours.
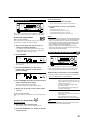
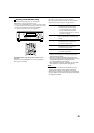
Ex. When you press SOUND with ZONE 1/ZONE 2 selector
set to ZONE 1.
ZONE 2
ZONE 1
ON/OFF ON/OFF
AUDIO POWER
TV/CATV/DBS DVD
ZONE 2
ZONE 1
ZONE 2
ZONE 1
POWER POWER
STANDBY
ON
ZONE 1