22
Selecting the Analog or Digital Input Mode
When you have connected digital source components using the
digital terminals (see pages 11 and 14), change the input mode for
these components to the digital input mode.
Before you start, remember...
• The digital input terminal setting should be properly done for
the sources you want to select the digital input mode (see
“Setting the digital input terminals” on page 37).
• The digital input can be used for the Zone 1 sources. The analog
input is always selected as the Zone 2 source without respect to
this setting.
1. Press one of the source selection buttons (DVD,
VCR 1, TV SOUND/DBS, VIDEO, CD, CDR, or
TAPE/MD*) for which you want to change the
input mode.
*
If “TAPE” has been assigned to the TAPE/MD button, it does not
work in this step. To change the source name, see “Changing
the Source Name” on page 24.
Turning On and Off the
Subwoofer Sound
You can cancel the subwoofer sound output even though you have
connected a subwoofer and have set “SUB WOOFER” to “YES”
(see page 34).
Press SUBWOOFER OUT ON/OFF to cancel the subwoofer
sound output.
Each time you press the button, subwoofer sound output is
deactivated (“SUBWFR OFF”) and activated (“SUBWFR ON”)
alternately.
• When subwoofer output is canceled, the
SUBWFR
indicator goes
off. Bass sounds (and LFE signals) will be emitted through the
front speakers (except for DVD MULTI playback mode).
• When subwoofer sound output is activated, subwoofer output level
can be adjusted (see pages 40 and 41).
Notes:
• The SUBWOOFER OUT ON/OFF button does not work when you
set “SMALL” for the front speakers on the Speaker size setting (see
page 34) or using Quick Speaker Setup (see page 32).
• You cannot activate the subwoofer output when you have set “SUB
WOOFER” to “NO” (see pages 32 and 34).
• When you change the “SUB WOOFER” setting from “NO” to “YES”
(see page 34), subwoofer output is automatically activated.
Remote
NOT
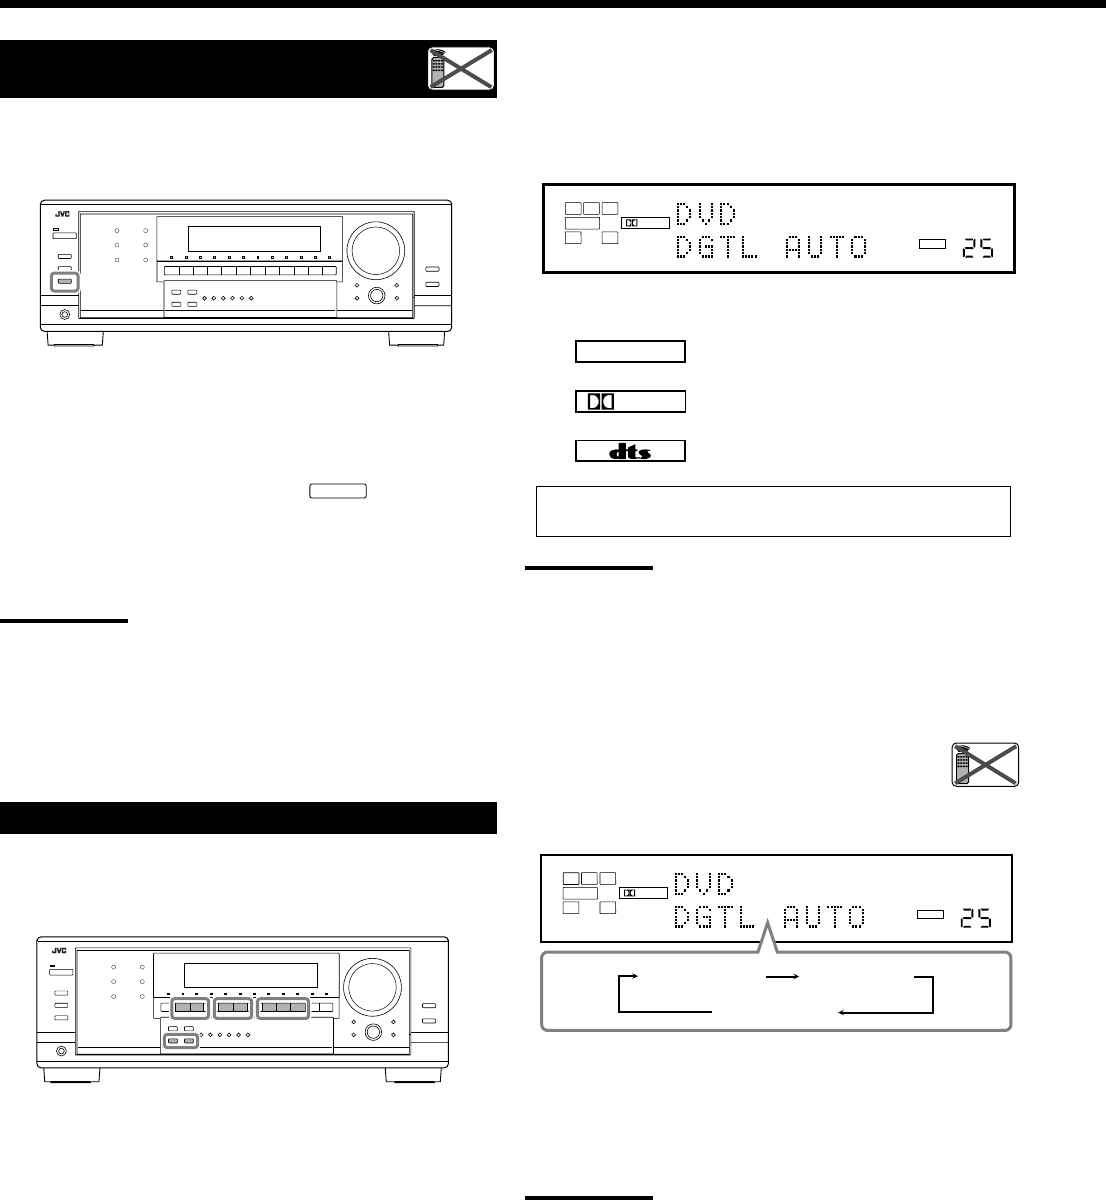
2. Press INPUT DIGITAL to select “DGTL AUTO.”
• When using the remote control, press ANALOG/DIGITAL.
Each time you press the button, the analog (ANALOG) and
digital (DGTL AUTO) input modes alternate.
The DIGITAL AUTO indicator lights up on the display.
• When selecting “DGTL AUTO,” the following indicators
show the digital signal format of the incoming signal.
: Lights up when Linear PCM signals come
in.
: Lights up when Dolby Digital signals
come in.
: Lights up when DTS signals come in.
No indicator lights up when the receiver cannot recognize the
digital signal format of the incoming signals.
Note:
For the details of digital signal formats, see pages 42 and 43.
When playing software encoded with Dolby Digital or DTS, the
following symptoms may occur:
• Sound does not come out at the beginning of playback.
• Noise comes out while searching for or skipping chapters or
tracks.
In this case, press INPUT DIGITAL repeatedly to select
“DGTL D.D” or “DGTL DTS” while “DGTL AUTO”
still remains on the display.
• Each time you press INPUT DIGITAL, the input mode changes as
follows:
When “DGTL D.D” or “DGTL DTS” is selected, the AUTO
indicator goes off, and the corresponding digital signal format
indicator lights up on the display.
• If the incoming signal does not match the selected digital signal
format, the frame of the selected indicator will flash.
Note:
When you turn off the power or select another source, “DGTL D.D”
and “DGTL DTS” settings are canceled and the digital input mode is
automatically reset to “DGTL AUTO.”
To select the analog input mode again
Press INPUT ANALOG (or press ANALOG/DIGITAL on the
remote control repeatedly until “ANALOG” appears on the display).
The ANALOG indicator lights up.
LINEAR PCM
Remote
NOT
DIGITAL
L
SUBWFR
LS RS
CR
LFE
DIGITAL
AUTO
VOLUME
SPEAKERS 1
ZONE 1
DIGITAL
L
SUBWFR
LS RS
CR
LFE
DIGITAL
AUTO
DGTL AUTO DGTL D.D
DGTL DTS
(Dolby Digital)
(Digital)
VOLUME
SPEAKERS 1
ZONE 1
16-29_8040[J]_D.p65 04.4.21, 11:5222


