34
Setting the speakers
To obtain the best possible surround effect from the Surround and
DSP modes in Zone 1, register the setting about the speaker
arrangement after all connections are completed.
• If you have used Quick Speaker Setup on page 32, this setting is
not required.
7
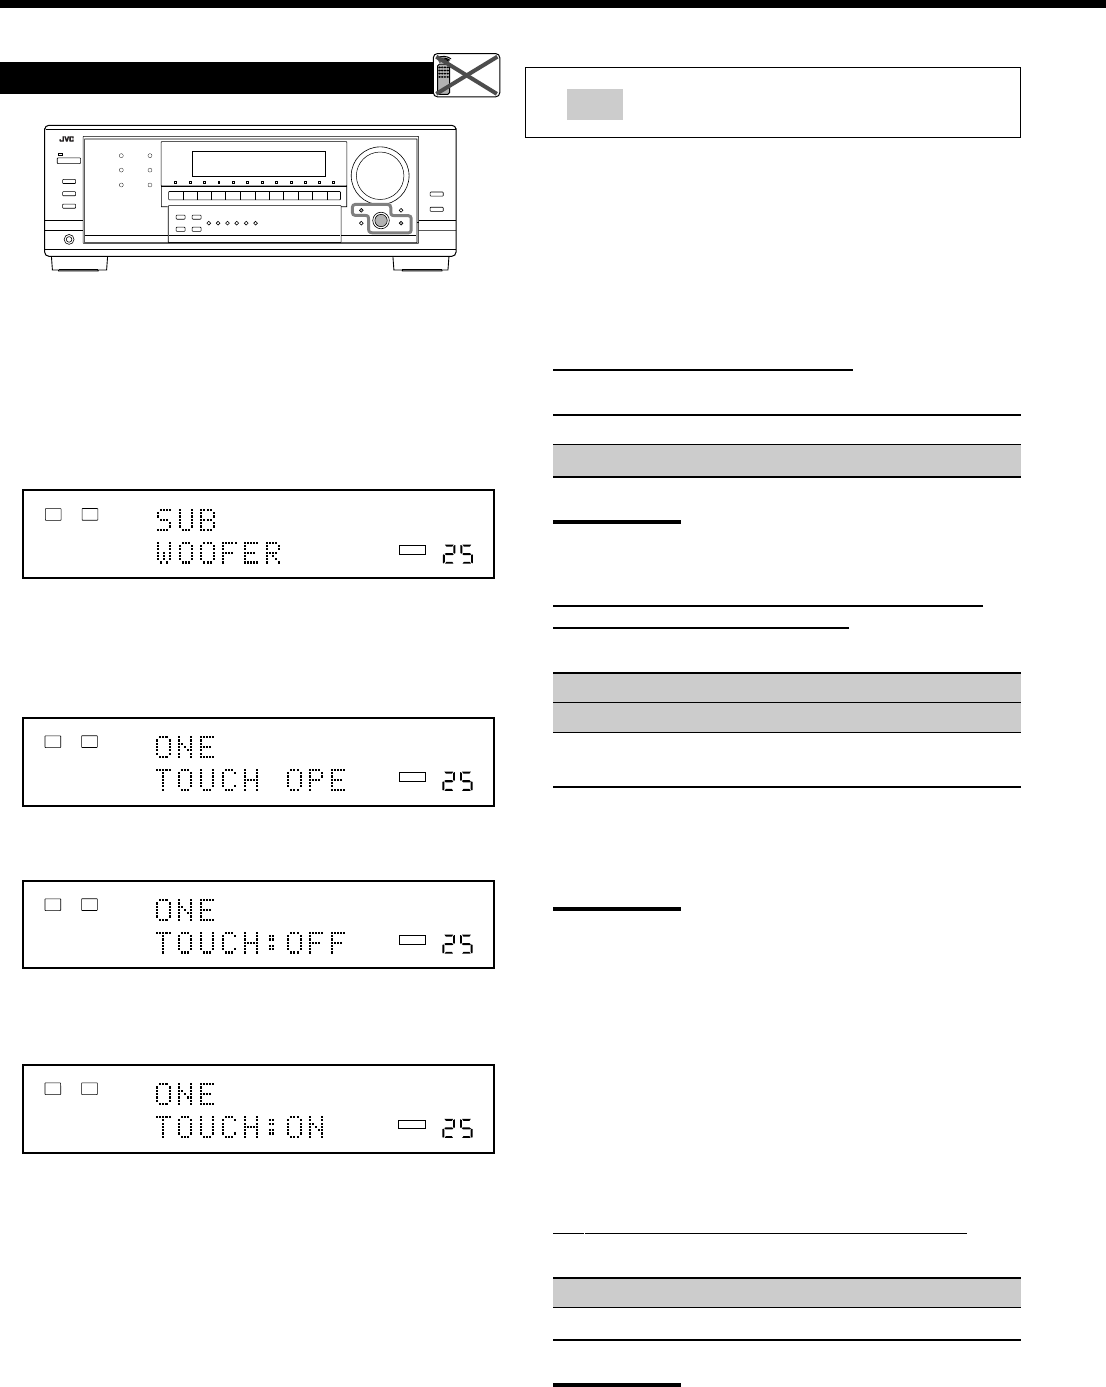
Subwoofer setting—SUB WOOFER
Select whether you have connected a subwoofer or not.
SUB WOOFER: YES Select when a subwoofer is connected.
SUB WOOFER: NO Select when no subwoofer is used.
Note:
If you have selected “SUB WOOFER: NO,” you cannot use the
SUBWOOFER OUT ON/OFF button.
7
Speaker size—FRONT SPEAKER, CNTR SPEAKER,
SURR SPEAKER, SBACK SPEAKER
Select the size for each connected speaker.
LARGE*
1
Select when the speaker size is relatively large.
SMALL*
2
Select when the speaker size is relatively small.
NONE Select this when you have not connected a
speaker. (Not selectable for the front speakers.)
*
1
Initial setting for front speakers.
*
2
Initial setting for center, surround, and surround back
speakers.
Notes:
• Keep the following comments in mind as reference when
adjusting.
– If the size of the cone speaker unit built in your speaker is
larger than 12 cm (4
3
/
4
inches), select “LARGE,” and if it is
smaller than 12 cm (4
3
/
4
inches), select “SMALL.”
• If you have selected “SUB WOOFER: NO,” you can only select
“LARGE” for the front speakers.
• If you have selected “SMALL” for the front speakers, you cannot
select “LARGE” for the center, surround, and surround back
speakers.
• If you have selected “SMALL” for the surround speakers, you
cannot select “LARGE” for the surround back speakers.
• If you have selected “NONE” for the surround speakers, the
surround back speakers are fixed to “NONE.”
7
Surround back speakers quantity—SBACK OUT
Select the number of the surround back speakers connected.
SBACK OUT: 1SPK Select to use 1 surround back speaker.
SBACK OUT: 2SPK Select to use 2 surround back speakers.
Note:
If you have selected “NONE” for the surround back speakers (see
above), this setting is not available.
: shows the initial setting in the following
tables.
Basic Procedure
Before you start, remember...
There is a time limit in doing the following steps. If the setting is
canceled before you finish, start from step 1 again.
Ex. When setting One Touch Operation to “ON.”
1. Press SETTING.
The last selected item appears on the display.
2. Turn MULTI JOG until an item you want
appears on the display.
• In this example, select “ONE TOUCH OPE.” For available
items, see the list “Basic Setting Items” on page 33.
3. Push in MULTI JOG (PUSH SET).
The current setting for the selected item appears on the display.
4. Turn MULTI JOG until a setting you want
appears on the display.
5. Push in MULTI JOG (PUSH SET).
6. Repeat steps 2 to 5 to set other items if necessary.
7. Press EXIT.
The source indication resumes on the display.
Remote
NOT
LINEAR PCM
L
R
ANALOG
VOLUME
SPEAKERS 1
ZONE 1
LINEAR PCM
L
R
ANALOG
VOLUME
SPEAKERS 1
ZONE 1
LINEAR PCM
L
R
ANALOG
VOLUME
SPEAKERS 1
ZONE 1
ONE TOUCH OPERATION
LINEAR PCM
L
R
ANALOG
VOLUME
SPEAKERS 1
ZONE 1
32-38_8040[J]_D.p65 04.4.21, 11:5334


