41
Advanced Playback—Continued
This section explains how to turn HDMI on and off and
change the video resolution when your TV or projector
is connected to the HDMI OUT.
Tip:
These settings can also be changed by using the onscreen
setup menus (see page 46).
Notes:
• Depending on your setup, you may find that there’s no
picture when you turn on HDMI. In this case, you
need to check the HDMI resolution setting and your
TV’s settings. If there is no picture, press the [Resolu-
tion] button repeatedly until the picture reappears.
• While HDMI is on and the resolution is set to 480p,
the component video output is fixed at progressive
video.
Setting the HDMI
1
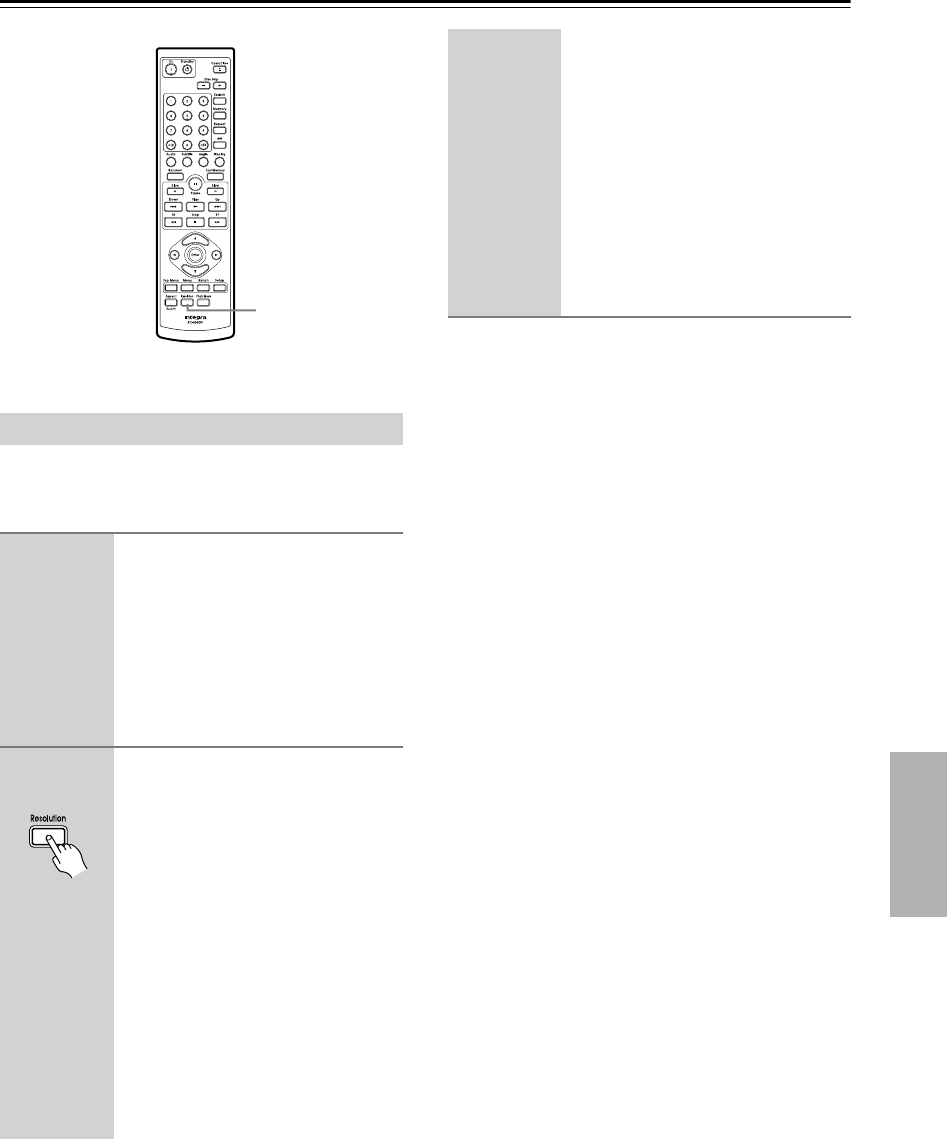
Press the [Resolution] button to
turn HDMI on or off.
If HDMI is off, “HDMI OFF” appears
on the display the first time the button is
pressed. Press the button again while
“HDMI OFF” is displayed to turn on
HDMI.
To turn off HDMI, press and hold the
[Resolution] button.
2
Press the [Resolution] button on
the remote controller repeatedly
to change the HDMI resolution.
The fist button press displays the cur-
rent resolution onscreen. Press the but-
ton again while the resolution is
displayed to change the setting. The
DPC-7.7 supports the following resolu-
tions:
Auto:
The resolution is automatically set
to the native resolution of the TV
connected to the HDMI OUT.
Depending on the resolution set-
ting on the TV, the DPC-7.7 may
not output video from its analog
video outputs.
Resolution
Remote controller
480p:
720
× 480p 60Hz
Also output by the DPC-7.7’s ana-
log video outputs.
720p:
1280
× 720p 50/60Hz
Not output by the DPC-7.7’s analog
video outputs.
1080i:
1920
× 1080i 50/60Hz
Not output by the DPC-7.7’s analog
video outputs.
