24
Powering Up & Setting Up the DPC-7.7
Before connecting the power cord, connect all your AV
components (see page 17 to page 23).
Don’t forget to turn on your TV or projector and select
the video input to which the DPC-7.7 is connected.
If you’re using a hi-fi amp, AV receiver, or surround
sound decoder for audio playback, turn that on as well
and select the audio input to which the DPC-7.7 is con-
nected.
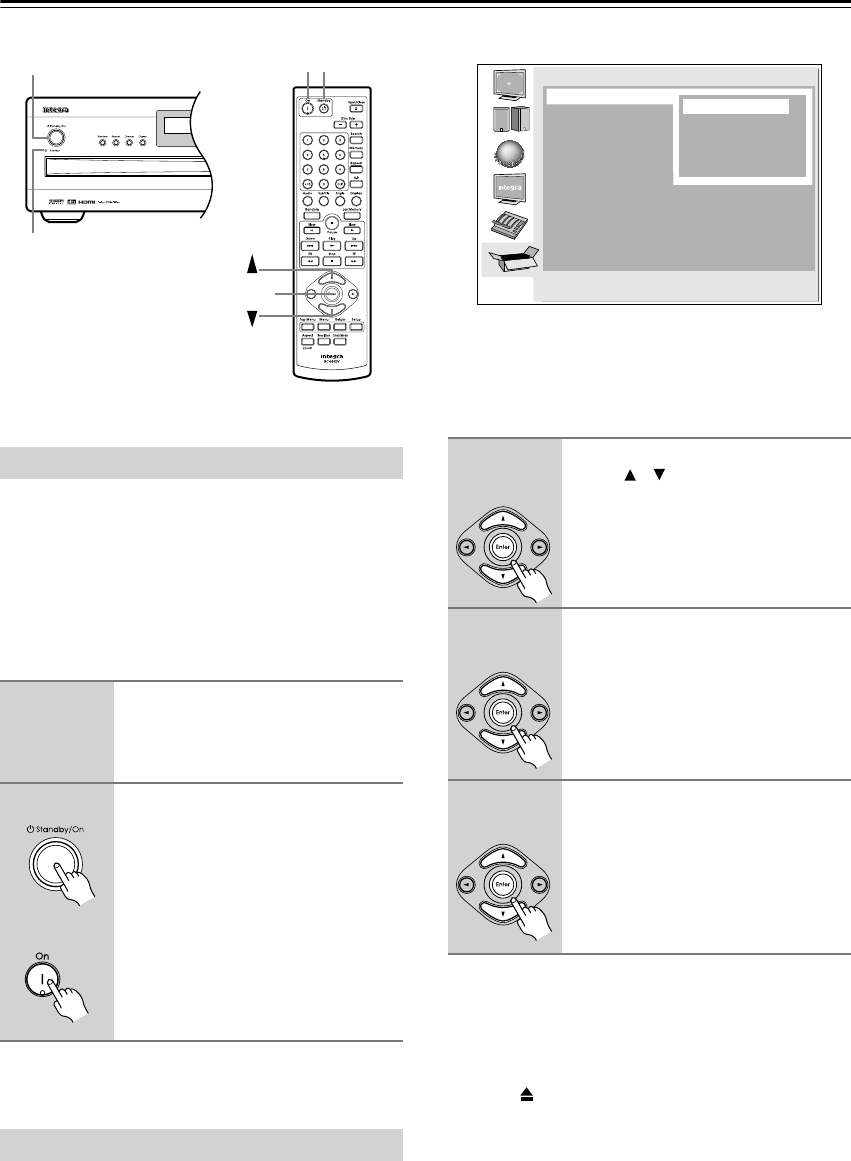
The very first time you turn on your DPC-7.7, the Initial
Setup menu appears onscreen, as shown.
Here you need to specify the size of your TV (standard
4:3 or widescreen 16:9), specify a HDMI output setting,
and select a language for the onscreen setup menus. You
can change these settings later by using the onscreen
setup menus (see page 44).
Your DPC-7.7 is now ready for use. See page 25 for
information on loading discs, and page 26 for informa-
tion on selecting and playing discs.
Notes:
•You can cancel the Initial Setup by pressing the Open/
Close [ ] button, and complete the settings later by
using the onscreen setup menus (see page 50).
•You can change the language of the onscreen setup
menus, and your preferred languages for DVD menus,
foreign language soundtracks, and subtitles individu-
ally on the Language page of the onscreen setup
menus (see page 48).
• Not all DVD-Video discs have multi-language menus,
foreign language soundtracks, and subtitles. In such
cases, the disc’s default language is used.
Powering Up the DPC-7.7
1
Connect the power cord to a suit-
able wall outlet.
The DPC-7.7 enters Standby mode, and
the Standby indicator comes on.
2
To turn on the DPC-7.7, press the
[Standby/On] button (or the
remote controller’s [On] button).
The DPC-7.7 comes on, the display
lights up, and the Standby indicator
goes off.
To turn off the DPC-7.7, press the
[Standby/On] button (or the remote
controller’s [Standby] button). The
DPC-7.7 enters Standby mode and the
Standby indicator comes on.
First Time Setup
Standby indicator
StandbyStandby/On
On
Enter
Remote controller
1
Use the remote controller’s Up/
Down [ ]/[ ] buttons to select a TV
shape, and then press [Enter].
See page 45 for more information on
the TV Shape options.
The HDMI Output Setting menu
appears.
2
Select a HDMI Output Setting
option, and then press [Enter].
See page 46 for more information on
the HDMI output options.
The On-Screen Language menu
appears.
3
Select a language, and then
press [Enter].
See page 48 for more information on
the language options.
The Initial Setup menu closes.
Initial Setup
TV Shape
On-Screen Language
HDMI Output Setting
√ 4:3 Letter box
4:3 Pan Scan
16:9 Widescreen
16:9 Compressed
Remote controller
Remote controller
Remote controller