44
Menu Operations
Changing the Color System (Video Menu Mode Only)
This function is available only in Video menu mode.
The menu is only displayed when there is a signal for the AV IN (Y/C, VIDEO and COMP) terminal.
Normally, use the color system in AUTO. If operation in AUTO is unstable, such as color not being shown, set to a dedicated
color system in accordance with the color system of the video signal being input.
1 Press the MENU button.
The main menu appears on the screen.
2 Select “Set up” with the cursor button 5 or ∞
∞∞
∞, and press 3
33
3 or the ENTER button.
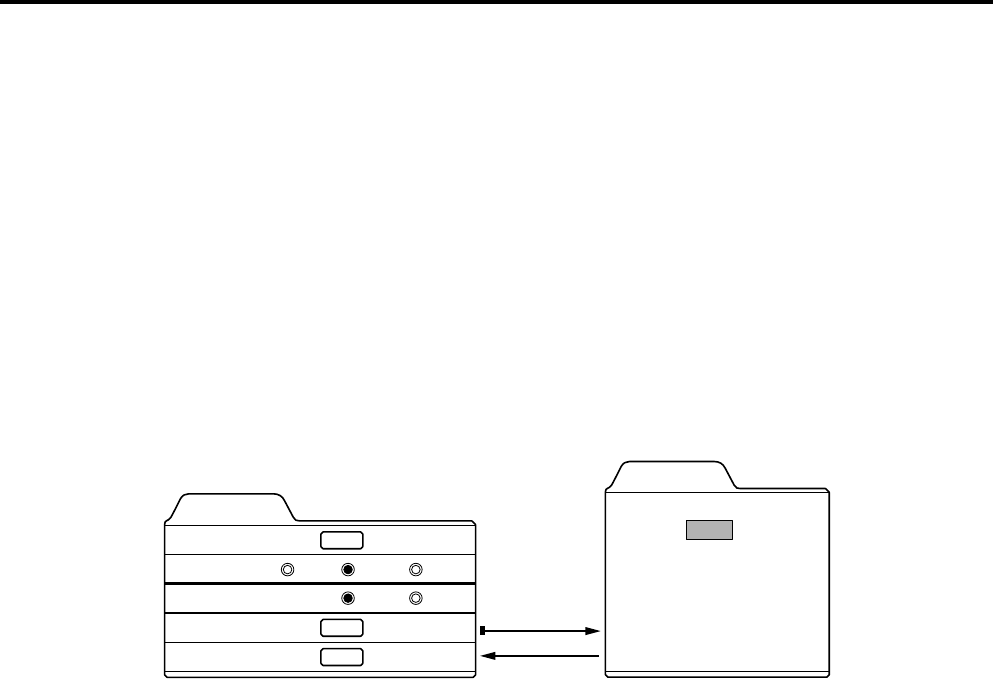
The “Set up 1” submenu appears on the screen.
3 Select “Decoder” with the cursor button 5 or ∞
∞∞
∞, and press the ENTER button.
The “Decoder” submenu appears on the screen.
Video submenus
4 Set the color system with the cursor button 5 or ∞
∞∞
∞.
AUTO: Normally, set to “AUTO”. (Factory set value)
The color system of a video signal being input is automatically identified and displayed in [ ].
In [ ], B/W (Black & White), NTSC, NTSC4.43, PAL or SECAM will be displayed. (It is not always displayed.)
For example, AUTO [ NTSC ] shows that the NTSC signal is being received.
NTSC: Dedicated to NTSC.
NTSC4.43:Dedicated to NTSC4.43.
PAL: Dedicated to PAL.
SECAM: Dedicated to SECAM.
5 Press the EXIT button to return to the previous menu or press the MENU button to
exit the menu mode.
Set up 1
Position
Gamma
Aspect ratio
Decoder
Page 2
ENTER
ENTER
ENTER
Decoder
AUTO [ NTSC ]
NTSC
NTSC4.43
PAL
SECAM
Cinema
4:3
Down
Up
16:9
ENTER
EXIT
