


Magic 260
16
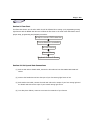
Section 12: Patch Fixtures (Continue)
The factory default setting for the Autopatch feature is “ON”. It is recommended that you leave
this setting set to “ON” and proceed to step (4). With this setting set to “ON”, each fixture
address is automatically patched for you. If you decide that you must set your own patch
addresses, first change “ON” to “OFF” by turning DATA wheel #4 clockwise or counter clockwise,
press the “ENTER” button, turn DATA wheel #2 to your desired channel address and press the
“ENTER” button. Turn DATA wheel # 1 to select the next fixture that you wish to set your own
address for and repeat the previous steps.
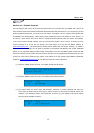
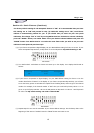
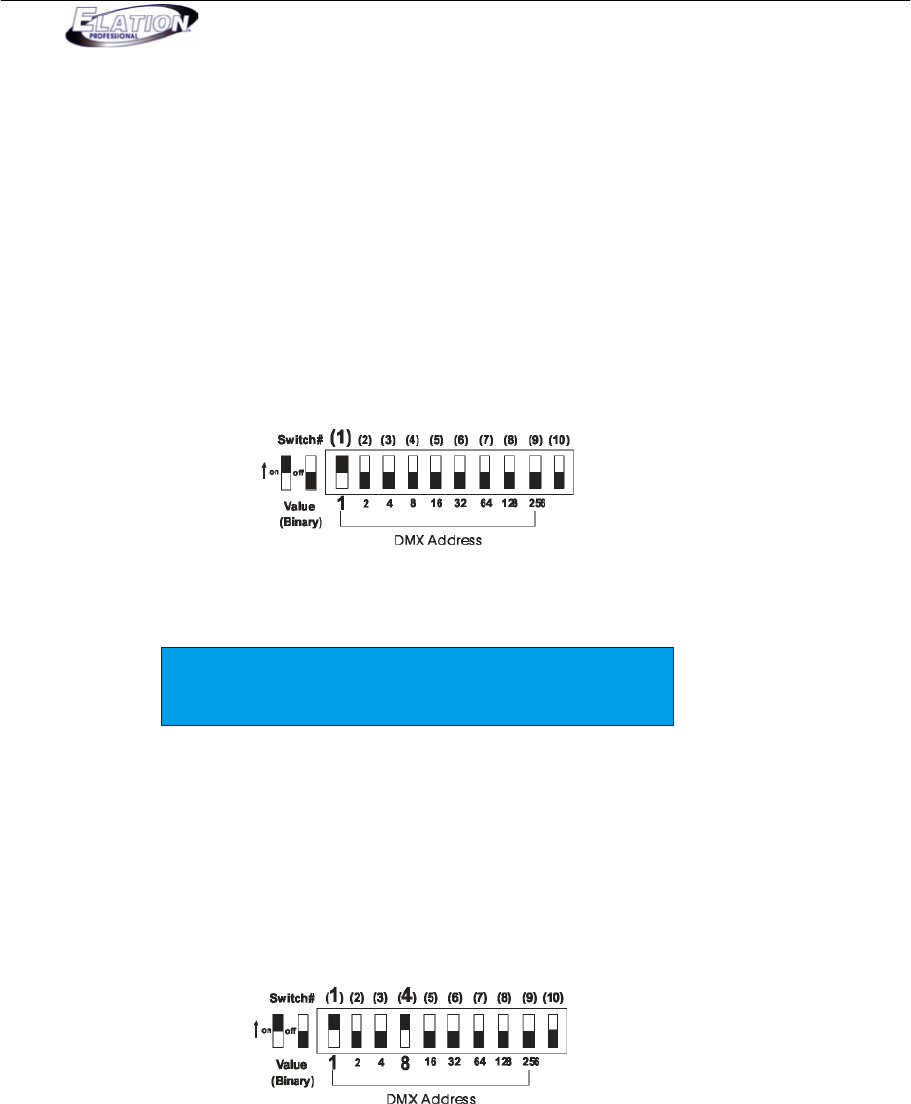
(4) If your fixture incorporates a digital display, set your DMX address setting for fixture #1 to 001. If your
fixture incorporates dip switches, set dip switch #1 to the ON position. Dip switch setting: 1 ON
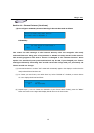
(5) Turn DATA wheel #1clockwise so Fixture 02 comes up in the display. Your display should read as
follows:
Fixture Channel Autopatch
02 xxx ON
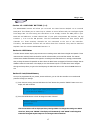
(6) If your fixture incorporates a digital display, set your DMX address setting for fixture #2 to the
number listed below “Channel” in the display. If your fixture incorporates dip switches, you will have
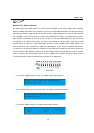
to use the binary system to calculate the simplest form of adding binary values to get to the desired
number. For example, if the channel number is “009” then you would add up binary values 1 + 8 to
get 9. So you’d flip dip switches 1 & 4 to the ON position as dip switch 1’s value is 1 and dip switch
4’s value is 8. Dip switch setting: 1 & 4 ON = channel 009
(7) Repeat steps 5 & 6 to set the remainder of your fixture address settings. Use the binary chart at the
beginning of this section if needed. Press the “MENU” button two times to exit.