40
System call
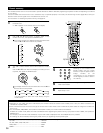
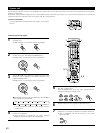
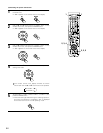
(1)System call buttons
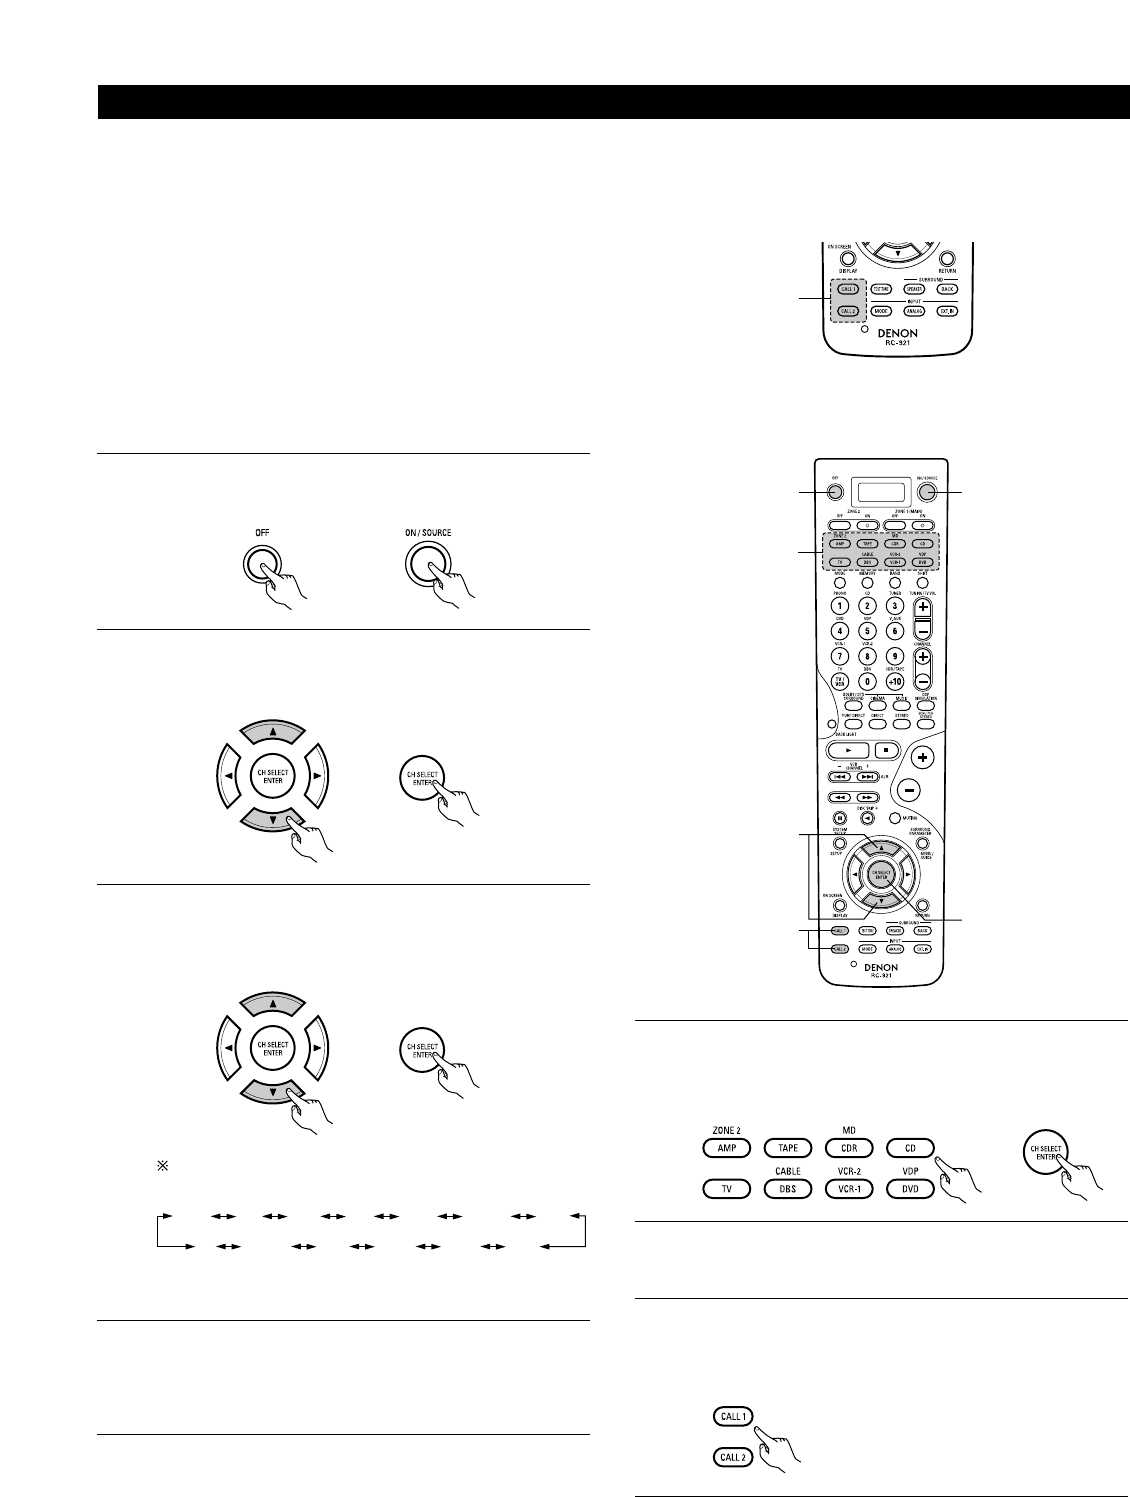
Up to 10 signals each can be stored at the “CALL1” and “CALL2”
buttons.
1
(2)Storing system call signals
1
2
5
Press the power ON/SOURCE button and the OFF button at
the same time.
• “PRE” appears on the remote control unit’s display.
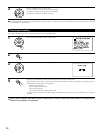
Use the • and ª cursor buttons to display “CALL” on the
remote control unit, then press the ENTER button.
• Display “SEL” on the remote control unit’s display.
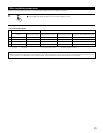
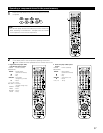
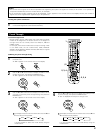
The mode can be switched by pressing a mode button while
the “KEY” indicator is lit.
Press the ENTER button to turn the “KEY” indicator back on,
setting the registration standby mode.
DVD
5
2, 3
7
11
2, 3
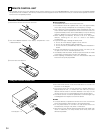
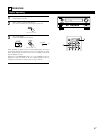
The accessorious remote control unit is equipped with “system call” function allowing a series of remote control signals to be transmitted by
pressing a single button.
This function can be used for example to turn on the amplifier’s power, select the input source, turn on the monitor TV’s power, turn on the source
component’s power and set the source to the play mode, all at a signal button.
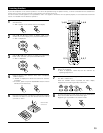
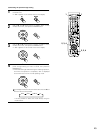
3
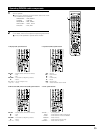
Use the • and ª cursor buttons to display the name of the
device you want to register at the system call button, then
press the ENTER button.
• Display “KEY” on the remote control unit’s display.
TV
AMP
ZONE2
CD CDR
MD
TAPE
DVD
VDP
CABLE
DBS
VCR2 VCR1
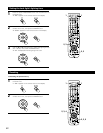
It is also possible to select the mode directly using the
mode buttons.
The display switches as shown below each time the • and
ª cursor buttons are pressed.
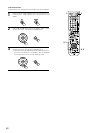
4
Press the button you want to register. “SET” is displayed and
the button is registered.
• Once the button is registered, the “KEY” indicator
reappears and the next button can be registered.
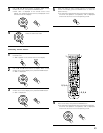
6
Repeat steps 4 and 5 to register the desired buttons.
7
Press the “CAL1” or “CAL2” button while the “KEY”
indicator is lit to register the signals at the system call button.
•
“OK” is displayed and the set returns to the normal
operating mode.


