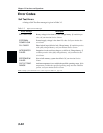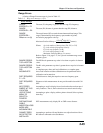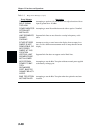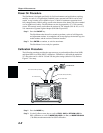
Step 15. Remove the Short, connect the calibrated Load and press the ENTER key. The
message “MEASURING LOAD ” will appear.
NOTE:
For OSLT calibration, the messages “MEASURING LOAD” and “CONNECT
LOADS TO RF OUT AND RF IN PORTS” will appear.
Step 16. Connect the second calibrated load to the RF In test port and press the
ENTER
key. The messages “MEASURING ISOLATION” and “CONNECT RF OUT
PORT TO RF IN PORT” will appear.
Step 17. Remove both loads, connect an adapter and/or a cable from the RF Out test port
to the RF In test port and press
ENTER.
Step 18. Verify that the calibration has been properly performed by checking that the
message “CAL ON” is displayed in the upper left corner of the display.
Setting the Amplitude Scale
The following procedure sets the amplitude scale.
Step 1. Press the
AMPLITUDE or LIMIT key to call up the Scale menu.
Step 2. In SWR mode, press the
TOP soft key and enter 1, ., 1 using the key pad or the
Up/Down arrow key, and press
ENTER. (In Return Loss mode, enter 0; in Inser-
tion Gain/Loss mode, enter 100.)
Step 3. In SWR mode, press the
BOTTOM soft key and enter 1 using the key pad or the
Up/Down arrow key, and press
ENTER. (In Return Loss mode, enter 54; in In-
sertion Gain/Loss mode, enter –120.)
NOTE:
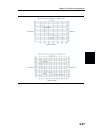
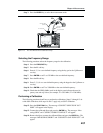
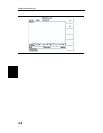
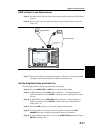
Figure 4-3 and 4-4 show the typical responses of a valid OSL calibration with a
load attached to the test port with 517 data points.
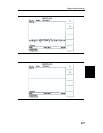
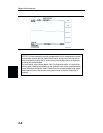
Figures 4-5, 4-6, 4-7 and 4-8 show typical responses of a valid OSLT calibra
-
tion with loads attached to the test port and with the RF Out test port attached
to the RF In test port.
To change the number of data points, press the
SWEEP key, followed by the
RESOLUTION soft key. Select 130, 259, or 517 data points.
Saving the Setup
The following procedure can be used to save a setup and calibration in memory.
Step 1. Press the
SAVE SETUP key.
Step 2. Use the key pad or the Up/Down arrow key to select a memory location (1 - 10),
then press
ENTER.
Recalling a Setup
The following procedure recalls a setup from memory.
Step 1. Press the
RECALL SETUP key.
4-4
Chapter 4 Measurements


