


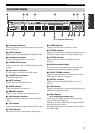

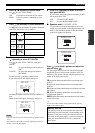
CONNECTIONS
11
PREPARATION
Do not connect this unit or other components to the mains
power until all connections between components are
complete.
• Make sure that all connections are made correctly - that
is to say, L (left) to L, R (right) to R, “+” to “+” and
“–” to “–”. Some components require different
connection methods and have different jack names.
Refer to the operating instructions for each component
you wish to connect to this unit.
• After you have completed all connections, check them
again to make sure they are correct.
• The jack names correspond to the names on the input
selector.
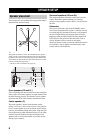
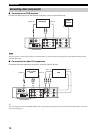
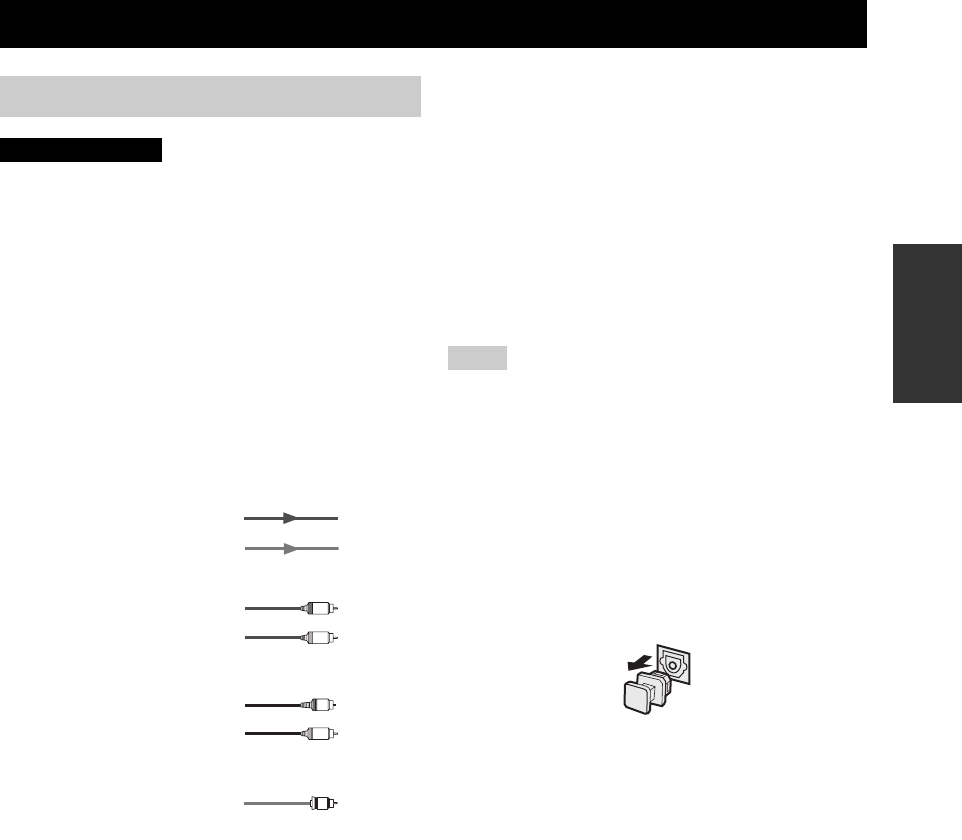
■ Signal directions and cable indications
■ Analog jacks
You can input analog signals from audio components by
connecting audio pin cable to the analog jacks on this unit.
Connect red plugs to the right jacks and white plugs to the
left jacks.
■ Digital jacks
This unit has digital jacks for direct transmission of digital
signals through either coaxial or fiber optic cables. You
can use the digital jacks to input PCM, Dolby Digital and
DTS bitstreams. All digital input jacks are compatible
with 96-kHz sampling digital signals.
• This unit handles digital and analog signals independently. Thus
audio signals input to the digital (OPTICAL or COAXIAL)
jacks are not output to the analog VCR OUT (REC) jacks.
• The OPTICAL jacks on this unit conform to the EIA standard.
If you use a fiber optic cable that does not conform to this
standard, this unit may not function properly.
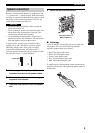
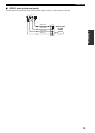
Dust protection cap
Pull out the cap from the optical jack before you connect
the fiber optic cable. Do not discard the cap. When you are
not using the optical jack, be sure to put the cap back in
place. This cap protects the jack from dust.
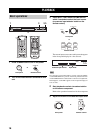
CONNECTIONS
Before connecting components
CAUTION
S
V
O
V
V
V
L
R
C
video signal direction
left analog cables
right analog cables
optical cables
coaxial cables
video cables
For analog signals
For digital signals
For video signals
audio signal direction
Notes