


112 En
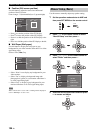
GRAPHIC USER INTERFACE (GUI) SCREEN
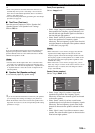
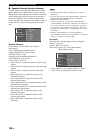
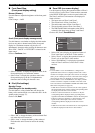
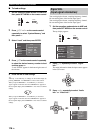
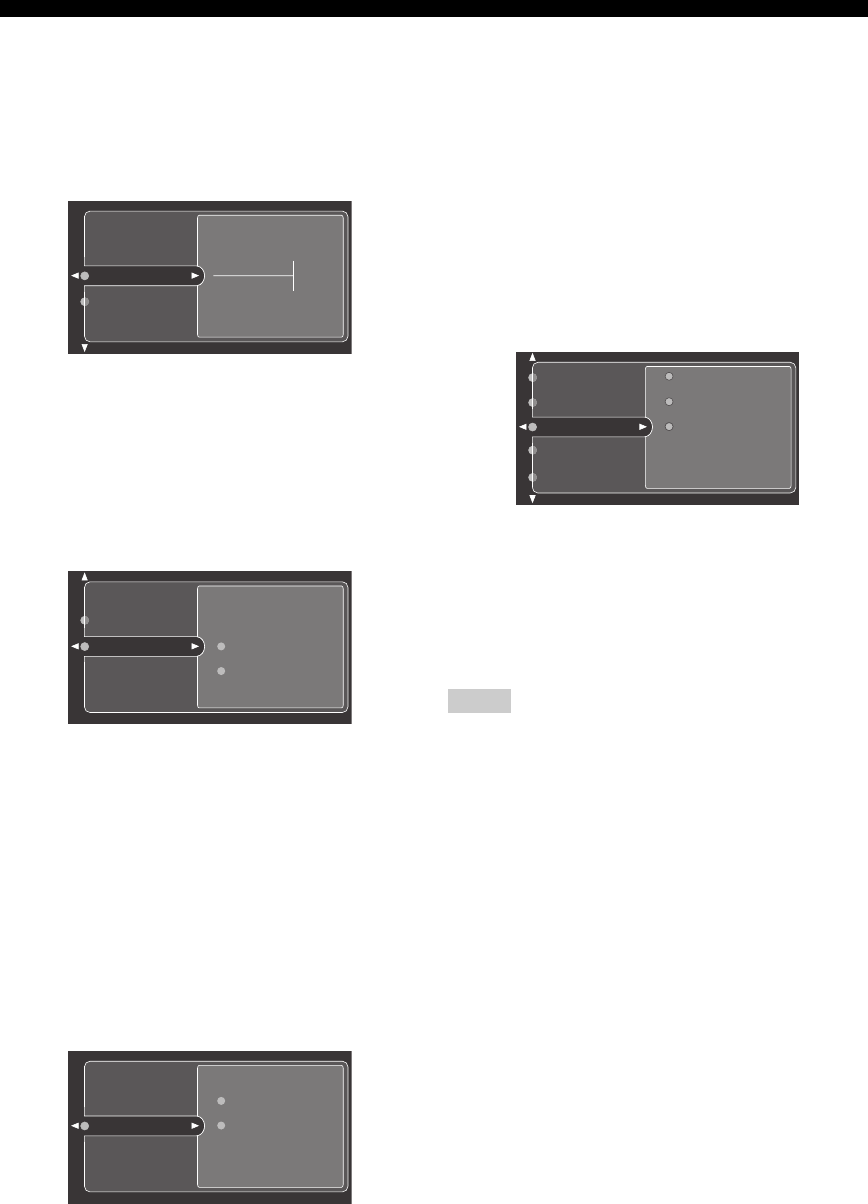
■ Front Panel Disp.
(Front panel display setting)
Dimmer (Dimmer)
Use this feature to adjust the brightness of the front panel
display.
Control range: –4 to 0
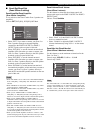
Scroll (Front panel display message scroll)
Use this feature to set whether to display the information
(such as song title or channel name) in the front panel
display in a continuous manner or by the first 14
alphanumeric characters after scrolling all characters once
when “XM”, “DOCK” or “NET/USB” is selected as the
input source.
Choices: Continue, Once
• Select “Continue” to display the operation status in the
front panel display in a continuous manner.
• Select “Once” to display the operation status in the
front panel display by the first 14 alphanumeric
characters after scrolling all characters once.
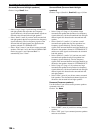
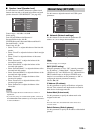
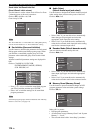
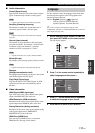
■ iPod (iPod settings)
Standby Charge
(iPod Charge on the standby mode)
Use this feature to select whether this unit charges the
battery of the stationed iPod or not when this unit is in the
standby mode (see page 75).
Choices: Off, Auto
• Select “Off” to charge the battery of the stationed iPod
only when this unit is turned on.
• Select “Auto” to charge the battery of the stationed
iPod when this unit is turned on and in the standby
mode.
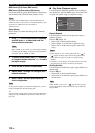
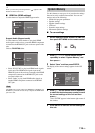
■ Zone OSD (on-screen display)
Use this feature to display the operational status of Zone 2
as well as Zone 3 on the Zone 2 video monitor connected
to the ZONE VIDEO jacks on the rear panel of this unit.
The Zone 2 and Zone 3 information to be displayed is
listed as follows:
• The input source of Zone 2 and Zone 3
• The volume level of Zone 2 and Zone 3
• The audio mute status of Zone 2 and Zone 3
• The tonal quality status of Zone 2 and Zone 3
• The XM Satellite Radio information when XM is
selected as the input source of Zone 2 and Zone 3
Choices: Off, Zone2, Zone2&Zone3
• Select “Off” not to display any operational status of
Zone 2 and Zone 3 on the Zone 2 video monitor.
• Select “Zone2” to display the operational status of
Zone 2 only on the Zone 2 video monitor.
• Select “Zone2&Zone3” to display the operational
status of Zone 2 and Zone 3 on the Zone 2 video
monitor.
• If “Zone OSD” is set to “Zone2&Zone3”, changes to the
operational status of Zone 3 is displayed on the Zone 2 video
monitor. For example, if the input source of Zone 3 is changed
while you are watching TV in Zone 2, the name of the changed
input source of Zone 3 is displayed on your TV in Zone 2.
• If “Zone OSD” is set to “Zone2&Zone3”, the display contents
of Zone 2 and Zone 3 depends on whether or not Zone 2 and
Zone 3 are turned on with ZONE 2 ON/OFF and ZONE 3 ON/
OFF on the front panel (see page 131).
– If both Zone 2 and Zone 3 are turned on, the video signals of
the current input source of Zone 2 and the corresponding OSD
are displayed on the Zone 2 video monitor.
– If Zone 2 is turned off and Zone 3 is turned on, only the
corresponding OSD is displayed in the gray background
regardless of the REC OUT/ZONE 2 status on the front panel.
– If Zone 2 is turned on and Zone 3 is turned off, the video
signals of the current input source of Zone 2 and the
corresponding OSD are displayed on the Zone 2 video
monitor.
– If both Zone 2 and Zone 3 are turned off, no video signals and
no OSD are displayed on the Zone 2 video monitor.
Dimmer
Scroll
0
Dimmer
Scroll
Continue
Once
Standby Charge
Off
Auto
Notes
Front Panel Disp.
iPod
Zone3 Set
Zone2 Set
Zone OSD
Off
Zone2
Zone2&Zone3