Wolf Cinema Owner's Manual
3-5
Wired Remote >
Section3►Operation
You can convert the IR remote into a wired remote keypad using the cable provided with the
projector. Connect one end into the remote and the other to the mini stereo connector on the
input panel labeled as REMOTE. The wired remote is recommended when:
The built-in keypad is inaccessible•
The lighting conditions are unsuitable for proper IR transmission•
NOTE: Leave the batteries in the wired remote for the laser key (
) to work.
Keep in mind the following guidelines:
Presskeysone-at-a-time;therearenosimultaneouskeycombinationsrequired.•
Note that the three keys — Power•
, Shutter
Shutter
and OSD
OSD
are “press-and-hold”
keys that do not function with a typical quick press-and-release key press (see Figure 3.2).
Hold arrow keys down for continuous adjustment/movement in one direction. In serial •
networks,pausebrieybetweenadjustmentstoensurethatotherdevicescan“keepup”
with the commands.
If you press a key while the projector is still responding to the previous action, such as during •
power-up, the second key press may not take effect.
Specickeypadcommandsareexplainedbelow:
Power ON/OFF
Press and hold for two seconds or press twice quickly to toggle the projector (on) or (off)
with a single keystroke. Or press and release
followed immediately by
(on) or
(off) to guarantee the correct toggle (useful if you are unsure of the present state).
NOTES: 1) After powering down, the lamp cooling fan remains on for approximately ve minutes
to cool the lamp. 2) It is a good idea to avoid turning a projector back on until it has been off for
a few minutes. Hot re-strikes of the lamp may reduce lamp life.
Test
Press
Test
to step forward through all internal test patterns and this will eventually lead you to
the current input. If you press
Test
and then cycle by using the
and
right arrow keys,
you’ll be cycling in either direction through the test patterns only, no input.
Quick Setup
Press
Auto
to initiate an automated process in which the projector optimizes critical display
parameters such as size, position, pixel tracking, etc., for the current source. These parameters
are listed in Table 3.1. An Auto Setup can save time in perfecting a display and you can modify
the adjustments as desired.
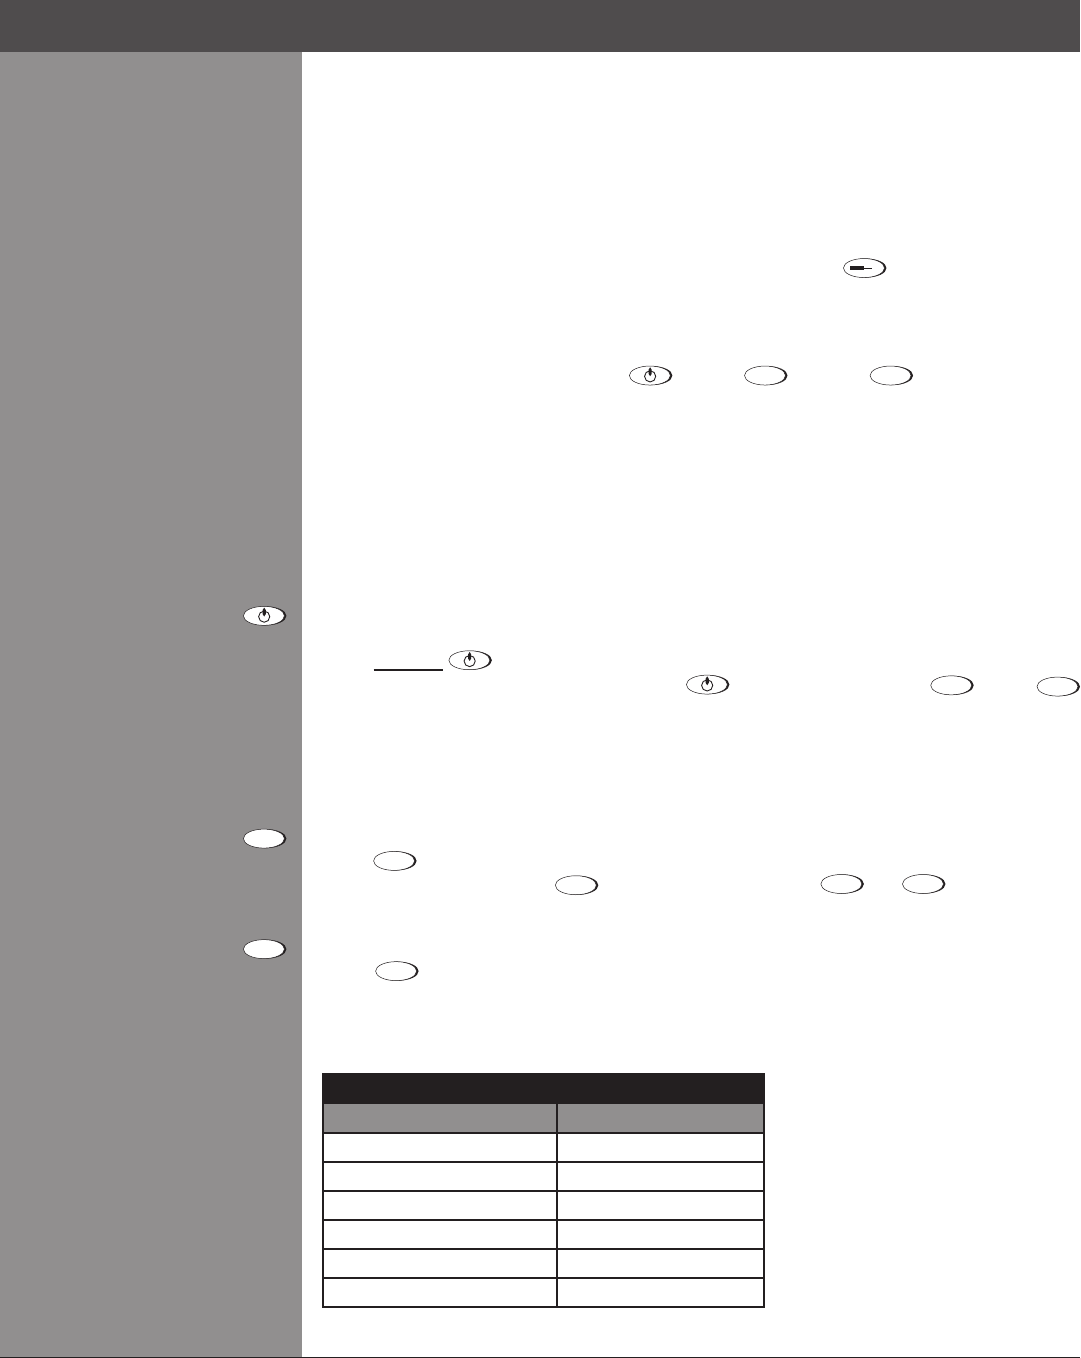
What an "Quick Setup" Does
OPTIMIZES: SETS TO DEFAULT:
Pixel Tracking Contrast
Pixel Phase Brightness
Size and Blanking Auto Input Level (Off)
SVertical Stretch Detail (if video source)
Position Filter
Color Temp Luma Delay
NOTE: You must have an unlocked channel present to use Auto Setup.
Table 3.1 QuickSetup
Guide to Keypads >
Keypad Commands >
Test
Quick
Setup


