


Onscreen Programming and Setup – Step by Step
17
.
www.velodyne.com
Digital Drive User’s Manual
T
he following steps take you though a typical Digital Drive setup procedure.
1. Push the POWER switch on the subwoofer’s rear panel to the ON position.
2. Make sure your receiver/processor is on and the volume control is set to minimum.
3. If you haven’t already done so, establish the crossover settings for your main speakers.
Generally, if your satellites can be crossed over at 80Hz (that is, accurately reproduce
frequencies to this level) it is an ideal setting. However, some satellite speakers are only flat
to 120Hz or even higher. Remember that the higher the subwoofer is crossed over (to
match the satellite crossover settings), the more likely it is to become directional (that is,
you can tell where the bass is coming from). Again, consult your processor and speakers
owner’s manuals for more information.
4. Select the source on your receiver/processor that the DD subwoofer audio output is
connected to. Input should be configured for stereo.
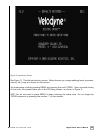
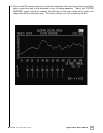
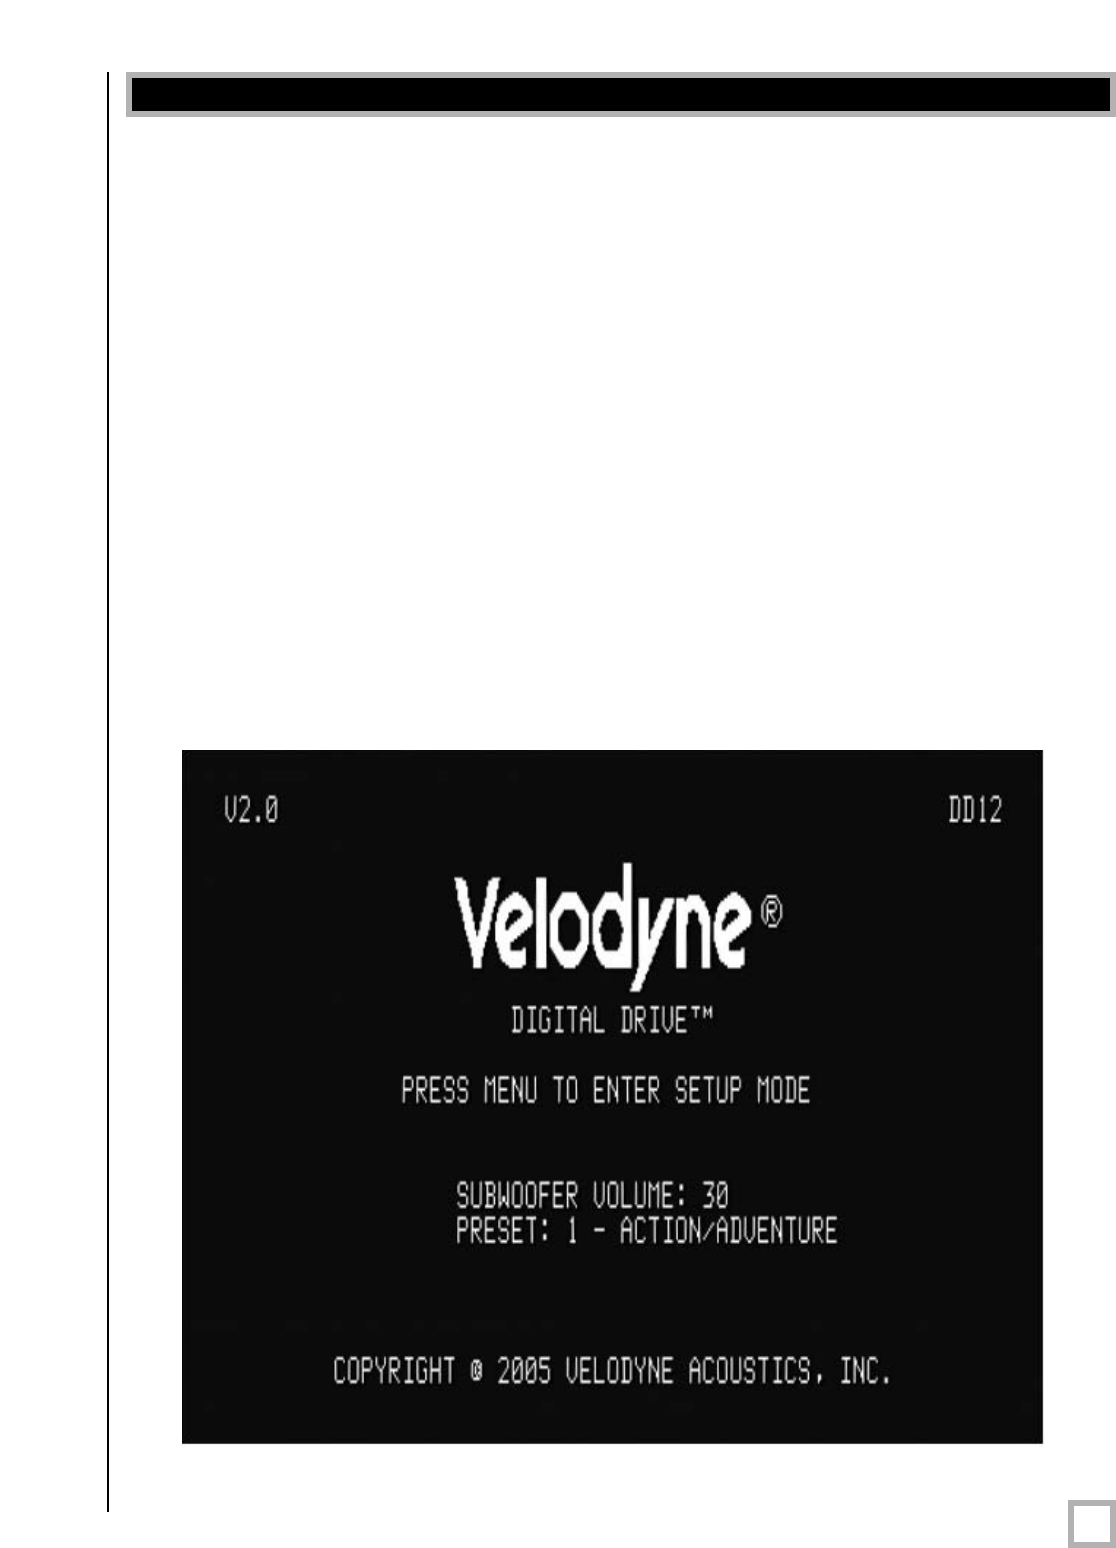
5. Set the video input where you connected the video output as the active TV image. The
introductory screen with the Velodyne logo and “Velodyne Digital Drive” should now appear
on your TV screen, as follows: