


26
Connections and Settings
Chapter 2 Preparations
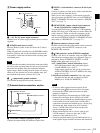
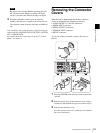
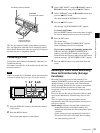
• This unit’s S400 connector has 6 pins. Check the
number of pins on the i.LINK connector of your
notebook computer, and use an appropriate i.LINK
cable.
See “Using PDZ-1 Proxy Browsing Software” in Chapter
4 (page 61) for more information about installing the
PDZ-1 software. See the online help of PDZ-1 for more
information about using PDZ-1.
Some limitations apply to FAM connections.
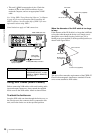
Using XLR Cables (Audio Cables)
Before connecting XLR cables to this unit's analog audio
input and output connectors, always attach the supplied
ferrite cores to the XLR cables. Attach as shown below.
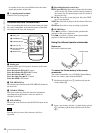
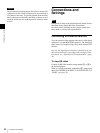
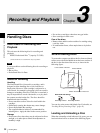
To attach the ferrite core
Loop the XLR cable one time through the ferrite core, on
the side closest to the connector that is connected to this
unit, and fix the ferrite core at the specified position.
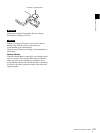
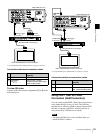
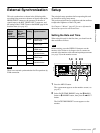
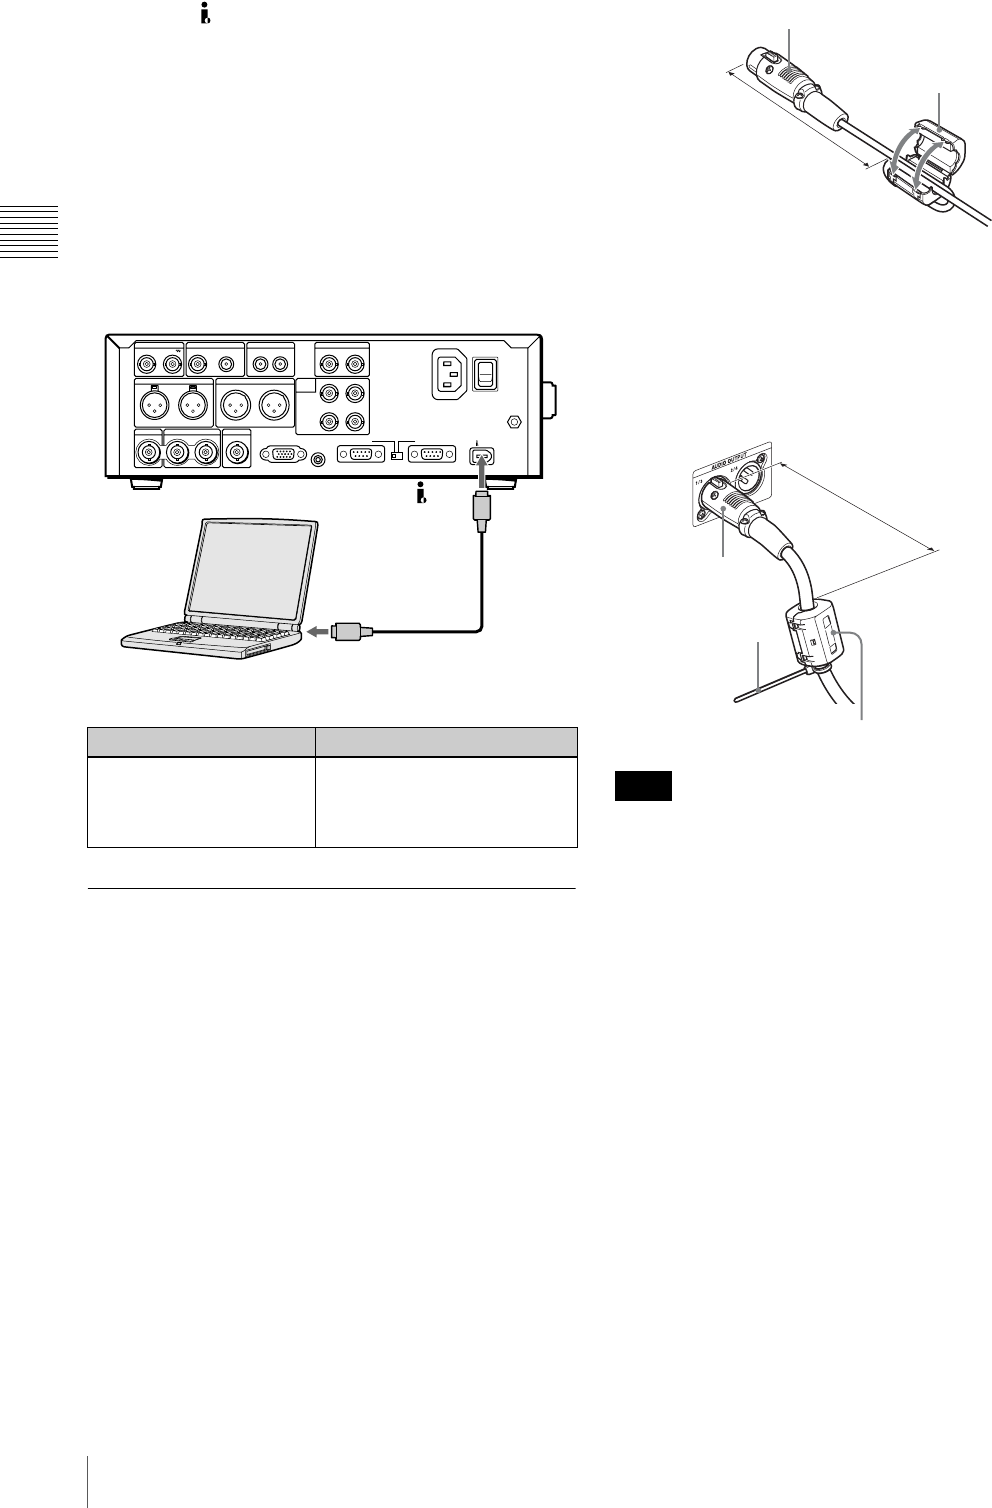
When the diameter of the XLR cable is too large
to loop
If the diameter of the XLR cable is so large that is difficult
to loop the cable through the ferrite core, simply pass it
through the core without looping. In this case, use a
binding strap (not supplied) to at the specified position, as
shown in the figure below.
This unit will not meet the requirements of the CISPR 22
Class B electromagnetic interference standards if ferrite
cores are not attached to XLR cables.
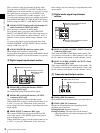
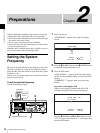
On the computer On this unit
Install PDZ-1. Set the setup menu item
INTERFACE SELECT >i.LINK
MODE to “FAM(PC REMOTE)”
(see page 71).
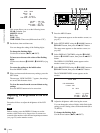
SDSDI OUTPUTHDSDI INPUT
AUDIO INPUT
HDSDI OUTPUT
12
REF VIDEO INPUT
TIME CODE
POWER
ANALOG HD INPUT
DIGITAL
AUDIO
(AES/EBU)
COMPOSITE OUT AUDIO MONITOR
1/3 2/4
AUDIO OUTPUT
1/3 2/4
R L IN OUT
Y/G P
B /R
SYNS
RS232C REMOTE(9P)
PB /B
1/2
INPUT
OUTPUT
CONTROL
3/4
1/2 3/4
S400
-AC IN
MONITOR
S400
PDW-70MD (this unit)
i.LINK cable
(not supplied)
i.LINK (IEEE1394) connector
Laptop computer
Note
XLR cable
Ferrite core (supplied)
120 to 150 mm
Binding strap
(not supplied)
Ferrite core (supplied)
XLR cable
120 to 150 mm