


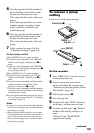
61
3 Turn the jog dial until “ : Move”
flashes in the display, and then press
to enter.
The selected track number flashes in
the middle row of the display.
If the track has been labeled, press
> to make the track name appear
in the display. Press . to display
the track number again.
4 Turn the jog dial until the destination
track number flashes in the display.
For the example, since track C will be
moved to track “002”, turn the jog
dial until “002” flashes in the display.
5 Press the jog dial to enter.
The track moves to the selected
destination track.
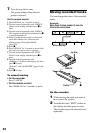
On the remote control
1 While playing the track you want to move
press DISPLAY for 2 seconds or more,
2 Turn the control repeatedly until “EDIT”
flashes in the display, and then press
x to
enter.
The recorder plays the selected track
repeatedly.
3 Turn the control repeatedly until
“ :Move” flashes in the display and then
press
x to enter.
For the example, “003 t 003” appears in the
display.
4 Turn the control repeatedly until the
destination track number flashes in the
display.
For the example, “003 t 002” appears in the
display.
5 Press
x to enter.
The selected track moves just before the
destination track.
To cancel moving
• On the recorder
Press CANCEL in step 4.
• On the remote control
Press DISPLAY for 2 seconds or more.
Note
If the disc has group settings, turn group mode
on before moving a track. Moving a track with
group mode off may affect the structure of the
group.
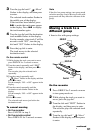
Moving a track to a
different group
• Insert a disc with group settings.
On the recorder
1 Press GROUP for 2 seconds or more
to turn group mode on.
2 While playing the track you want to
move, press the jog dial.
3 Turn the dial until “EDIT” flashes in
the display, and then press to enter.
The recorder plays the selected track
repeatedly.
4 Turn the jog dial until “ : Move”
flashes in the display, and then press
to enter.
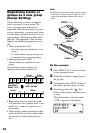
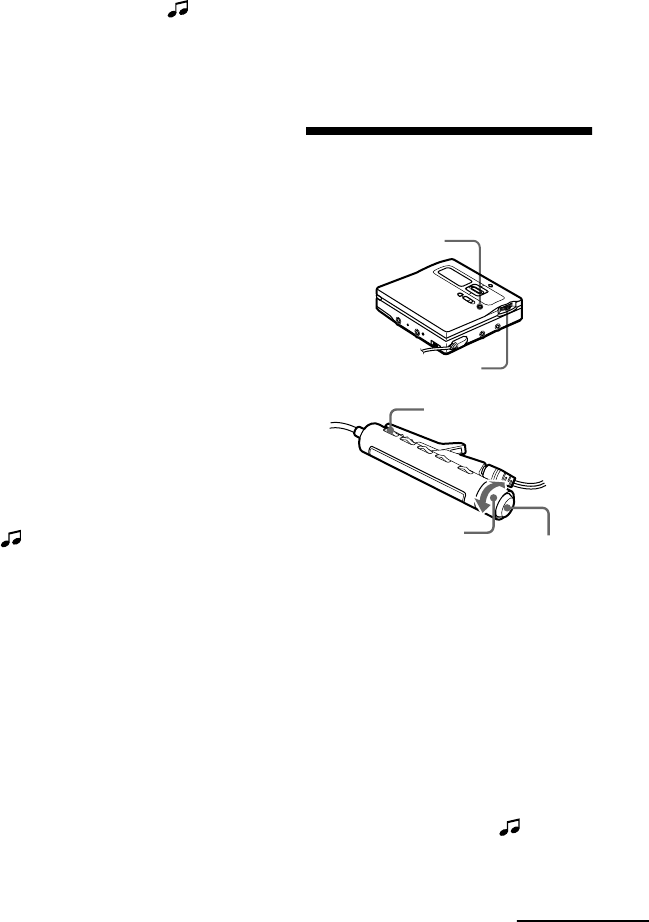
GROUP
Jog dial
DISPLAY
Control
x
continued