


20
EN
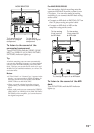
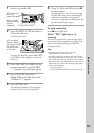
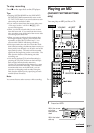
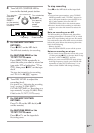
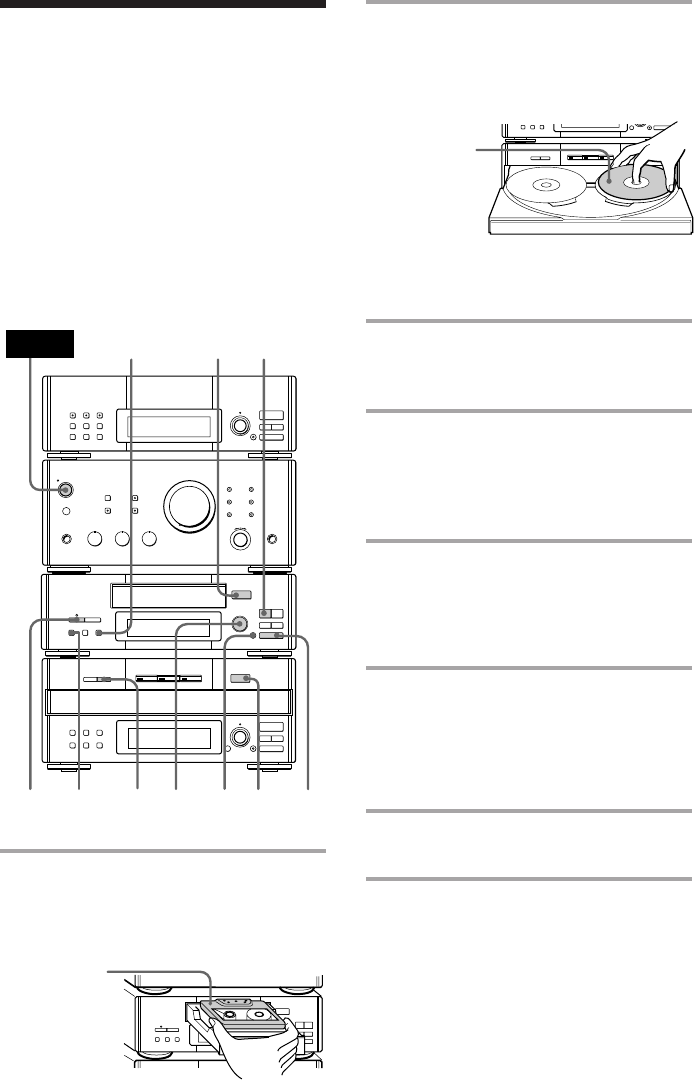
2 Press § OPEN/CLOSE on the CD
player and place a CD on the disc
tray.
The disc tray opens.
To place the third disc, press DISC SKIP
(or D.SKIP on the remote) to rotate the
disc tray.
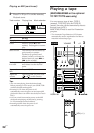
3 Press DISC SKIP (or D.SKIP on the
remote) repeatedly until the DISC
1 – 3 button you want lights green.
4 Press DIRECTION repeatedly to
select the side you want to record
on.
Select A to record on one side. Select
Å or a to record on both sides.
5 Turn REC LEVEL to adjust the
recording level.
The fourth dot is satisfactory for most
purposes. For details, see “Recording on
a tape manually” on page 52.
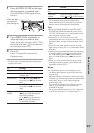
6 Press CD SYNC on the tape deck.
The tape deck stands by for recording
and the CD is in pause for playback. The
CD SYNC indicator lights up and
“PLAY · P {REC}” (for front side)
appears.
7 Press P on the tape deck.
Recording starts.
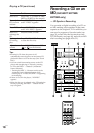
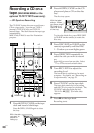
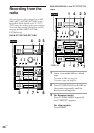
Recording a CD on a
tape (MHC-EX66/EX660 or the
optional TC-TX77/TX770 users only)
— CD Synchro Recording
The CD SYNC button lets you record from a
CD to a tape easily. You can use TYPE-I
(normal), TYPE-II (CrO
2) and TYPE-IV
(metal) tapes. The deck detects the tape type
automatically.
MHC-EX66/EX660 is used for illustration
purpose.
0)
p
=
SELECTOR
+
0)
p
· ∏
§
OPEN/CLOSE
With the label
side up. When
you play a single
CD, place it on
the inner circle
of the tray.
With the side
you want to
record on
facing up
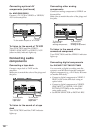
1 Press § OPEN/CLOSE on the tape
deck and insert a blank tape.
Press § OPEN/CLOSE again to close
the tray.
=
SELECTOR
+
0)
p
· ∏
§
OPEN/CLOSE
0)
ª·
p
p
P
§
OPEN/CLOSE
•
•
•
•
•
•
•
•
•
0
10
POWER
3
6
7
5
1
ª
2
DOLBY NR
4
® REC
0)
ª·
pP
§
OPEN/CLOSE
•
•
•
•
•
•
•
•
•
0
10