Getting Started
6
GB
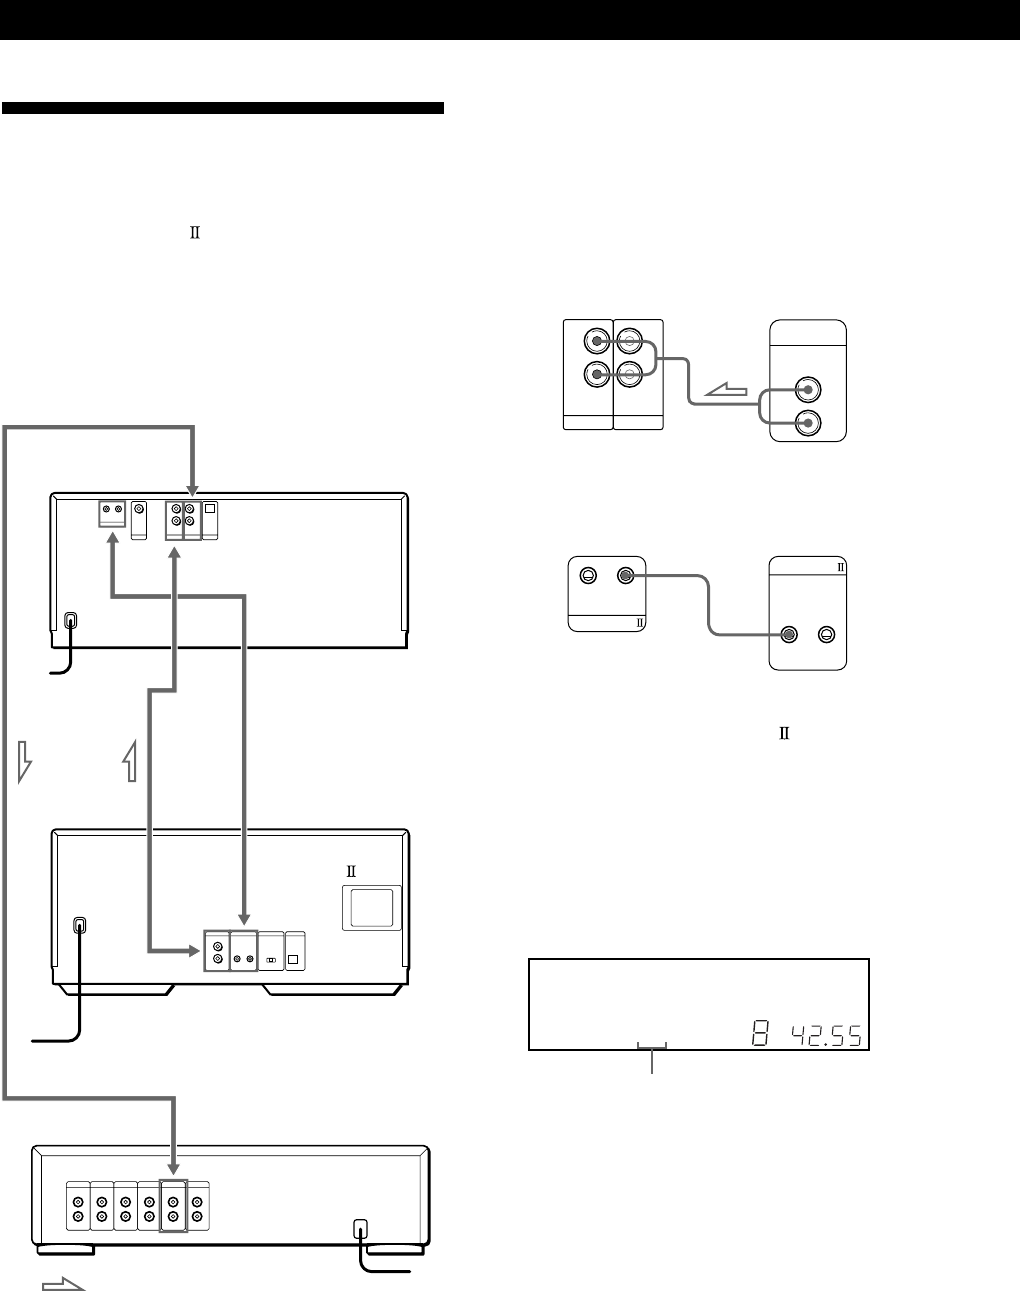
What cords will I need?
• Audio cord (1) (Use the cord supplied with the player to be
connected.)
• Monaural (2P) mini-plug cord (1) (supplied for Canadian
models only)
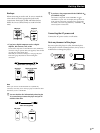
1 Connect the players with an audio cord (see also
“Hookups” on page 5).
2 Connect the players with a monaural (2P) mini-
plug cord.
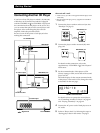
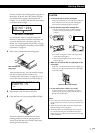
Connecting Another CD Player
If you have a Sony CD player in which 5, 50, 200, 300,
or 400 discs can be inserted and which is equipped
with the CONTROL A1
(or CONTROL A1) jack and
the command mode of that player can be set to CD 3,
you can control that player as the second player with
this player. After connecting this player and an
amplifier, follow the procedure below.
Be sure to turn off the power of each player before
making this connection.
CDP-CX235, etc.
CDP-CX450
To 2ND CD IN
CDP-CX235, etc.
To an AC outlet
To an AC outlet
: Signal flow
To audio input
To audio output
To ANALOG OUT
Amplifier
CDP-CX450
For details on this connection, refer to the
supplementary “CONTROL A1
Control System”
instructions.
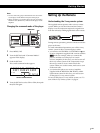
3 Set the command mode of this player to CD1
(factory setting) or CD2, and set that of the second
player to CD3.
Check the display for the current command mode
of this player, if the mode is CD3, change the mode
as described on the next page.
For details on how to operate the second player,
see “Controlling Another CD Player” on page 41
and “Playing Alternately” on page 42.
4 Connect the AC power cord of both players to an
AC outlet.
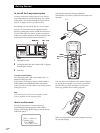
5 Perform “Player check” by following the steps in
“Storing player data in the remote” on page 9.
To an AC outlet
To
CONTROL A1
Current command mode
LINE
OUT
L
R
IN OUT
L
R
L
R
2ND CD ANALOG
CONTROL A1
CONTROL A1
CDP-CX235, etc.CDP-CX450
1
SECSTEPMINART.
GROUPTRACK
HITART.NEXT2nd
CD2 CD3
1
GROUP
NO DELAY
TEXTCDMULTI
PROGRAM 1 2 3 X-FADE DELETE
REPEATSHUFFLE
DISC
*DISC-1 *** ***
CD1
ALL DISCS


