Chapter 3 Basic Operation
3-10
Chapter 3 Basic Operation
Using the Menus
This unit incorporates menus for various effect settings and internal color
matte settings, and also a setup menu for system settings.
This section describes the basic menu operation.
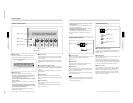
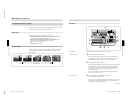
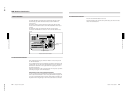
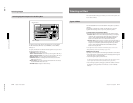
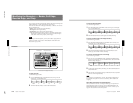
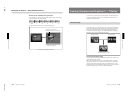
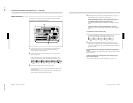
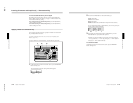
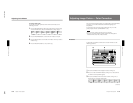
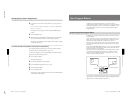
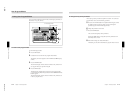
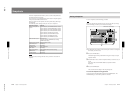
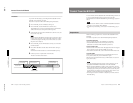
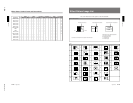
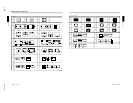
Accessing a menu
Press one of the buttons in the menu control section.
For example, to recall the menu for internal color matte settings, press the
MATTES button in the menu control section. The MATTE menu appears
in the menu display in the effect control section.
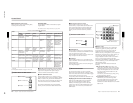
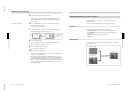
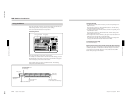
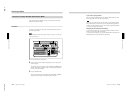
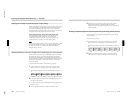
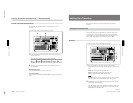
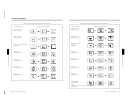
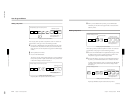
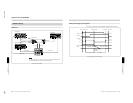
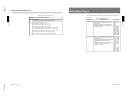
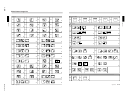
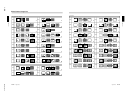
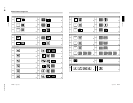
In this manual, menus are shown in a tabular format. The following
example shows the MATTE menu.
Chapter 3 Basic Operation
Chapter 3 Basic Operation
3-11
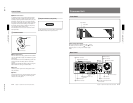
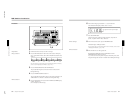
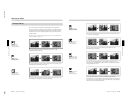
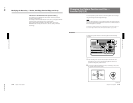
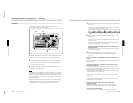
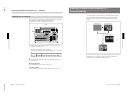
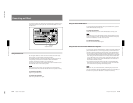
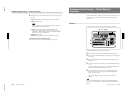
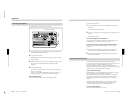
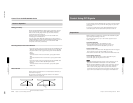
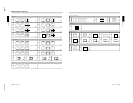
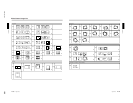
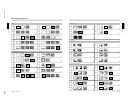
Changing settings
•For settings with values shown in letters, press the corresponding one of
buttons F1 to F5.
In the text, this is shown as “the F1(SELECT) button,” with the setting
name after the button name F1 to F5.
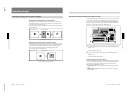
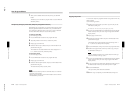
•To change a setting with a numerical value, turn the corresponding one of
control knobs F1 to F5.
In the text, this is shown as “the F2(Lum) knob,” with the setting name
after the knob name F1 to F5.
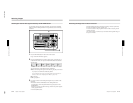
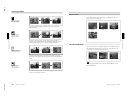
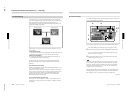
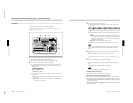
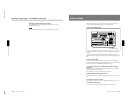
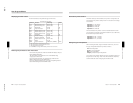
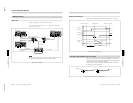
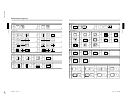
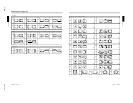
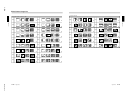
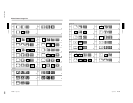
•In the setup menu, when an item has a plus sign in front, hold down the F
button (F4 or F5) and turn the corresponding knob.
For example, in page 3/8 of the setup menu, to change the setting for F4
[+H-pos], hold down the F4 button and turn the F4 knob.
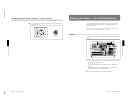
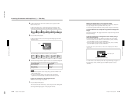
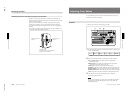
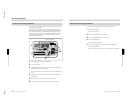
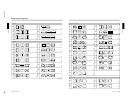
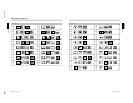
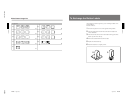
To change the menu page
Press the PAGE button.
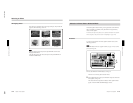
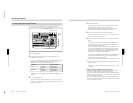
Buttons of the menu control section which light when pressed
When you press one of these buttons, it lights, and the settings in the menu
recalled by the button are reflected in the monitor display. To avoid this,
for example just to check the settings in a menu, hold down the SHIFT
button while pressing the menu button.