8
GB
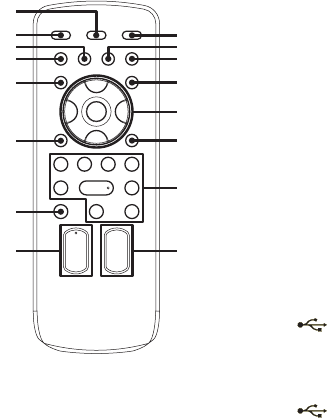
Remote
A "/1 (on/standby) (pages 14, 16,
40, 46)
Press to turn the system on or off.
STANDBY indicator
Lights up in green when the system is
turned on.
Lights up in red when the system is
in standby mode.
B i (jack) (pages 31, 49)
Connect the headphones.
C Display (pages 12, 32, 33, 46)
D Unit: VOLUME +/– (pages 18, 25,
27, 28, 41)
Turn to adjust the speakers volume.
Remote: VOLUME +/–
1)
(pages 18, 20, 25, 27, 28, 38, 41)
Press to adjust the speakers volume.
1)
The VOLUME + button has a tactile dot.
Use the tactile dot as a reference when
operating the system.
E A (pages 16, 18, 42)
Press to open or close the disc tray.
F Disc tray (pages 16, 18, 42, 46)
G IR Receptor (page 41)
H MIC (jack) (pages 37, 41, 49)
Connect an optional microphone.
I iPod 1 connector (pages 15, 27,
28)
iPod 2 connector (pages 15, 27,
28)
Place an optional iPod on the
connector to listen to audio contents
stored in the iPod.
J GROOVE (page 29)
Press to reinforce the bass.
K indicator
Lights up when an optional USB
device is recognized, or during
transferring or erase operation.
(USB) port (pages 21, 22,
23, 24, 44, 49)
Connect an optional USB device.
L OPTIONS (pages 22, 29, 32)
Press to select the power
illumination pattern, subwoofer
level, MP3 BOOSTER+ function
and USB SELECT.
M ERASE (page 23)
Press to erase audio files or folders
on the connected optional USB
device.
N REC TO USB (page 22)
Press to transfer onto the connected
optional USB device.
es
ed
ef
eg
ea
eh
wl
e;
q;
1
wk
qh
4
ek
ej
wh


