13RF-WHD200
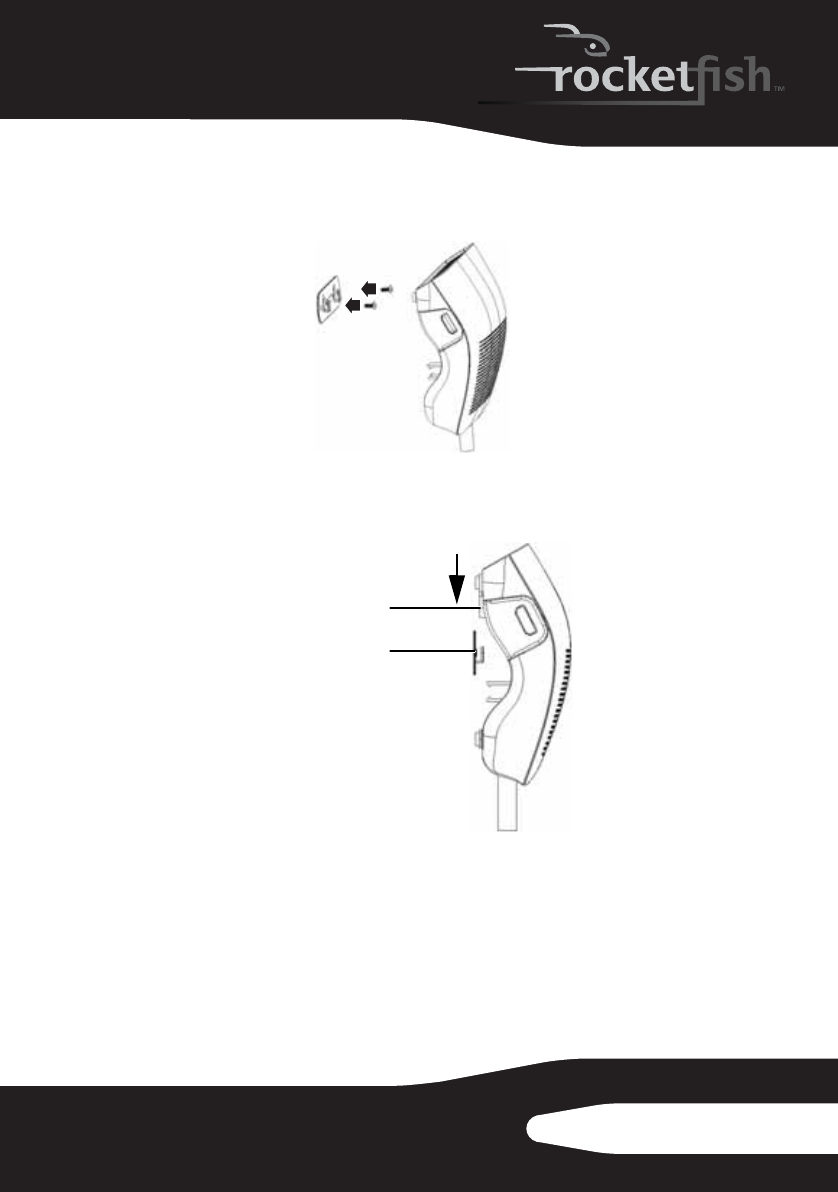
2 Using appropriate wall anchors and screws (not included) for the type of
wall or ceiling where the receiver will be mounted, securely attach the
receiver mounting bracket to the wall.
3 Mount the receiver onto the mounting bracket by sliding the slots on the
bottom of the receiver downward onto the tabs on the bracket.
Using the WirelessHD Kit
Upon completion of the setup process and successful linking of the WirelessHD
transmitter and receiver, follow these steps to use the WirelessHD kit:
1 Power on the TV or projector that the WirelessHD receiver is connected
to and switch to the corresponding HDMI input.
2 Power on the WirelessHD receiver.
Mounting slots
Mounting bracket
RF-WHD200_10-1353_MAN_ENG_V3.fm Page 13 Monday, March 14, 2011 3:45 PM


