


Section 2: Installation- Unpacking and Mounting
18
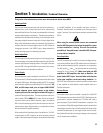
UNPACKING
There are no special unpacking precautions for the DSP-3. However, it is recommended that you keep the original packing material for reuse
in the rare event that service be required for your DSP-3. If service is required and the original packing material is not available, insure that
the DSP-3 is adequately protected for shipment (strong box of appropriate size , sufficient packing material).
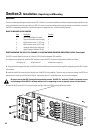
WHAT IS INCLUDED IN THE CARTON:
Item Description Quantity
1- DSP-3 Digital Signal Processor 1
2- 3-pin terminal block connector plug 4
3- #4-40 machine screw, 1.125” long 2
4- #8-32 machine screw, 0.312” long 1
5- Hardware Manual (this document) 1
6- Signal Manager Software CD disk 1
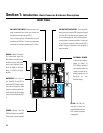
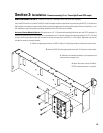
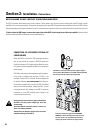
DIRECT MOUNTING THE DSP-3 TO 2-CHANNEL, 2 RU QSC DATAPORT EQUIPPED AMPLIFIERS (CX, DCA, Powerlight2)
The DSP-3 mounts directly to the rear of 2-channel, 2-RU, DataPort equipped QSC amplifiers.
1- Configure the amplifiers DIP switches (QSC amplifiers where the DSP-3 covers the configuration switches) as follows:
•All filters off •Clip limiter off •Mode set as required
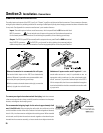
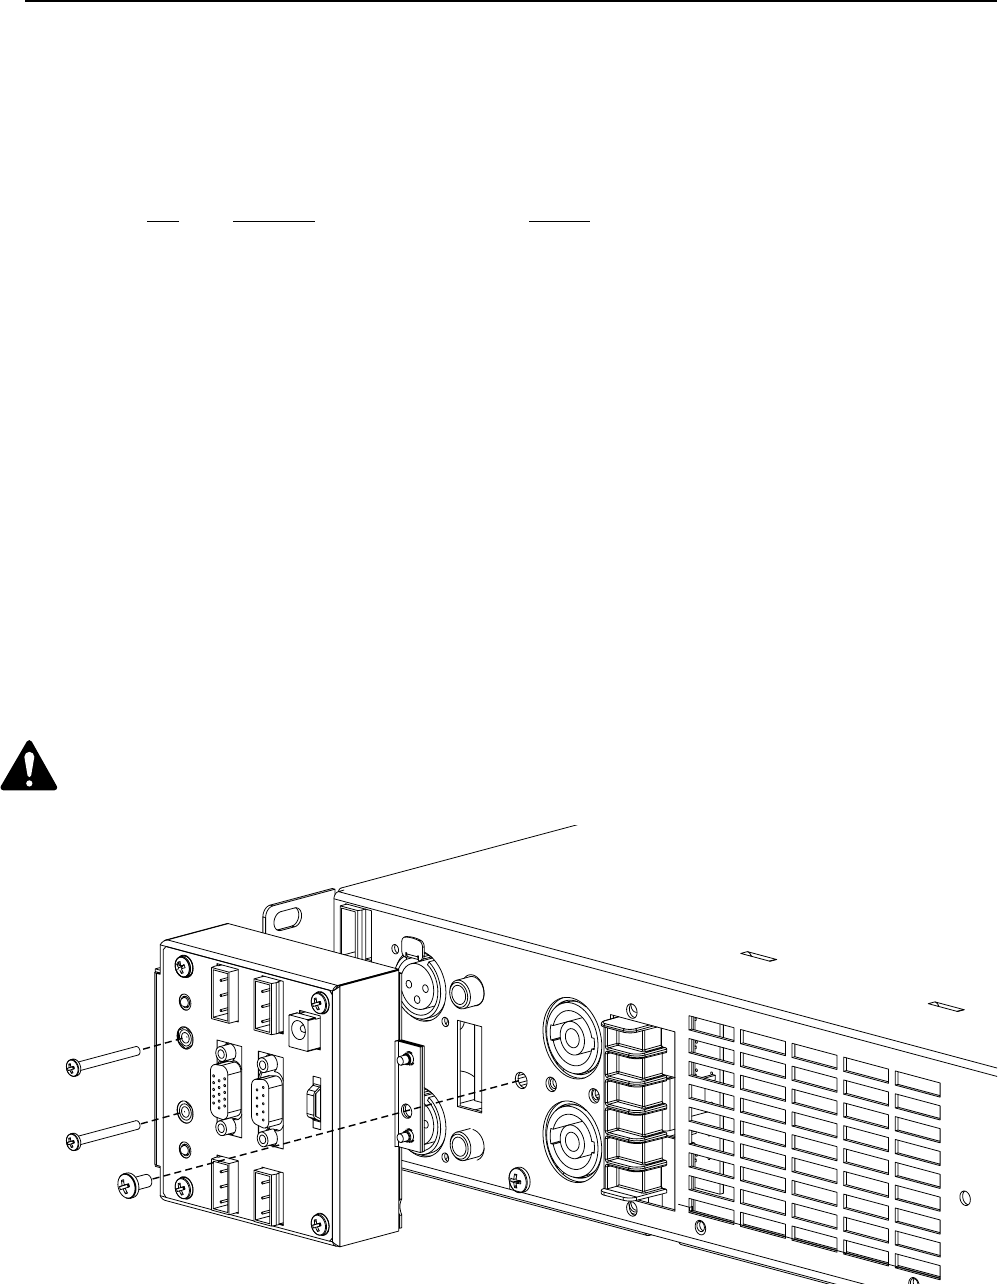
2- Align the DataPort plug on the back of the DSP-3 with the DataPort jack on the back of the amplifier and gently push the DSP-3 to seat
the connector.
3- Install the two #4-40 screws to secure the left side of the DSP-3 to the amplifier. These two long screws pass through the DSP-3 and
thread into the inserts on the DataPort (HD15) jack. (see below). Use a #1-size phillips driver; be sure not to overtighten.
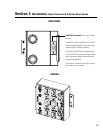
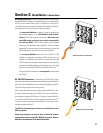
Be sure to secure the DSP-3 using all three mounting screws. The DSP-3’s “backside” DataPort connector can be
easily damaged if the DSP-3 is twisted and there are no supporting screws to properly secure it to the chassis.
4- Install the #8-32 screw (0.312 inch long) to secure the right side of the DSP-3 to the amplifier (see below).