


Before you start
01
8
En
• Do not use the AC adapter or AC adapter cord for any
other purpose than those specified below.
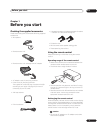
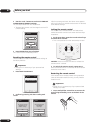
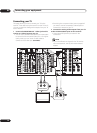
1 Connect the AC adapter cord then connect the
adapter to the recharger and plug it into an AC
outlet.
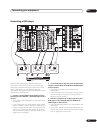
2 Place the remote control on the recharger,
aligning the indent on the bottom of the remote
with the tabs on the recharger.
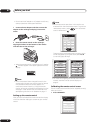
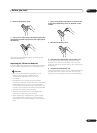
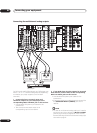
• When the remote control is recharging, you’ll see the
indicator appear in the upper right corner of the
display:
Note
• If the remote hasn’t been charged for awhile, the
remote control display may remain blank for several
minutes before the touch screen appears. If it
continues to remain blank, try lifting the remote
control up from the recharger and reseating it on the
recharger. If after several tries, this does not work,
see Replacing the lithium-ion batteries on page 11.
Setting up the remote control
After you have calibrated the screen and set the display
clock, use the other settings to customize your remote
control.
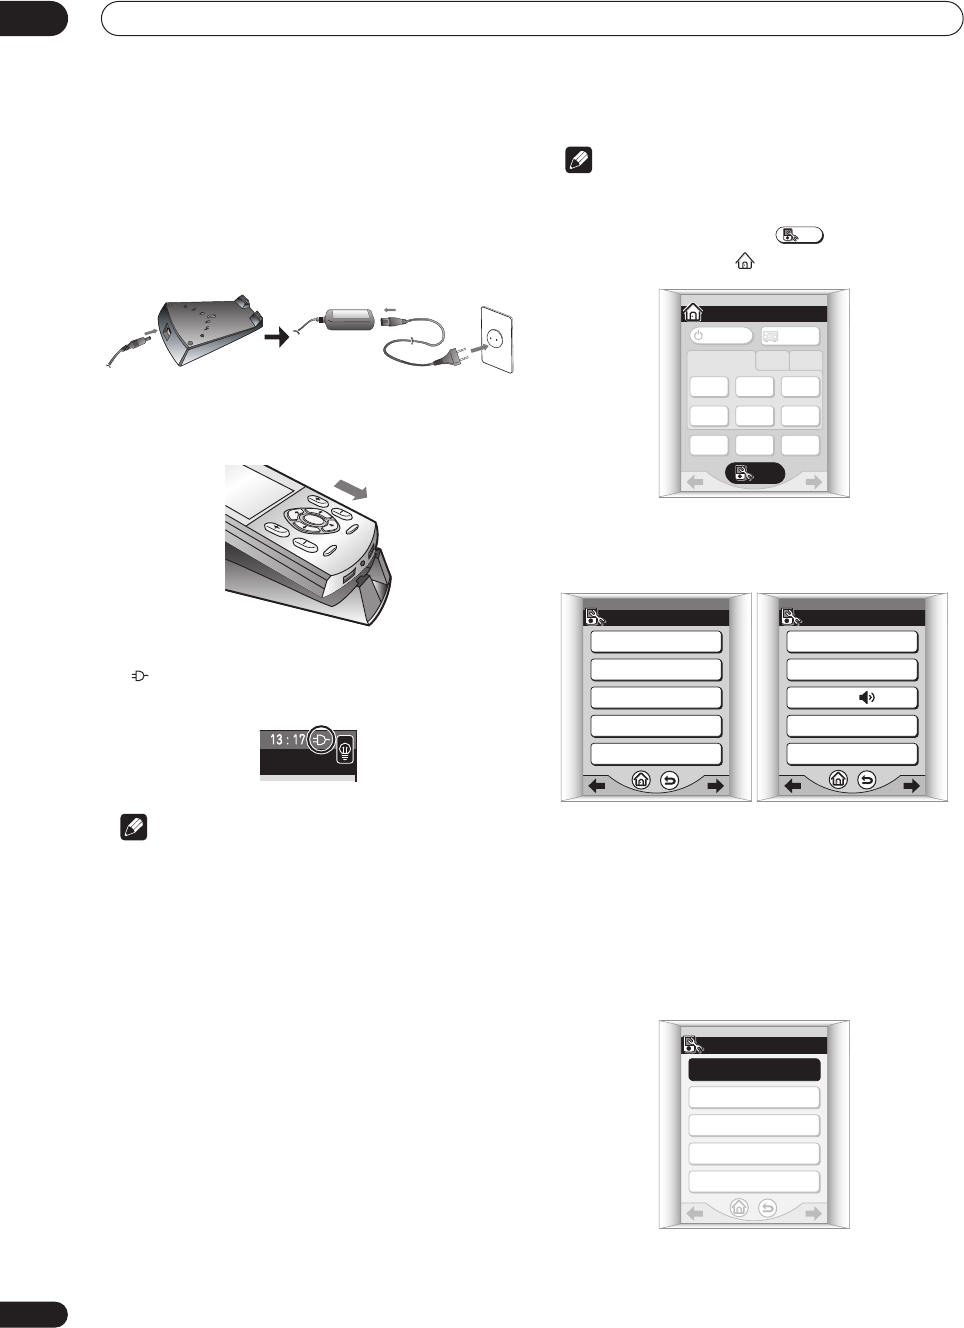
Note
• The remote control operations in this section are
accessed from the remote setup menu. To go to the
remote setup menu, press from the remote
control Home menu ( ):
There are three remote setup menu screens, which
can be navigated by using the touch panel /
(cursor left/right) soft keys:
• For more on navigating the remote control menu
screens, see Basic remote control displays on
page 31.
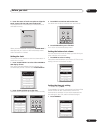
Calibrating the remote control screen
This will make sure the remote control responds correctly
when you touch it.
1 Press CALIBRATE.
SETUP
HOME
1/3
SYSTEM
OFF
TV
CONT
MULTI
OPERATION
TV
/ DVD
DVR
/ LD
DVR
/ VCR1
SAT
INPUT 1 2 3
CD TUNER
SETUP
RECEIVER
RECEIVER
1/3SETUP
CALIBRATE
PRESET RECALL
LEARNING
MULTI OPERATION
DIRECT FUNCTION
SETUP 2/3
CLOCK DISPLAY : AM/PM
CLOCK SETTING
BEEP :
TIMEOUT
KEY LABEL
SETUP 1/3
CALIBRATE
PRESET RECALL
LEARNING
MULTI OPERATION
DIRECT FUNCTION