


Adjusting initial settings
1
Initial settings lets you perform initial setup of
different settings for this unit.
Important
You can use the following functions only when
the remote control is set to DEQ mode.
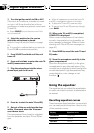
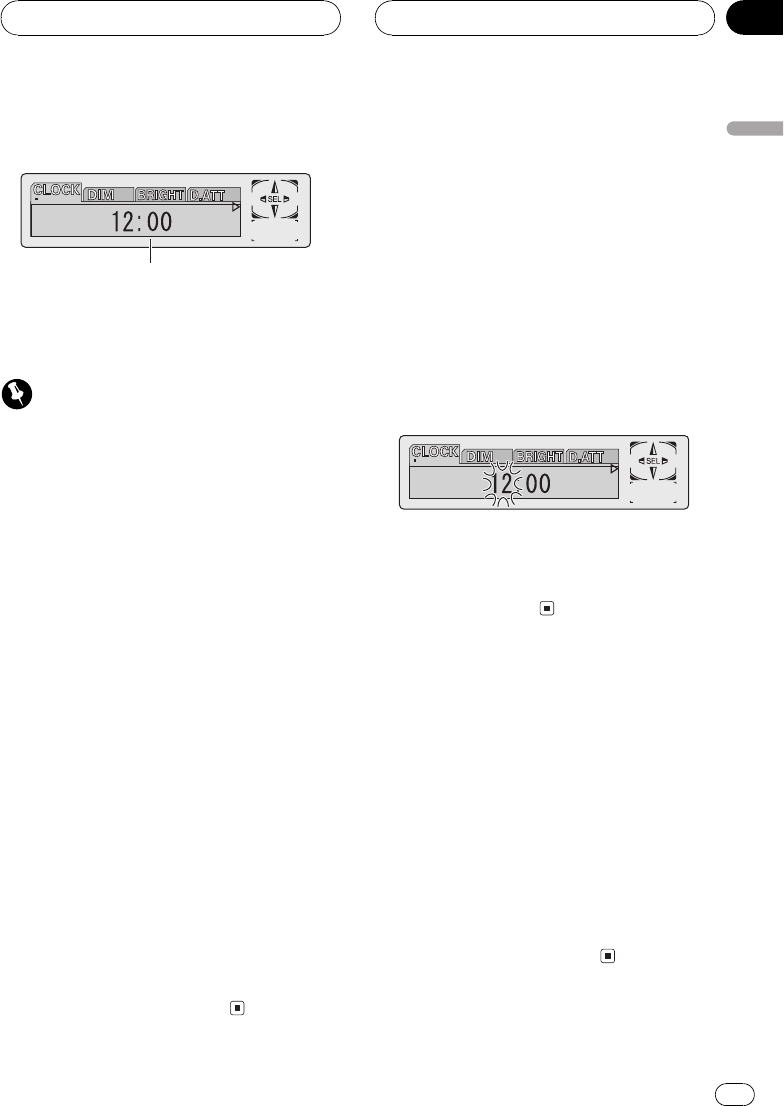
1 Function display
Shows the function status.
1 Press SOURCE and hold until the unit
turns off.
2 Press o and hold until the clock ap-
pears in the display.
3 Press o to select one of the initial set-
tings.
Press o repeatedly to switch between the
following settings:
ClockDimmer (dimmer)Brightness
(brightness)Digital ATT (digital attenuation)
Telephone (telephone muting/attenuation)
AUX (auxiliary setting)Digital1 (digital
source 1)Digital2 (digital source 2)
Analog1 (analog source 1)Analog2 (ana-
log source 2)Analog3 (analog source 3)
Analog4 (analog source 4)Analog5 (ana-
log source 5)Analog6 (analog source 6)
Audio Reset (audio reset)
# To cancel initial settings, press BAND.
# You can also cancel initial settings by holding
down o until the unit turns off.
Setting the clock
Use these instructions to set the clock.
1 Press o to select clock.
Press o repeatedly until clock appears in
the display.
2 Press m or n to select the segment
of the clock display you wish to set.
Pressing m or n will select one segment
of the clock display:
HourMinute
As you select segments of the clock display
the segment selected will blink.
3 Press q or r to set the clock.
Pressing r will increase the selected hour or
minute. Pressing q will decrease the se-
lected hour or minute.
Switching the dimmer setting
To prevent the display from being too bright at
night, the display is automatically dimmed
when the cars headlights are turned on. You
can turn the dimmer on or off.
1 Press o to select Dimmer.
Press o repeatedly until Dimmer appears in
the display.
2 Press r to turn dimmer on.
Dimmer :ON appears in the display.
# To turn dimmer off, press q.
Initial Settings
En
33
English
Section
08