


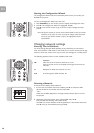
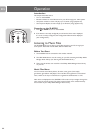

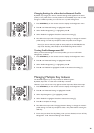
Edit Device Name
<Name>
Change
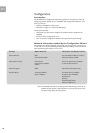
Device Status
Device Name
Firmware Version
Bootloader Version
Hardware Version
SSID
Network Type
Encryption
Wireless Signal Strength
Wireless Channel
MAC Address
DHCP
IP Address
Subnet Mask
Gateway IP
DNS Server Preferred
DNS Server Alternate
Proxy Server
Proxy Hostname
Proxy Port
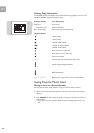
Advanced Settings
Profile Management [ ]
Key Management [ ]
Edit Device Name
Proxy Server [ ]
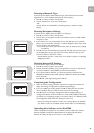
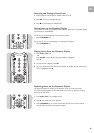
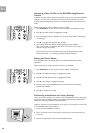
Select Profile
Profile 1
Profile 2
Profile 3
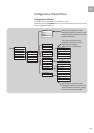
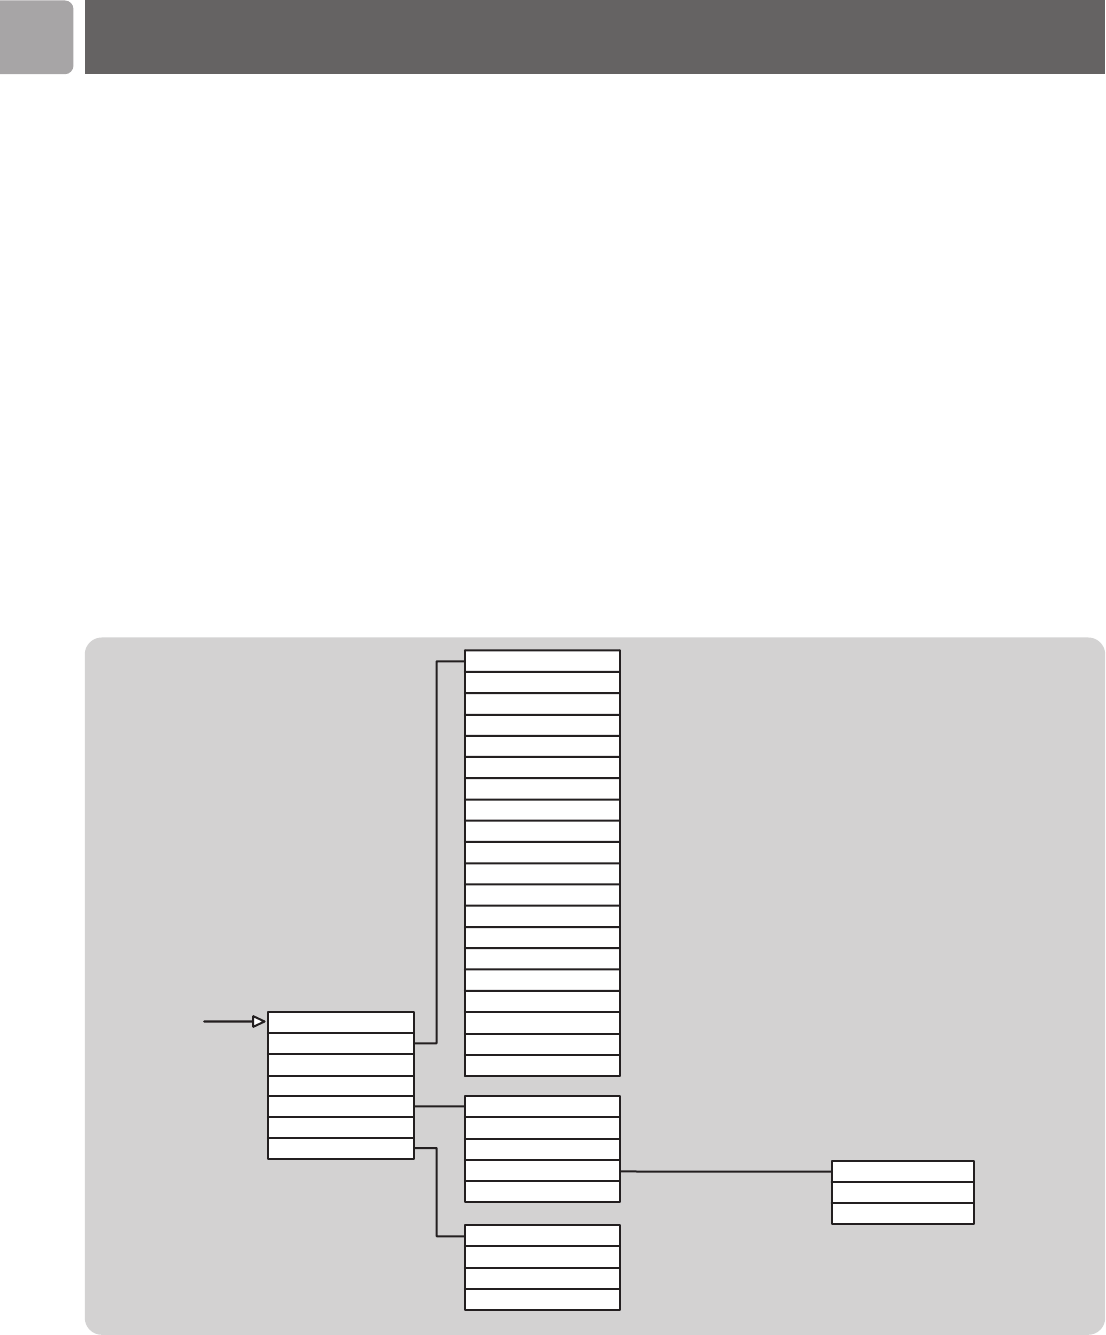
Configuration
Device Status
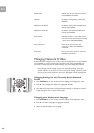
Configuration Wizard
Select Language
Advanced Settings
Configure Date/Time
Select Profile
EN
26
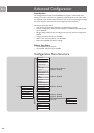
Advanced Configuration
Introduction
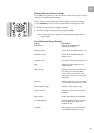
The Configuration functions on the SLA5500 are arranged in a hierarchical menu,
similar to the way in which files are organized in subdirectories on a PC. Menu items
are displayed on the Wireless Music Receiver’s LCD screen and you navigate through
the menu using the remote control. See ‘Configuration Menu Structure.
This chapter describes how to:
• View various network status settings for troubleshooting purposes.
•Use the Configuration Wizard to make changes to a network profile setting after
initial installation.
• Manage which profile you want to change when you next start the Configuration
Wizard.
• Change the device name of your SLA5500.
• Select a new network profile for your SLA5500
• Reset your SLA5500 to its factory settings.
Before You Start
• The SLA5500 must be turned on.
• The wireless network must be available.
Configuration Menu Structure
Infrastructure or Ad-Hoc
Enabled or Disabled
Enabled or Disabled
Enabled or Disabled
Enabled or Disabled
Enabled or Disabled
Yes or No