


Camera
50
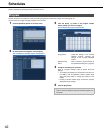
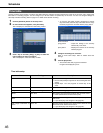
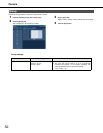
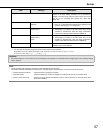
1 Click the [Camera] button on the setup menu.
2 Click the [NW camera] tab.
This will display the "NW camera setup" window.
3 Select the numbers of the cameras to switch in the pull
down menu for switching cameras.
• The 4-screen combinations are displayed as channels 1
to 4, 5 to 8, and so on up to 61 to 64. To change the
combination, change the sequence of the camera
channels.
• The settings are shared by the 4-screen live sequence
display.
4 Click the [Execute] button.
This changes the camera channel number.
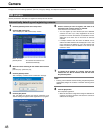
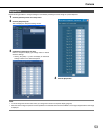
1 Click the [Camera] button on the setup menu.
2 Click the [NW camera] tab.
This will display the "NW camera setup" window.
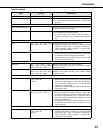
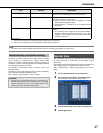
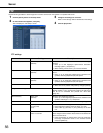
Button Functions
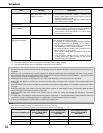
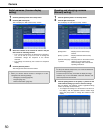
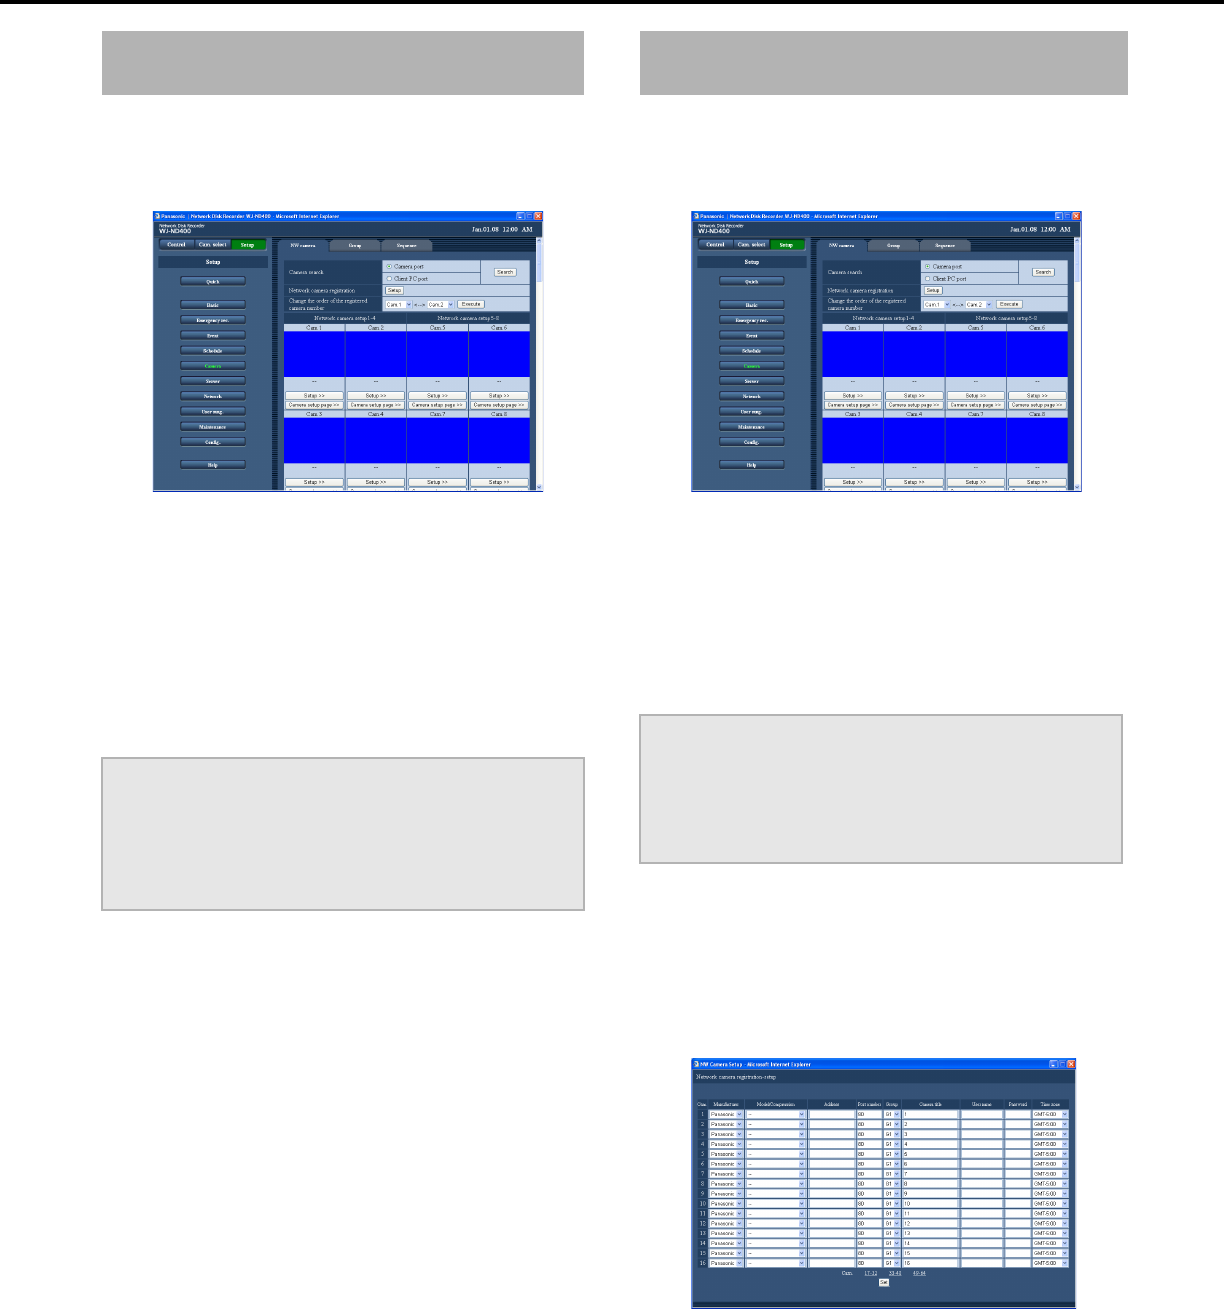
3 Click the [Setup] button or the [Setup >>] button for the
camera whose settings you want to check or change.
This will display the [Network camera registration-setup]
window. (The setup is shown below)
• To configure the settings of a camera that is not shown on
the display, click the applicable camera number range
above the [Set] button to change the contents of the
display.
Switch cameras (4-screen display
setting)
Important:
• When you camera channel number is changed, it is also
changed for the following settings.
⋅ "Emergency recording (page 34)"
⋅ "Program (page 42)"
⋅ "Network information (page 78)"
Checking and changing a camera
(Manually setting)
[Setup] button : Displays a list of camera setup
screens.
[Setup >>] button : Displays individual camera setup
screens.
[Camera setup page
>>] button
: The setup menu on the camera can be
called up. For information about
camera settings, refer to the camera
operating instructions.
Important:
• To call up the camera setup menus, "On" must be selected for
[Port forwarding] (page 61).
• A camera setup menu may not be able to display an image.
• Cameras may not be controllable unless the camera's user
name and password are entered.