61
Advanced Setup
—Continued
Note:
•To return to the previous menu, press the
[RETURN] button.
• These levels can also be adjusted by using
the [TEST TONE] button on the remote
controller. Press the [TEST TONE] button
to output the test tone. Use the [CH SEL]
button to select each speaker, and use the
Left and Right [ ]/[ ] buttons to adjust
the level.
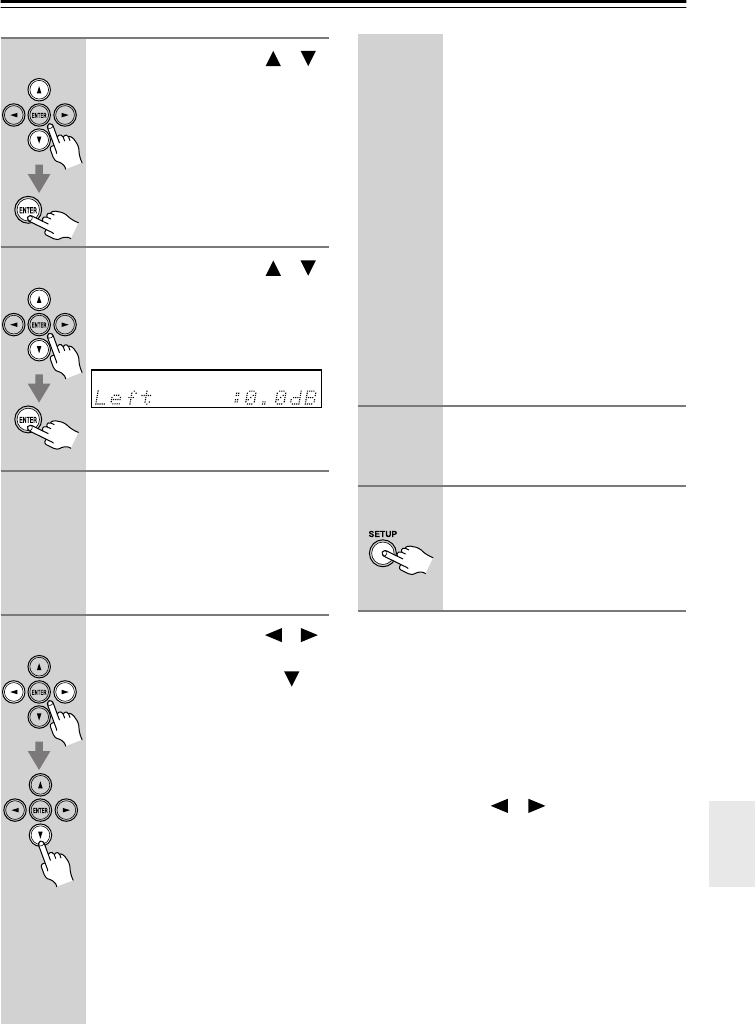
2
Use the Up and Down [ ]/[ ]
buttons to select “2. Speaker
Setup,” and then press
[ENTER].
3
Use the Up and Down [ ]/[ ]
buttons to select “Level Cal,”
and then press [ENTER].
A pink noise test tone is output
by the front left speaker.
4
Turn up the volume so that you
can hear the test tone suffi-
ciently.
The name of the speaker cur-
rently outputting the test tone is
shown on the display.
5
Use the Left and Right [ ]/[ ]
buttons to adjust the speaker
level, and use the Down [ ]
button to select the next
speaker.
The levels can be adjusted from
–12 to +12 dB in 1 dB steps
(–15 to +12 dB for the sub-
woofer).
You can adjust the levels for the
following speakers:
Left:
Front left speaker.
Center:
Center speaker.
Right
: Front right speaker.
Surr R:
Surround right
speaker.
Surr BkR:
Surround back right
speaker.
Surr BkL:
Surround back left
speaker.
Surr L:
Surround left
speaker.
Subwfr:
This subwoofer.
Notes:
• Speakers that you set to No or
None in the “Speaker Config-
uration” on page 56 cannot be
selected.
• When you play source mate-
rial that contains no informa-
tion in the LFE (Low
Frequency Effects) channel,
the subwoofer will produce no
sound.
6
Repeat step 5 so that the level
of the test tone coming from
each speaker is the same.
7
Press the [SETUP] button.
Setup closes.
Don’t forget to turn down the
volume if you turned it up while
setting the levels.


