


20
Digital recording/Analog recording
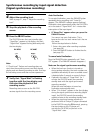
DUAL
DIGITAL
INPUT
ANDBYST
OFF
ON
STANDBY/ON
POWER
AUDIO
CD
RECORDER
DX
-
R
700
MEMORY CLEAR
REPEAT FINALIZE
STOP PLAYPAUSE
REC
PHONES LEVEL
MIN MAX
PHONES
YES
INPUTDISPLAY
EDIT/
NO
PUSH TO
ENTER
MULTI JOG
STANDBY/
ON OPEN
/
CLOSE
RANDOMMEMORY REPEAT
NAMEABC DEF
231
SCROLL
GHI MNOJ
K
L
456
CLEAR
DISPLAY
ENTER
PQRS TUV W
XYZ
10
/
0
>
10
789
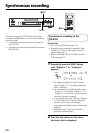
REC
o
REC
s
INPUT
oREC sPLAYEDIT/NO
q MULTI JOG w
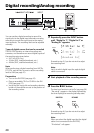
You can perform digital recording to record the
signal input to the digital input terminals or analog
recording to record the signal input to the analog
input terminals. The recording level can be adjusted
manually.
Types of digital source that can be recorded
The DX-R700 contains an internal sampling rate
converter, and therefore can record digital signals of
the sampling rates given below.
• 44.1 kHz (CDs, etc.)
• 32 kHz (DAT, satellite broadcasts, etc.)
• 48 kHz (DAT, satellite broadcasts, etc.)
Note:
When performing a digital recording from HDCDs,
DTS CDs, and the like, be sure to set the recording
level to 0 dB (see page 21).
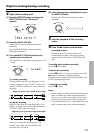
Preparation
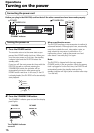
• Turn on the DX-R700 (see page 16).
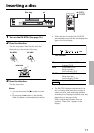
• Place a recordable CD-R or CD-RW in the DX-
R700 (see page 17).
• Verify that the input dial and recording selection
button of the amplifier are set to the position of
the recording source.
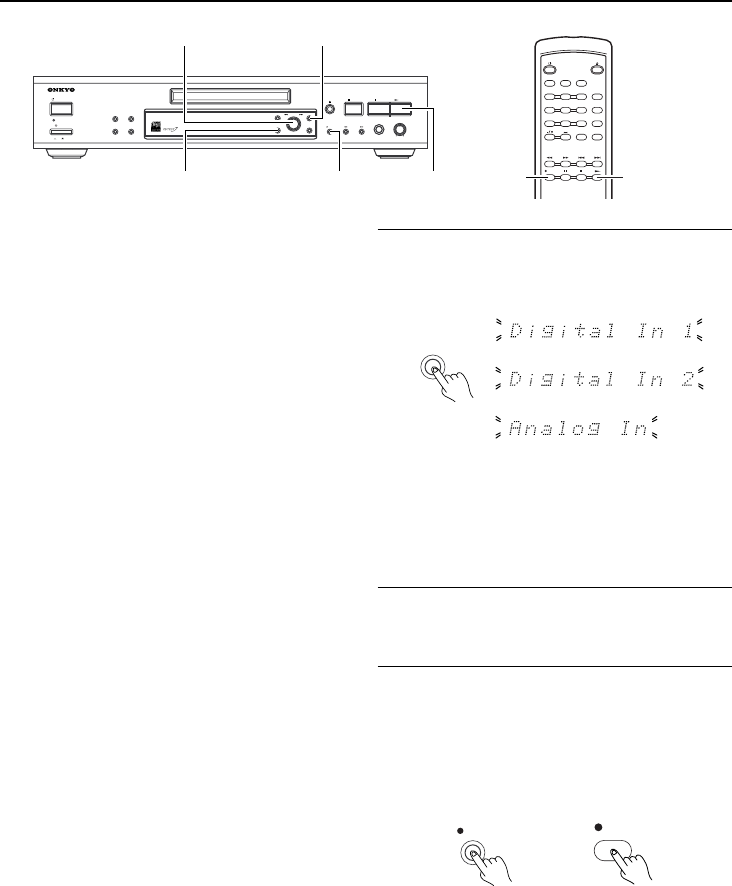
INPUT
or
Proceed to step 6 if you do not wish to adjust
the recording level.
Note:
When you select the digital input but the digital
cable is not connected to the DX-R700,
“D.InUnlock” will appear.
REC
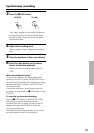
REC
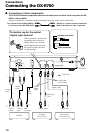
DX-R700 RC-448C
Proceed to step 3 if you do not wish to adjust
the recording level
Note:
Verify to which digital input the optical digital
cable is connected.
1 Repeatedly press the INPUT button
until “Digital In 1”, “Digital In 2” or
“Analog In” appears.
2 Start playback of the recording source.
3 Press the o REC button.
The level sync function is set to On (see page 26).
“Rec setup” appears in the display followed by
the time display (the recording standby state).
or