


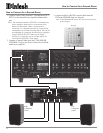
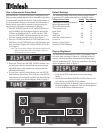
19
The McIntosh C2200 Tube Preamplifier has been factory
configured for operating settings that allow immediate en-
joyment of superb high fidelity audio without the need for
further adjustments. If you wish to make changes to the fac-
tory default settings, refer to the SETUP Section of this
Owner’s Manual.
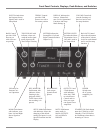
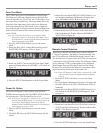
Power On and Off
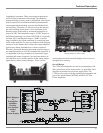
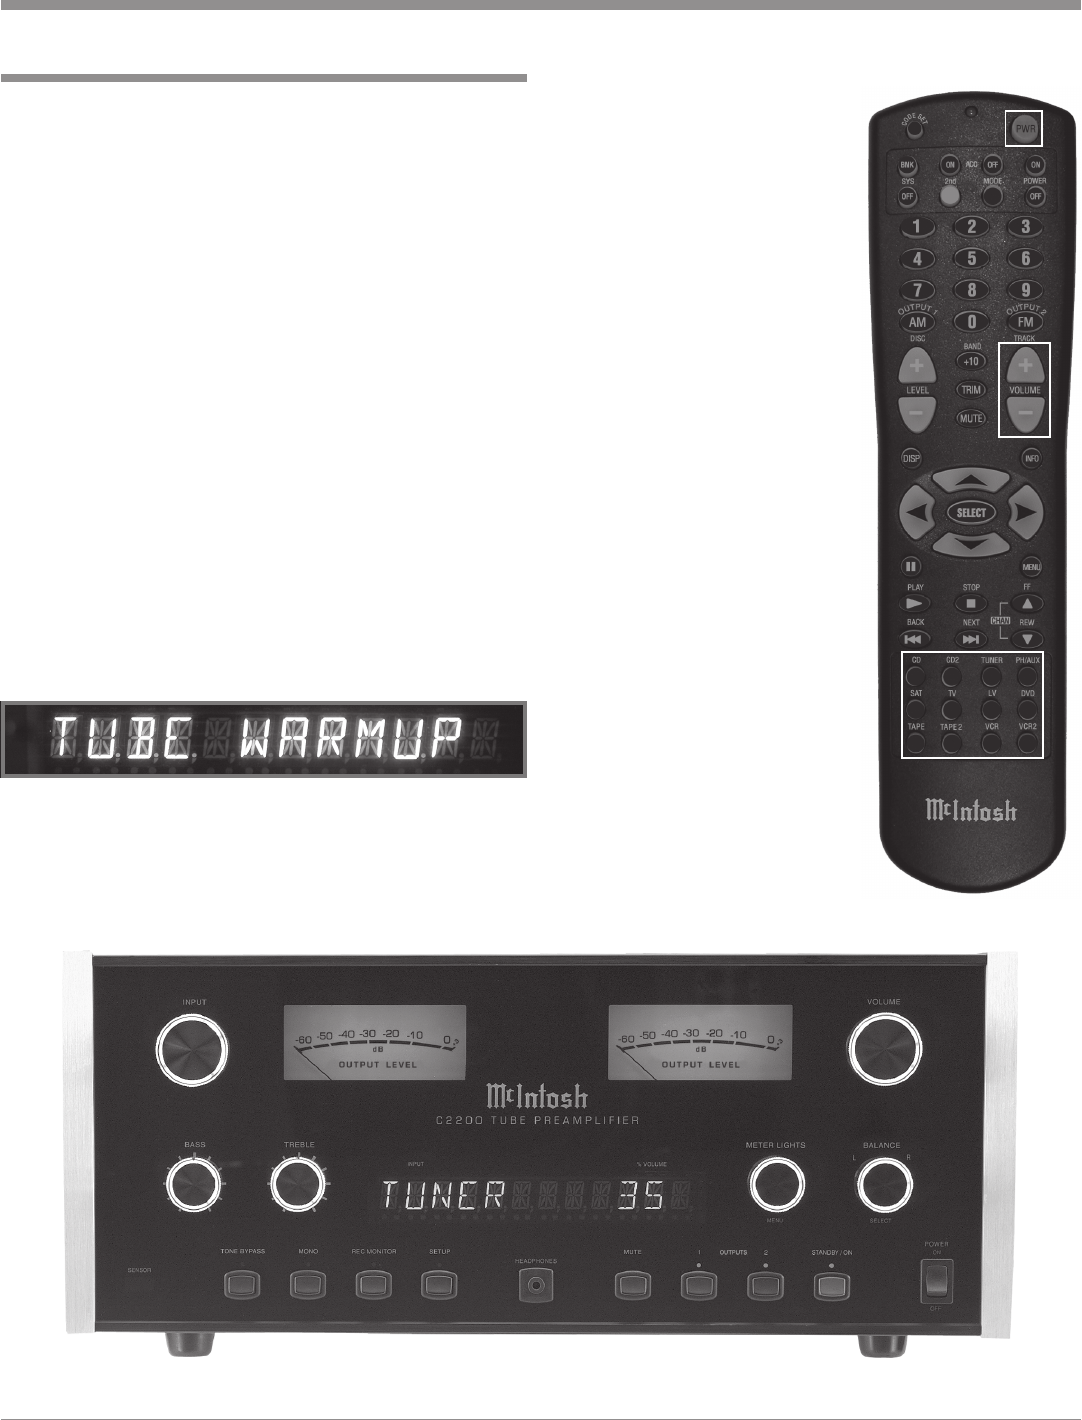
Press the POWER switch to ON, the Red LED above the
STANDBY/ON Push-button lights to indicate the C2200 is
in Standby Mode. To Switch On the C2200 press the
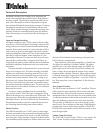
STANDBY/ON Push-button. The title TUBE WARMUP
will appear on the Front Panel Alphanumeric Display after
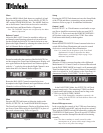
Turn-On, with the Audio Outputs muted. Refer to figures
24, 25 and 26.
Notes: For normal operation, switch the C2200 On and Off
with the Standby/On Push-button. You may also turn
On the C2200 by simply pressing the Power Push-
button on the Remote Control. If the Preamplifier is
not going to be used for an extended period of time,
turn Off all AC Power with the Power Switch.
The amount of time the Front Panel Alphanumeric
Display indicates TUBE WARMUP is dependant
upon the temperature of the Tubes inside the C2200.
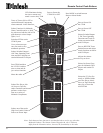
Input Source Selection
Select the desired Source with the INPUT Control or the
Source Push-button on the Remote Control.
How to Operate the C2200
Volume Control
Adjust the VOLUME Control or
the UpS /DownT Push-buttons
on the Remote Control for the
desired listening level.
Record Monitor
Press the REC MONITOR Push-
button to hear the TAPE/REC
Playback Signal during the re-
cording process.
Tone Bypass
Press the TONE BYPASS Push-
button to totally Bypass the Tone
Control Circuitry, providing a
flat frequency response. If the
AUTOTONE circuit is set to the
On position in Setup Mode, the
C2200 will remember for each
input whether the Tone Bypass is
active.
Bass and Treble Controls
Adjust the BASS and TREBLE
controls to suit your listening
preferences. The Bass or Treble
intensity can be increased with
clockwise rotation and decreased
with counterclockwise rotation.
Figure 25
Figure 24
How to Operate the C2200
Figure 26