21
Chapter 5: Connecting the Wireless-B Media Link for Music to Your Audio System
Connecting the Media Link to Your Network
Wireless-B Media Link for Music
Connecting the Media Link to Your Network
1. If the Media Link will be part of your wireless network, go to step 2.
If the Media Link will be part of your wired network, then connect the Ethernet network cable from the Media
Link’s Ethernet port to an Ethernet port on your PC or a wired network device, such as a router or switch.
If you have connected the Media Link to your PC, then move the Media Link’s crossover (X-II) switch to the
Crossover (X) position.
If you have connected the Media LInk to your router or switch, then move the crossover (X-II) switch to the
Parallel (II) position.
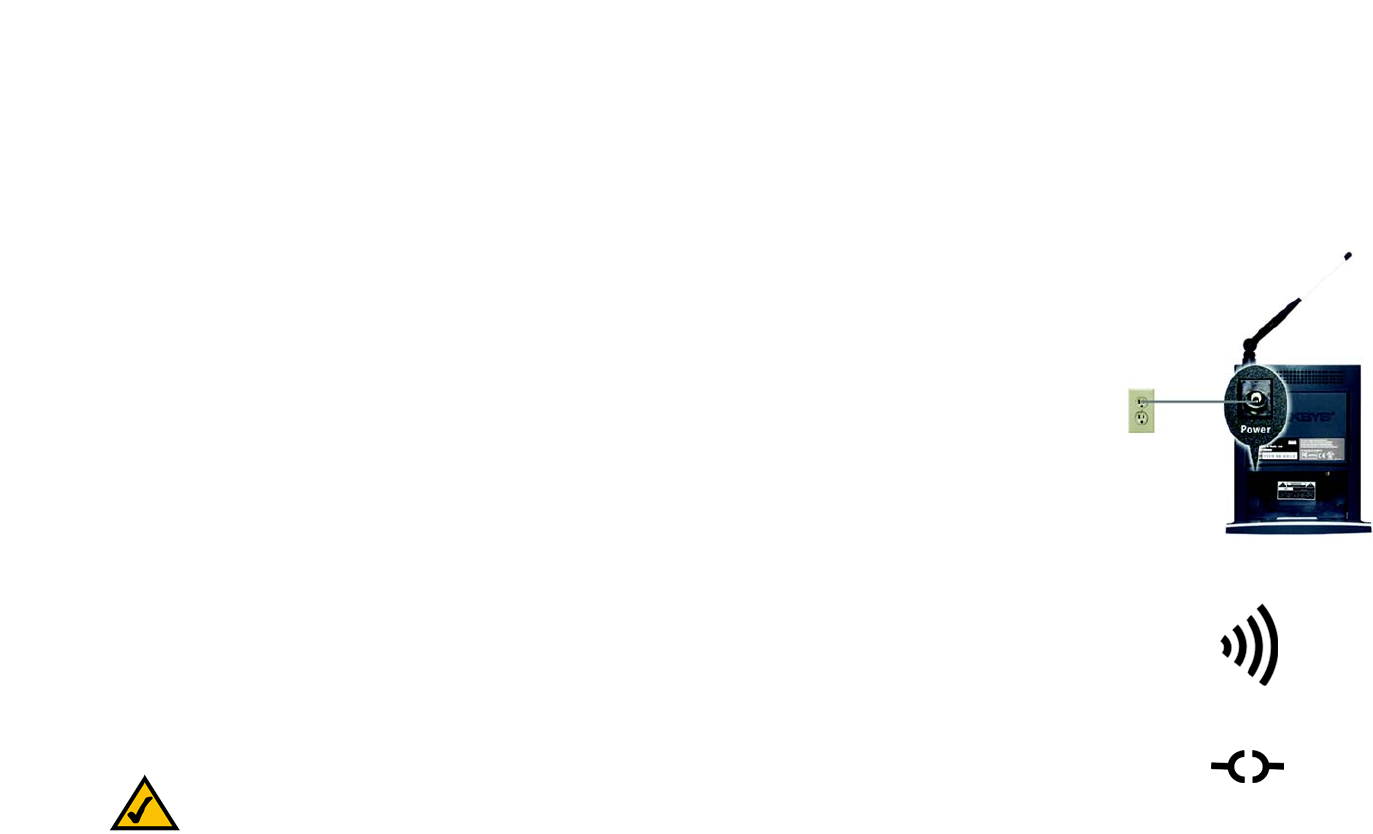
2. Plug the power adapter into the Media Link’s Power port, and plug the other end into an electrical outlet.
3. If you haven’t already done so, insert the included AAA batteries into the Remote Controller.
4. If you did not run the Setup Wizard, then proceed to the “Using the LCD Menus to Set up the Media LInk”
section.
If you used the Setup Wizard, then the Media Link will automatically find the computer running the Media
Server software, Musicmatch Jukebox.
5. If the Media Link connects to your wireless network, the Wireless Network icon will appear on the LCD
screen.
If the Media Link connects to your wired network, the Wired Network icon will appear on the LCD screen.
6. Use the arrow and Select buttons on the remote to select music tracks.
If you have already set up the Media Link using the Setup Wizard, then proceed to “Chapter 6: Using the
LCD Menus of the Wireless-B Media Link for Music.”
Figure 5-10: Wireless Network Icon
Figure 5-11: Wired Network Icon
NOTE: To navigate the menus of the LCD screen, use the directional arrows on the remote or the
Media Link’s front panel. Press the Select or right arrow button to make a selection. Press the right
arrow button to save any changes. Press the Menu button to access the main menu at any time.
Figure 5-9: Connect the Power


