10
Chapter 4: Setting up the Wireless-B Media Link for Music
Overview
Wireless-B Media Link for Music
Chapter 4: Setting up the Wireless-B Media Link for Music
Overview
This chapter will describe how to set up the Media Link using the Wireless-B Media Link for Music Setup Wizard.
Linksys recommends using the Setup Wizard, which will guide you through the configuration procedure.
However, if you want to set up the Media Link using the front panel LCD screen (without a wired connection to a
computer), refer to “Chapter 5: Connecting the Wireless-B Media Link for Music to Your Audio System.”
Before setting up the Media Link, decide whether the Media Link will be connected to your wireless or wired
network AFTER you have configured it. For more information, refer to “Appendix C: Planning Your Use of the
Wireless-B Media Link for Music.”
When you run the Setup Wizard, you will be asked to install the Media Server software on your PC. You must
install this software so your PC can send music to the stereo via the Media Link.
Running the Setup Wizard
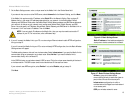
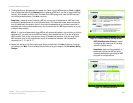
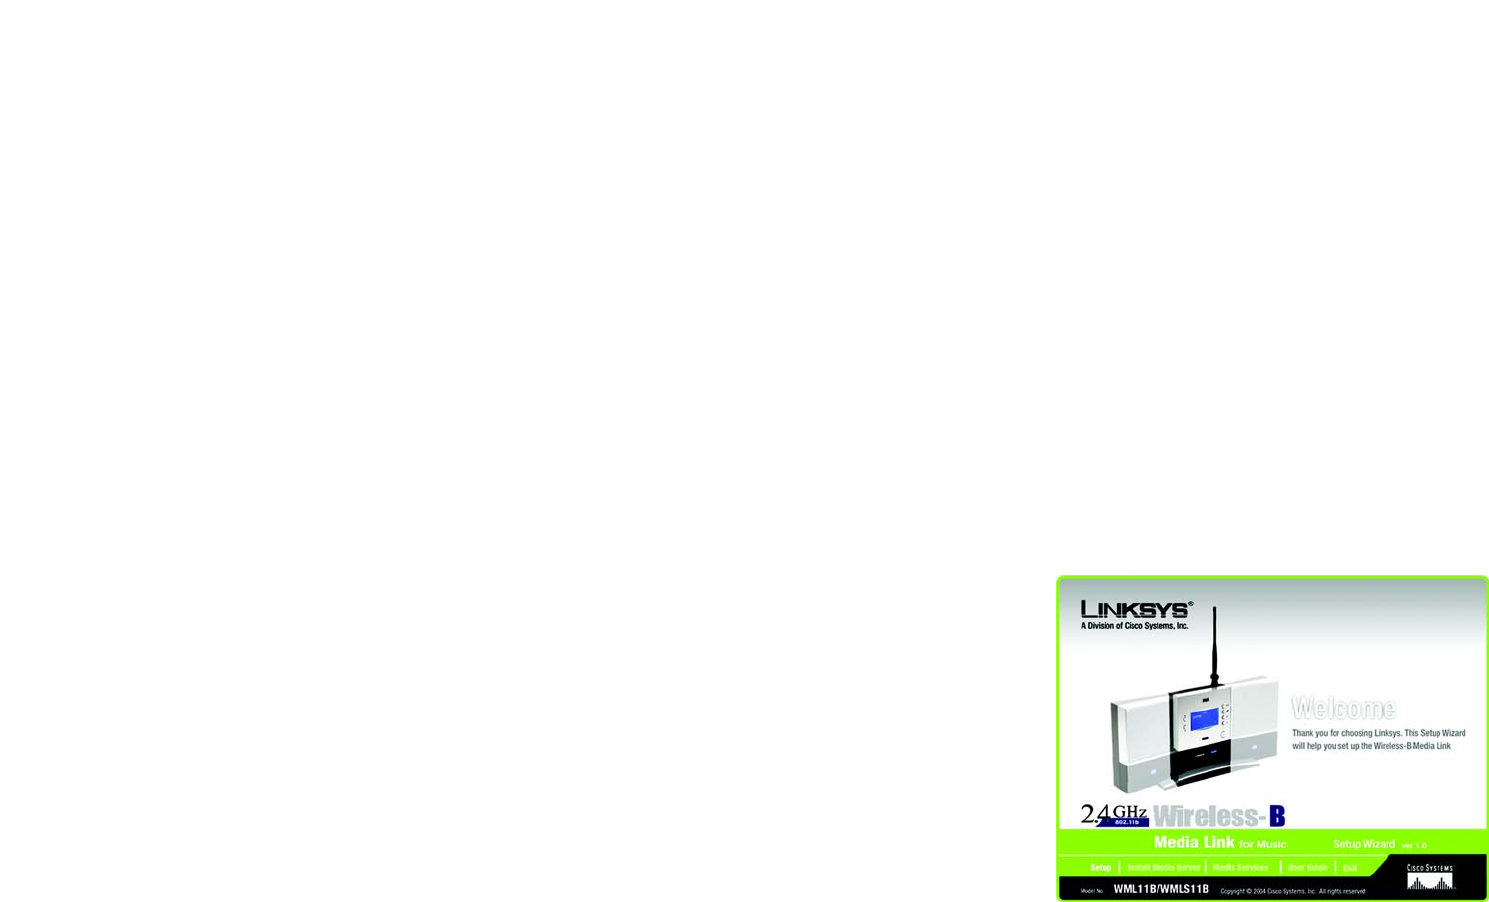
1. Insert the Setup CD-ROM into your PC’s CD-ROM drive. The Setup Wizard should run automatically, and the
Welcome screen should appear. If it does not, click the Start button and choose Run. In the field that appears,
enter D:\setup.exe (where “D” is the letter of your CD-ROM drive).
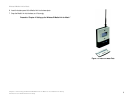
• Setup - Click the Setup button to begin the installation process.
• Install Media Server- Click the Install Media Server button to install the Media Server on your PC. (You
will also be asked to install the Media Server at the end of the Setup Wizard.)
• Media Services- Click the Media Services button to sign up for a free trial of the Rhapsody subscription
service or visit vTuner’s website for more information. (The Media Services screen also appears during
the Setup Wizard.)
• User Guide - Click the User Guide button to open the PDF file of this User Guide.
• Exit - Click the Exit button to exit the Setup Wizard.
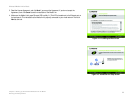
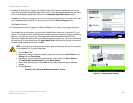
2. To install the Media Link, click the Setup button on the Welcome screen.
Figure 4-1: Welcome Screen


