


A-Chain Alignment Procedures
Step
No.
4-2
IndicationAction
a. Preliminary Procedures
1
2
3
A-Chain Alignment Procedures
Notes
4-3
a. Preliminary Procedures
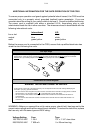
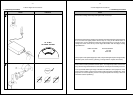
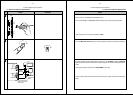
Inspect the lateral film guides for evidence of cuts, cracks, surface defects, and any
foreign materials that could impair the film guiding. Clean as required or replace the
guides, as necessary. Make sure the guide roller rotates freely and, if it is spring mounted,
make sure that lateral movement and return is not obstructed. If the roller has a felt or
rubber insert, check for a flat spot, replace the roller if need be.
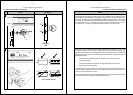
Clean the lens surfaces with a cotton swab moistened with lens cleaner. But keep in mind
that you may find in Step 14 under “b. Optical Preamplifier Adjustment” that it will be
necessary to remove and inspect the lens if the high-frequency response is not correct.
If the lens is removed, clean the lens as indicated above and look through the lens at a
bright light. Repeated alternate heating and cooling of the lens can cause oil or other
contaminants to enter the lens barrel. Verify that there is a clear, unobstructed light path
through the lens and that the edges of the slit are sharp without cracks or corrosion. Fit
a new lens assembly if you are unable to clear the optical path through the slit.
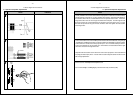
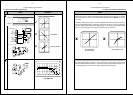
If a stereo solar cell is already installed on Projector No. 1, inspect the surface of the cell
for cracks, chipping, or other damage. If the cell appears to require replacement, remove
the mounting bracket from the projector and replace the cell and mounting block
assembly. If the cell appears to be usable, either loosen the cell mounting bracket and
swing the cell out of the light path or, if this cannot be done, remove the mounting bracket
and cell mounting block assembly from the projector and set aside.