


The speaker connection and polarity are detected at the first
measurement position. The following attributes are also determined
at this time: “Speaker Size”, “Speaker Distance”, “Channel Level”,
“Crossover Frequency”.
Once the measurements are completed, the results are displayed.
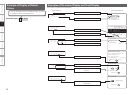
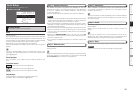
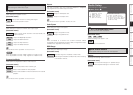
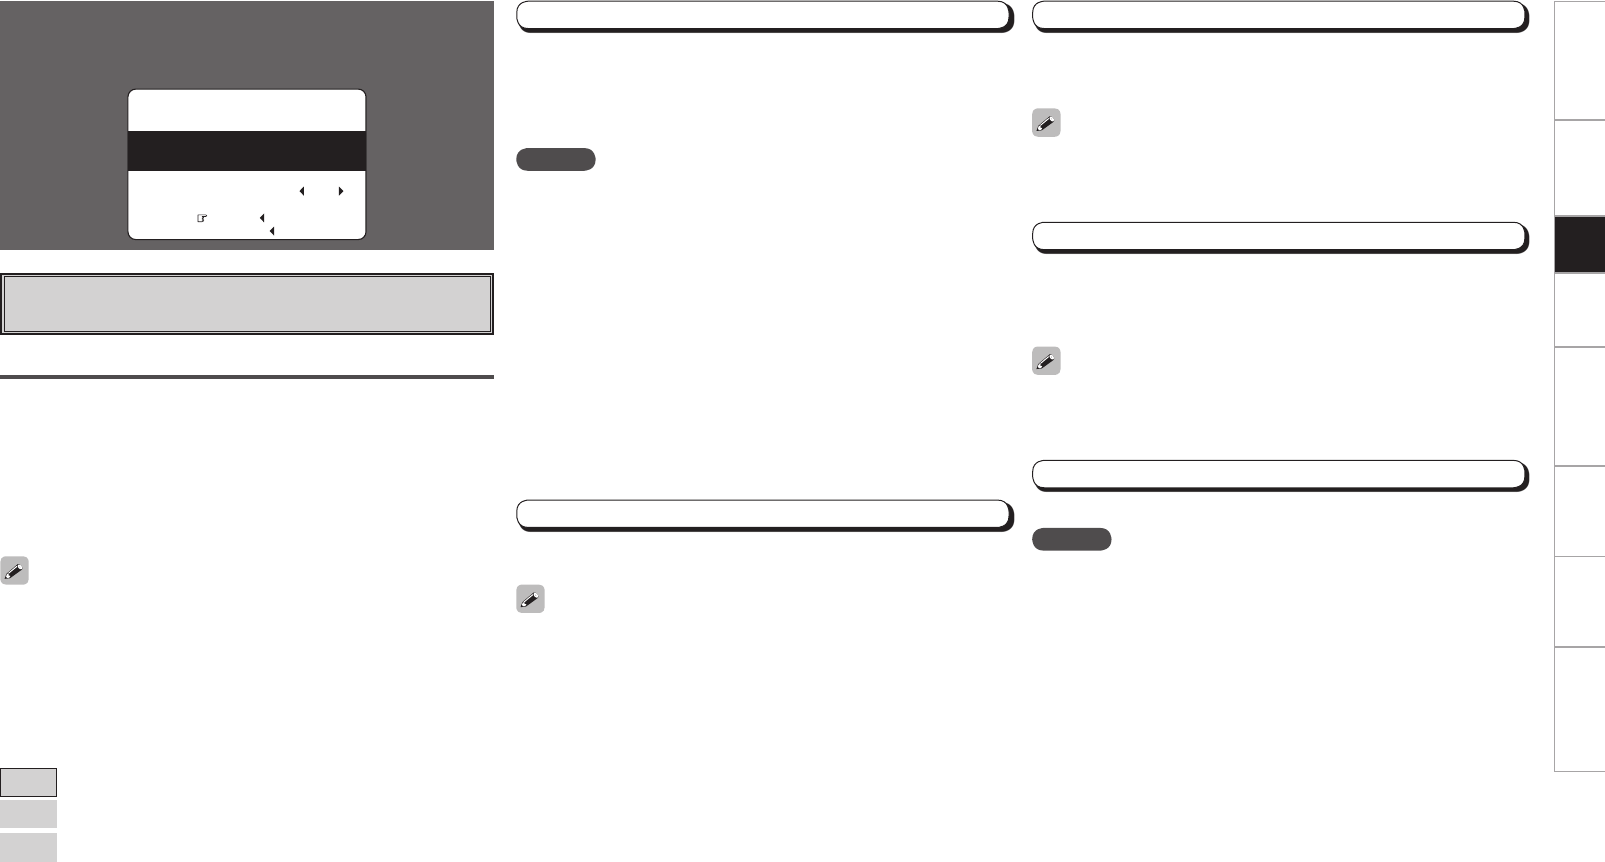
Step 1 : Speaker Detection
Auto Setup
Optimize settings for speakers in use.
F Menu screen F
1-1.Start Menu
Step1:Speaker Detection
at ear height at
Front Sp. A
Amp Assign
Start
Cancel
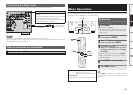
Please place microphone
main listening position.
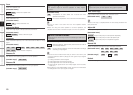
Audyssey
MultEQ XT
Start
Start Auto Setup.
The Audyssey MultEQ XT Auto Setup process automatically calculates
the size, level, distance, bass management crossover frequency, and
optimal settings for each speaker and subwoofer. Audyssey MultEQ
XT corrects acoustical distortions within the listening area.
Before starting, connect and position all your speakers.
Once started, MultEQ XT will play a series of test tones through each
speaker.
NOTE
• Loud test tone may be played during Audyssey MultEQ XT Automatic
Speaker Setup. This is part of normal operation. If there is background
noise in room, these test tones will increase in volume.
• Do not stand between the speakers and setup microphone or allow
obstacles in the path while the measurements are being made. This
will cause inaccurate readings.
• Quiet the listening environment before beginning measurements and
refrain from talking. Turn off air conditioning units or other devices
that emit noise if at all possible as measurements may be affected
by these sounds.
• Operating the MASTER VOLUME knob on the main unit or the VOL
+/– buttons on the remote control unit during the measurements will
cancel the measurements.
• Do not change the speaker connections or subwoofer volume after
“Step 1”.
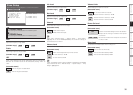
a Start Menu
The settings are performed automatically.
NOTE
Do not turn the power off while the settings are being stored.
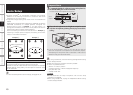
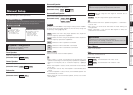
Step 2 : Measurement
After completing a measurement position, move the microphone to
the next position.
Measure at least 6 positions (main listening position and at least 5 other
surrounding positions). For best results it is recommend measuring 6
or more positions (with a maximum of 8 positions).
Step 3 : Calculation
When “Calculate” is selected at “Step 2”, the measurements taken
are analyzed automatically to determine how the speaker system
interacts with the room.
The time required for this analysis depends on the number of speakers
connected. The higher the number of speakers, the longer the time
required for analysis.
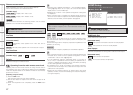
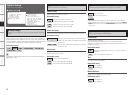
Step 4 : Check
Once the auto setup procedure is complete, a measuring result check
screen appears.
Select any item whose results you want to check to review the
results.
Values that are different from the actual distance may be set for
speakers with built-in filters (subwoofers, etc.). This is because filters
add electrical delay to the signal that should be compensated.
Step 5 : Store
The auto setup measurement results are stored in the AVR-2808CI.
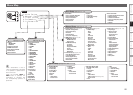
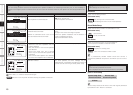
Front Speaker
The front speaker to be measured can be selected ahead of time
here.
[Selectable items]
A
: Output test tone from front speakers A.
B
: Output test tone from front speakers B.
A + B
: Output test tone from front speakers A and B.
Amp Assign
Advanced setting : changes power amplifier assignment.
For details, refer to “Amp Assign” (vpage 31).
If an error message appears during the measurements, check “Error
Messages”, take the advised action, then start the measurements
again (vpage 25).
Getting Started Connections Setup Playback Remote Control Multi-Zone Information Troubleshooting