


26
Before you begin enjoying your new receiver, a few adjustments should
be made to configure the AVR 144 to match your actual system.
Make sure that you have connected a video display to either the S-
video or composite video monitor output on the receiver.When you turn
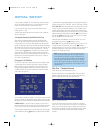
on your display and the AVR, you should see a blue screen. A message
may appear briefly at the bottom of the screen. This message is part of
the on-screen display system, and is referred to as the “semi-OSD”. The
semi-OSD is activated any time you send a command to the AVR, and
any time the AVR detects a change in the incoming signal. Semi-OSD
messages are overlaid on top of any video signal, so that you may con-
tinue to watch your program while making adjustments to the AVR.
Although it’s possible to configure the AVR using only the remote and
the semi-OSD messages, we recommend that you use the full-screen
menu system, known as the “full OSD”.
Using the On-Screen Menu System
The full OSD system is accessed by pressing the OSD Button on the
remote.While the full OSD system is in use, it isn’t possible to see any
video programming. In addition, an OSD ON message will appear on the
front panel of the receiver to remind you to use a video display.
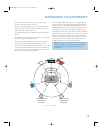
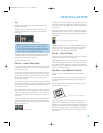
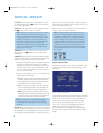
Figure 31 – Navigation Buttons
The Master Menu will always be displayed when you first press the OSD
Button. Use the
⁄
⁄
¤
Buttons on the remote to point the cursor to dif-
ferent lines in the menu. Press the Set Button on the remote to select a
line that has no setting to be adjusted, such as one of the submenus
listed in the Master Menu, or a line that returns you to a previous menu.
Within the submenus, after you have positioned the cursor at a particular
line item, you will need to use the
‹/› Buttons on the remote to
change a setting. See Figure 31. When the desired setting appears, use
the
⁄
⁄
¤
Buttons to navigate to another line item. Except for the TITLE
setting in the INPUT SETUP menu, there is no need to press the Set
Button after your desired setting appears.
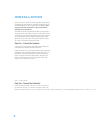
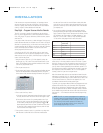
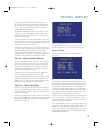
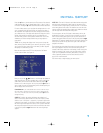
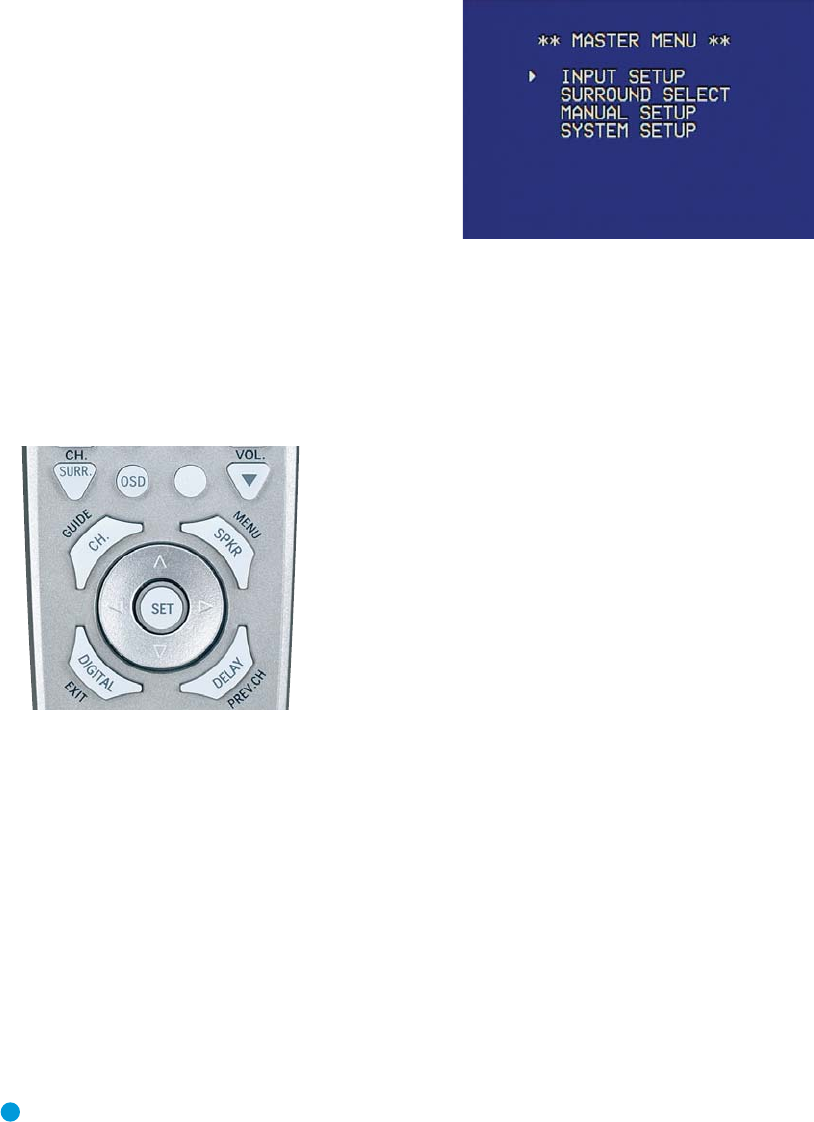
The Master Menu allows access to four submenus: Input Setup,
Surround Select, Manual Setup and System Setup. See Figure 32.
Figure 32 – Master Menu Screen
If you are an experienced home theater user, you may prefer to use the
menus in this order:
1. System Setup (described in Advanced Functions section)
2. Manual Setup (described here and in Advanced Functions)
3. Input Setup (described in this section)
4. Surround Select (see Advanced Functions section)
However, we recommend that most users follow the instructions in this
INITIAL SETUP section to configure a basic home theater system. You
may return to these menus at any time to make additional adjustments.
This section requires that you complete all of the steps in the Installation
section that apply to your receiver.You should have connected all of
your loudspeakers and a video display, as well as your source devices.
You should be able to turn on the receiver and view a blue screen on
your video display. If necessary, reread the Installation Section before
continuing.
Step One – Determine Speaker Size
The AVR 144 can’t detect how many speakers you’ve connected to it;
nor can it determine their capabilities. For this part of the system setup,
you will need to consult the owner’s guide for each of your speakers. If
you don’t have the guide, you may be able to obtain the speaker’s tech-
nical specifications from the manufacturer’s Web site, or by contacting
the manufacturer directly.
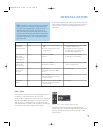
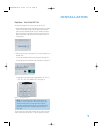
The specification you’re looking for is the frequency response, which is
usually given as a range, e.g., 100Hz – 20kHz (±3dB). This specifica-
tion tells you whether the speaker is able to play sounds that are very
high- or low-pitched, represented by the high and low frequencies. We
are concerned with the lowest frequency that each of your main speak-
ers is capable of playing, which is 100Hz in this example, a respectable
figure for a typical satellite speaker. Use the worksheets in the appendix
to note this number as the crossover for that speaker (not the same as
the crossover frequency listed in the speaker’s specifications).
INITIAL SETUP
HKP1482AVR144-om 9/7/06 3:11 PM Page 26