


35
OPERATION
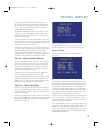
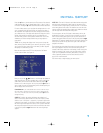
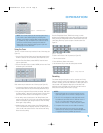
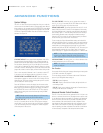
Figure 52 – 6-Channel Input Selector
NOTE: The 6-Channel Inputs pass the incoming signals directly
to the volume control, without digitizing or processing them.
Therefore, you will need to configure bass management settings
(i.e., speaker size, delay and output level) on your source device
so that they match the settings you programmed using the
Manual Setup menu. Consult the owner’s guide for your multi-
channel player for more information.
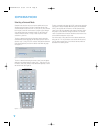
Using the Tuner
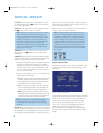
The AVR 144’s built-in tuner may be selected in one of three ways (see
Figure 53):
1. Press the Source Selector Button on the front panel repeatedly until
the tuner is selected. The last-used band (AM or FM) will be active.
2. Press the Tuner Band Button (marked AM/FM). Press this button
again to switch bands.
3. Press the Tuner Input Selector (marked AM/FM) on the remote. Press
this button again to switch bands.
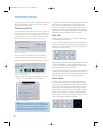
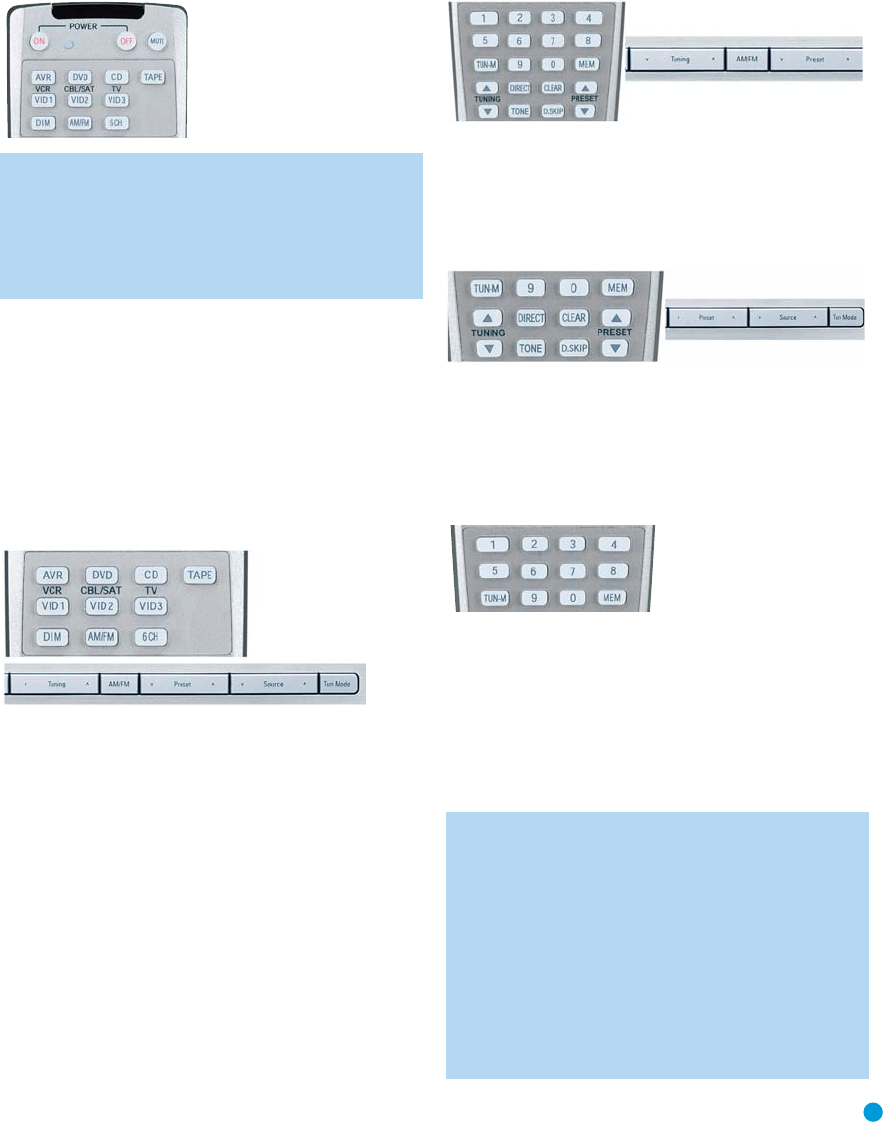
Figure 53 – Tuner Input Selection
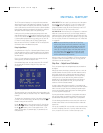
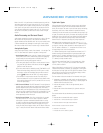
Radio stations may be selected in one of four ways (see Figure 54):
1. If you know the frequency number, enter it directly by first pressing
the Direct Button on the remote, and then using the Numeric Keys.
2.After you have programmed Preset stations (see below), either enter
the Preset number (1 through 30) using the remote or use the front-
panel Preset Stations Button to scroll through the list of presets.
3. In Auto tuning mode, with each press of the Tuning Buttons (front-
panel or remote) the AVR 144 will scan in the chosen direction until a
station with acceptable signal strength is detected. Press the Tuning
Button again to stop scanning.
4. In Manual tuning mode, with each press of the Tuning Buttons the
AVR 144 will tune the next frequency increment (0.1MHz for FM, or
10kHz for AM) in the selected direction. Press and hold the Tuning
Button for faster scanning.
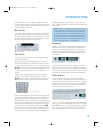
Figure 54 – Tuning a Station
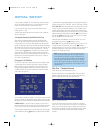
Press the Tuning Mode Button (TUN-M on the remote) to switch
between Auto and Manual tuning modes. When an FM station has been
tuned, pressing the Tuning Mode Button will switch between stereo and
mono tuning, which may improve reception of weaker stations. See
Figure 55.
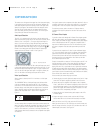
Figure 55 – Tuning Mode
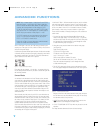
To store a station in one of the 30 presets (see Figure 56):
1. Tune the desired station.
2. Press the Memory Button on the remote.
3. Use the Numeric Keys to enter the desired preset number.
Figure 56 – Storing aPreset Station
Recording
Two-channel analog audio signals, as well as composite and S-video
signals, are normally available at the appropriate recording outputs. Thus,
to make a recording, you need only make sure to connect your audio or
video recorder to the appropriate output jacks, as described in the
Installation section, insert blank media and make sure the recorder is
turned on and recording while the source is playing.
NOTES:
1.Analog audio signals are not converted to digital form, and
digital audio signals are not converted to analog audio form.
2.The AVR 144 is not designed to make digital audio record-
ings. Make sure your source device is connected to one of
the AVR 144’s analog audio inputs, and connect your
recorder to either the Video 1 or Tape analog audio outputs.
3. Component video sources are not available for recording.
4. Please make certain that you are aware of any copyright
restrictions on any material you record. Unauthorized duplication
of copyrighted materials is prohibited by federal law.
HKP1482AVR144-om 9/7/06 3:12 PM Page 35