34
AUTO SETUP
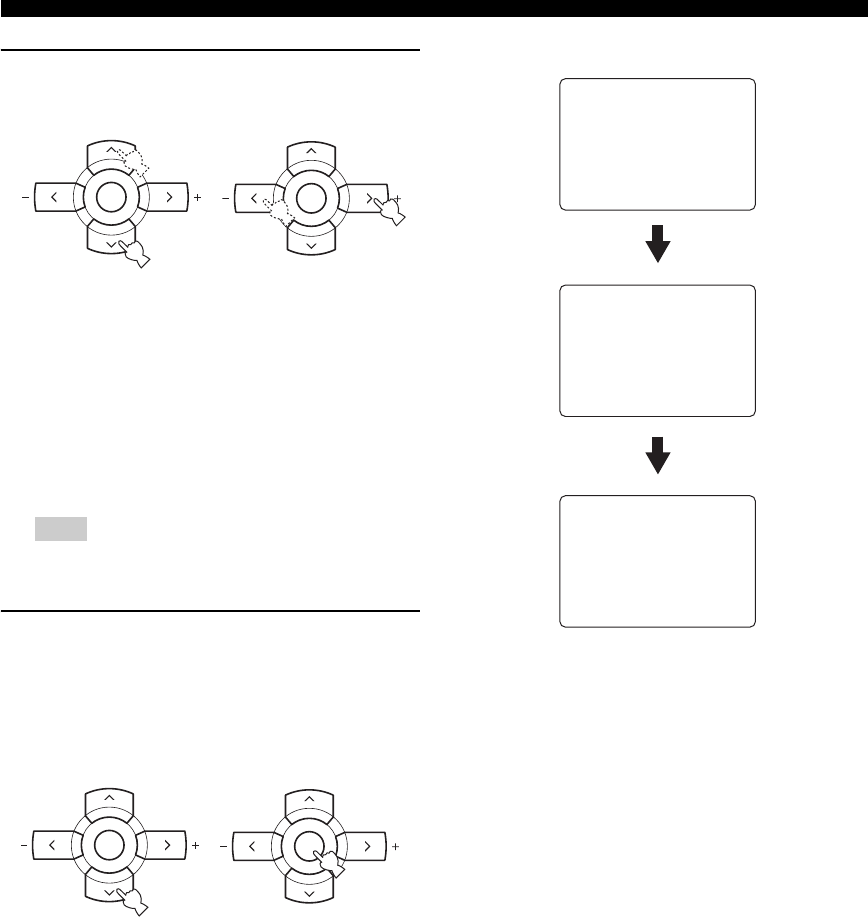
4 Press u / d to select “SETUP” and then
press j / i to select the desired setting.
Choices: AUTO, RELOAD, UNDO, DEFAULT
• Select “AUTO” to automatically run the entire
“AUTO SETUP” procedure.
• Select “RELOAD” to reload the last “AUTO
SETUP” settings and override the previous
settings.
• Select “UNDO” to undo the last “AUTO SETUP”
settings and restore the previous settings.
• Select “DEFAULT” to reset the “AUTO SETUP”
parameters to the initial factory settings.
“RELOAD” or “UNDO” is available only when you have
previously run “AUTO SETUP” and confirmed the results.
5 Press d to select “START” and then press
ENTER to start the setup procedure.
Loud test tones are output from each speaker and
“WAITING” appears in the OSD during the
“AUTO:CHECK” procedure. Once all items are set,
the “RESULT:EXIT” display appears in the OSD.
The display changes as follows.
The results displayed under “RESULT” are as
follows:
Number of speakers SP
Displays the number of speakers connected to this
unit in the following order:
Front/Back/Subwoofer
Speaker distance DIST
Displays the speaker distance from the listening
position in the following order:
Closest speaker distance/Farthest speaker distance
Speaker level LVL
Displays the speaker output level in the following
order:
Lowest speaker output level/Highest speaker output
level
Note
A-E/CAT. A-E/CAT.
ENTER
PRESET/CH
A-E/CAT. A-E/CAT.
ENTER
PRESET/CH
A-E/CAT. A-E/CAT.
ENTER
PRESET/CH
A-E/CAT. A-E/CAT.
ENTER
PRESET/CH
1
AUTO:MENU
SETUP;;;;;;;AUTO
.START
Automatic
processing
of all items
[]/[]:Up/Down
[<]/[>]:Select
p
p
RESULT:EXIT
. WARNING (3)
RESULT
. SP : 5/4/0.1
. DIST: 14.0/ 17.0ft
. LVL : -9.0/ +6.5dB
>SET CANCEL
[]/[]:Up/Down
[ENTER]:Enter
p
p
1
AUTO:CHECK
INITIALIZING
.WIRING
SIZE/DISTANCE
EQUALIZING
LEVEL
CHECK CH=CENTER
|||||;;;;;;;;
[]: Exit
p


