


AUTO SETUP
32
This unit employs the YPAO (YAMAHA Parametric Room Acoustic Optimizer) technology which lets you avoid
troublesome listening-based speaker setup and achieves highly accurate sound adjustments. The supplied optimizer
microphone collects and analyzes the sound your speakers produce in your actual listening environment.
YPAO performs the following checks and makes appropriate adjustments to give you the best possible sound from your
system.
Speaker wiring WIRING
Checks which speakers are connected and the polarity of each speaker.
Speaker distance DISTANCE
Checks the distance of each speaker from the listening position and adjusts the timing of each channel.
Speaker size SIZE
Checks the frequency response of each speaker and sets the appropriate low-frequency crossover for each channel.
Parametric equalizer EQ
Adjusts the frequency and the parametric equalizer level of each channel to reduce coloration across the channels and
create a cohesive sound field. This is particularly important if you use different brands of sizes of speakers for some
channels or have a room with unique sonic characteristics. In addition, the frequency response of each channel is adjusted
in accordance with the sound output from your front speakers.
Volume level LEVEL
Checks and adjusts the volume level of each speaker.
• Be advised that it is normal for loud test tones to be output during the “AUTO SETUP” procedure.
• If the “AUTO SETUP” procedure stops and an error or warning message appears on your video monitor, see the “AUTO SETUP”
section in “TROUBLESHOOTING” on page 112 for appropriate remedies.
• After you have completed the “AUTO SETUP” procedure, be sure to disconnect the optimizer microphone.
• The optimizer microphone is sensitive to heat. Keep it away from direct sunlight and do not place it on top of this unit.
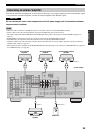
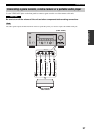
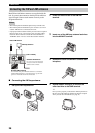
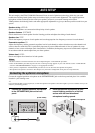
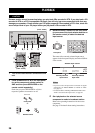
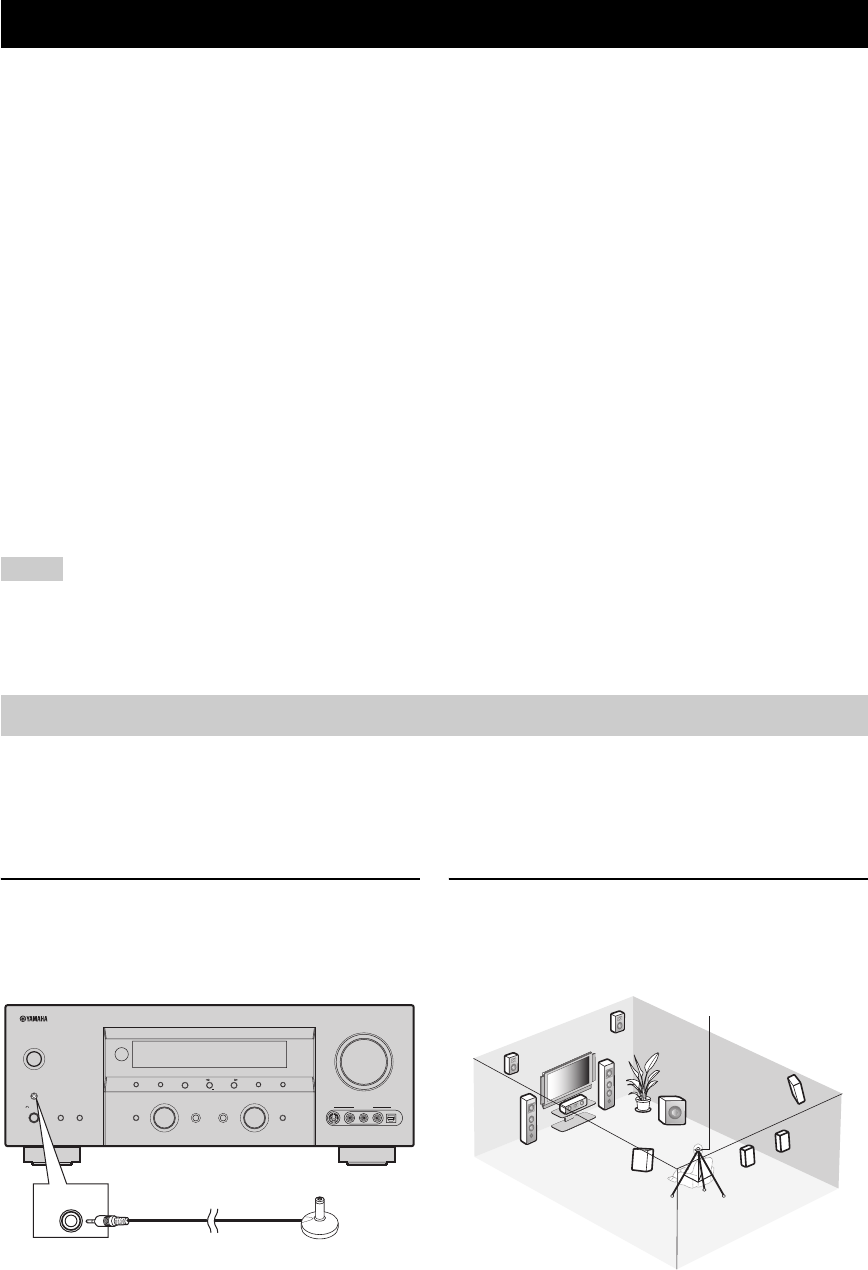
Connect the supplied optimizer microphone to the OPTIMIZER MIC jack on the front panel and place it in a suitable
location in your listening room.
y
It is recommended that you use a tripod (etc.) to affix the optimizer microphone at the same height as your ears would be when you are
seated in your listening position.
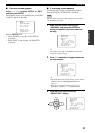
1 Connect the supplied optimizer microphone
to the OPTIMIZER MIC jack on the front
panel.
2 Place the optimizer microphone at your
normal listening position on a flat level
surface with the omni-directional
microphone heading upward.
AUTO SETUP
Notes
Connecting the optimizer microphone
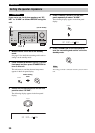
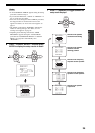
PURE DIRECT
PRESET/TUNING
EDIT
FM/AM
A/B/C/D/E
PRESET/TUNING/CH
INPUT MODE
TONE CONTROL
MULTI CH
INPUT
STRAIGHT
EFFECT
MEMORY
MAN'L/AUTO FM
LEVELNEXT
TUNING MODE
AUTO/MA N'L
VOLUME
PROGRAM INPUT
STANDBY
/ON
OPTIMIZER
MIC
PHONES
SILENT CINEMA
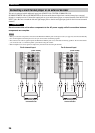
SPEAKERS
A B
OPTICALRAUDIOL
VIDEO
S VIDEO
+
SEARCH MODE
CATEGORY
DISPLAY
VIDEO AUX
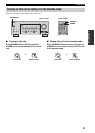
OPTIMIZER
MIC
(U.S.A. model)
Optimizer microphone