39
USING MULTIPLE FUNCTIONS
PLAYING A DISC
English
CONSUMERS SHOULD NOTE THAT NOT ALL
HIGH DEFINITION TELEVISION SETS ARE
FULLY COMPATIBLE WITH THIS PRODUCT
AND MAY CAUSE ARTIFACTS TO BE
DISPLAYED IN THE PICTURE. IN CASE OF 525
PROGRESSIVE SCAN PICTURE PROBLEMS, IT
IS RECOMMENDED THAT THE USER SWITCH
THE CONNECTION TO THE “STANDARD
DEFINITION” OUTPUT. IF THERE ARE
QUESTIONS REGARDING OUR VIDEO
MONITOR COMPATIBILITY WITH THIS MODEL
525P DVD PLAYER, PLEASE CONTACT OUR
CUSTOMER SERVICE CENTER.
This unit is compatible with YAMAHA digital cinema
projector DPX-1.
DVD-Audio features
DVD-A
■ To play a track on a specific
group
1 Press GROUP while pressing SHIFT.
The group and track icons appear on the video
monitor.
2 Press the cursor buttons (u, d) to select a
group number and press ENTER.
3 Press the cursor buttons (u, d) to select a
track number and press ENTER.
The selected track starts to play.
y
• You can also use the numeric buttons to select a group and a
track.
Notes
• If the screen shifts off center when using progressive output,
see “Adjusting the screen position” described below.
• When playing 4:3 aspect software with a 16:9 aspect wide-
screen monitor using progressive output, the picture may
appear horizontally stretched to fill the screen. In that case,
change the aspect to the correct one at your monitor. If the
monitor cannot change the aspect, it is recommended to turn
the progressive feature off. (The progressive output is switched
to the interlace output.)
• When the PROGRESSIVE function is working, video signals
are output only from the component video jacks.
■ Adjusting the screen position
(when using progressive output)
(U.S.A. and Canada models)
With some video monitors, the screen may shift off center
with progressive signals output from this unit. To adjust
the position, follow the method described below using the
remote control.
1 Press d to pause play.
2 Follow the step 1 on “Operating menu bar”
on page 34 to show the video menu.
3 Press i to select the rightmost icon ( ).
4 Adjust the position.
To move to the left, press the numeric button 1.
To move to the right, press the numeric button 3.
• Pressing the numeric button 2 after pressing 1 or 3
sets the screen back to the original position.
• You can check whether the picture is in the center
or not by switching to normal output (press
PROGRESSIVE so the indicator turns off).
5 Save the adjusted position.
First press a and then press SETUP to show setup
menu. Then press SETUP once again (or RETURN)
and now the position is saved.
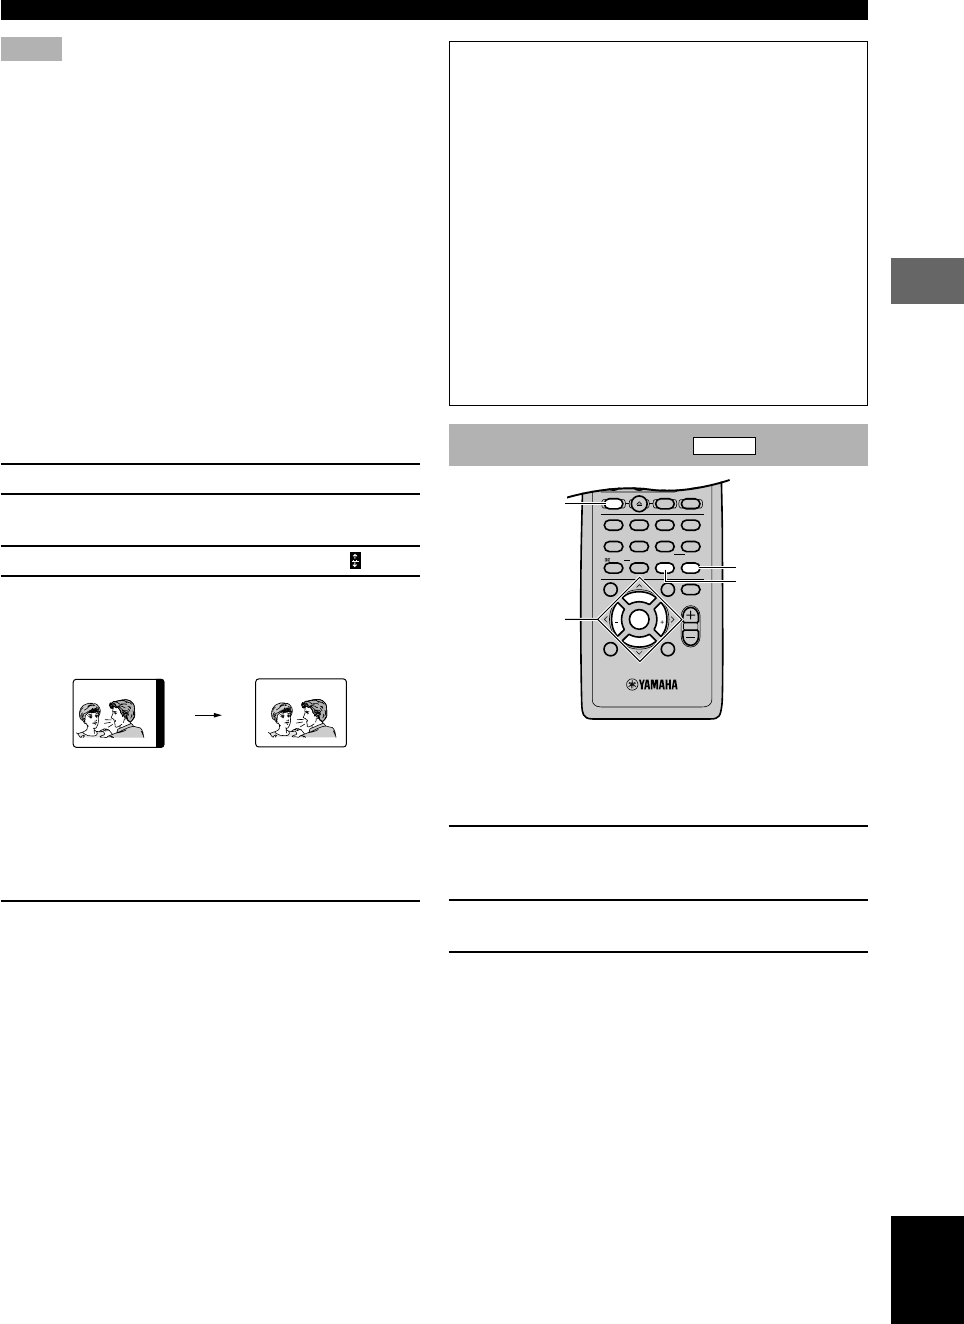
Press 3 to move to the right.
Example:
VIDEO 1
SHIFT
CODE SET
1
HALL
2
JAZZ
SETUP
3
ROCK
ANGLE
4
ENTERTAINMENT
MARKER
5
SPORTS
6
MONO MOVIE
PLAY MODE
7
MOVIE 1
REPEAT
8
MOVIE 2
A–B
DVD
CD
AMP
9
/DTS
TOP MENU
LEVEL
MENU
SET MENU
TEST
ON SCREEN
B. BOOST
RETURN
0
SELECT
>
–
10
MATRIX 6.1
GROUP
CANCEL
STEREO
PAGE
MUTE
VOL
ABCDE
ENTER
CH
PRESET
CH
PRESET
u, d, j, i
/ ENTER
PAGE
SHIFT
GROUP
(U.S.A. model)
107_S100_38-53_EN 02.5.13, 1:31 PM39


