


40 TASCAM CD-A550/CD-A750
7 – Recording Cassette Tapes
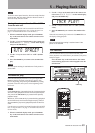
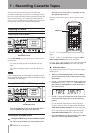
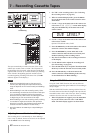
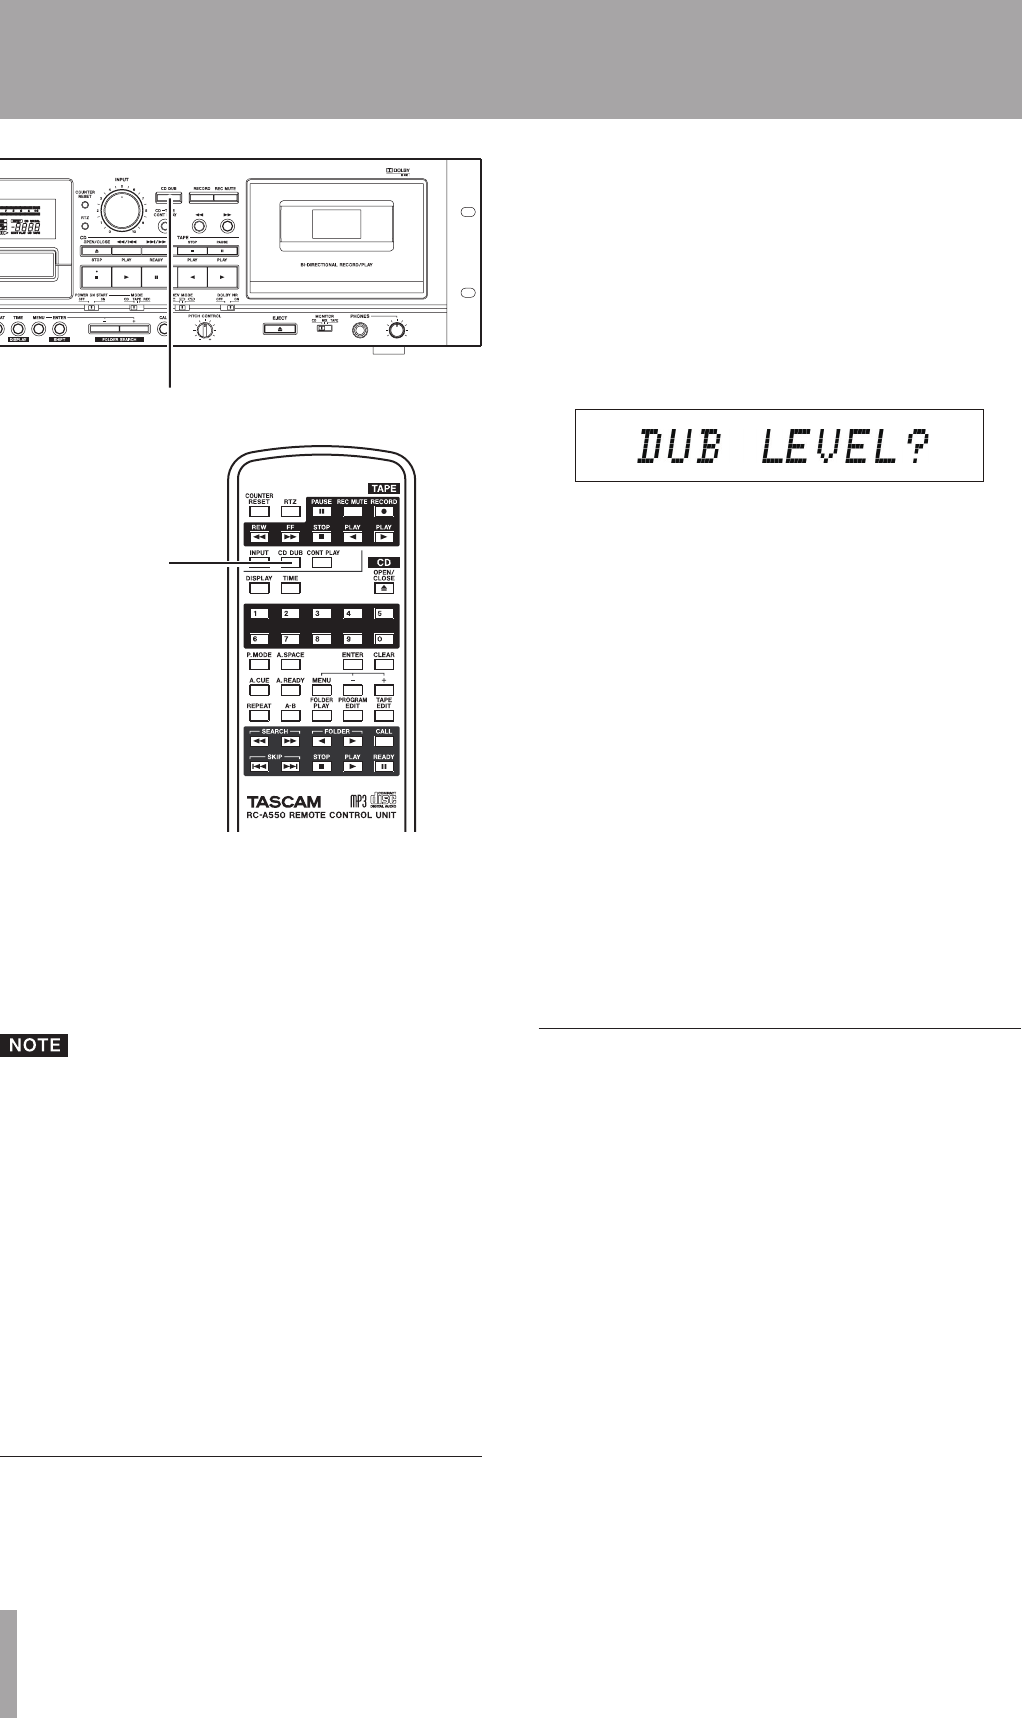
CD DUB key
CD DUB key
The tape automatically rewinds to the start of the A side,
and the tape counter resets to “0000.” The CD pauses at
the beginning of its first track. After the tape records about
eight seconds of silence (to avoid the leader tape), dubbing
starts with the CD beginning playback and the cassette
recorder beginning recording at the same time. (The DUB
indicator appears on the display.)
When the CD playback stops or the tape end is
•
reached, the tape stops (the tape side end that it
stops at depends on the reverse mode) and dubbing
ends.
When dubbing in two-side recording mode, if the
•
last track being recorded to the first side of the tape
is not recorded completely before the operation
direction reverses, that track is recorded again from
its beginning on the second side of the tape.
When dubbing in two-side recording mode, nothing
•
is recorded for eight seconds after the operation
direction is reversed. (CD playback pauses while the
cassette recorder continues in record mode.)
Press the TAPE or CD STOP key to stop dubbing at
•
any time.
Adjusting the record level when dubbing
The recording level is automatically set when dubbing a
CD to a tape by default, but the record level can be adjusted
with the
INPUT
knob when dubbing.
1 Set "CD" as the recording source. (See “Selecting
the recording source” on page 38.)
2 When in standard display mode, press the MENU
key on the main unit or the remote control to enter
menu mode.
3 Use the –/+ keys on the main unit or the remote con-
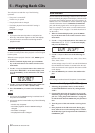
trol to show "
DUB LEVEL?
" on the main display,
and press the ENTER key on the main unit or the
remote control.
4 Use the –/+ keys on the main unit or the remote con-
trol to select “VARI.”
Options: FIX (default value), VARI
5 Press the ENTER key on the main unit or the remote
control to return to the standard display.
6 Press the RECORD key on the main unit or the
remote control to make the unit record ready and
enable monitoring of the recording source.
7 Play the CD and observe the recording level meters
on the display.
8 Use the INPUT knob to adjust the recording level.
(See “Recording” on page 39.)
9 Press the CD STOP key to stop the CD and the TAPE
STOP key to take the unit out of record ready mode.
10 Press the CD DUB key on the main unit or the
remote control to conduct dubbing in the same way
as described above in “Basic dubbing.”
Using the TAPE EDIT function
Using the TAPE EDIT function, this unit can follow an
automatically prepared program and dub a CD according to
the tape length.
With the TAPE EDIT function, starting with the first track,
CD tracks that total less than the length of the tape side are
recorded in order to the A side of the tape. Then, recording
continues from the next track in order to the B side.
1 When CD playback is stopped, press the TAPE EDIT
key on the remote control to enter TAPE EDIT
mode. The main display appears as shown below.