


70
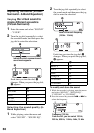
4 Repeat step 3 and enter all characters
of the label name.
5 Press the jog lever for 2 seconds or
more.
For details and the recorder
operation, see page 43.
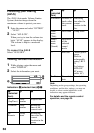
Labeling recorded groups
1 Select “ : Name” in step 2 of
“Labeling (Name)” (page 69) and do
steps 3 to 5 to label a group.
For the details and the recorder
operation, see page 54.
Re-labeling
You can re-label recordings by following
the procedure of “Labeling (Name)”
(page 69).
For details and the recorder
operation, see page 45.
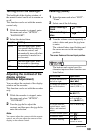
Moving recorded tracks
1 While playing the track you want to
move, enter the menu and select
“EDIT” - “Move” - “ : Move”.
2 Slide the jog lever repeatedly until the
destination track number appears in
the display.
3 Press the jog lever to enter the
selection.
For details and the recorder
operation, see page 46.
Moving a track in a disc with
group setting
1 While playing the track you want to
move enter the menu and select
“EDIT” - “Move” - “ : Move”.
2 When moving a track out of a group,
skip this step.
When moving a track into a different
group, slide the jog lever until the
destination group appears in the
display, and then press the jog lever.
3 Slide the jog lever repeatedly until the
number of the destination track
(within a group when moving into a
different group) appears in the
display, and then press to enter the
selection.
For details and the recorder
operation, see page 55.
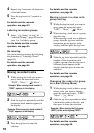
Changing the order of a group
on a disc (Group Move)
1 While playing a track within a group
whose order you want to change,
enter the menu and select - “EDIT” -
“Move” - “ : Move”.
2 Slide the jog lever repeatedly to select
a destination point on the disc, and
then press to enter the selection.
For details and the recorder
operation, see page 56.
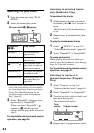
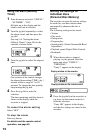
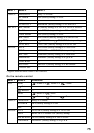
Example: When moving track number 3,
“Tr003” appears in the display.
Example: When moving to track number 2,
“Tr002” appears in the display.
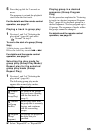
Example: When moving the first group
(GP01) to the second group (GP02)