


29
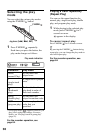
On the remote control
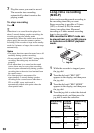
1 Press DISPLAY.
Each time you press the button, the
display changes as follows.
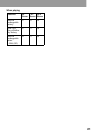
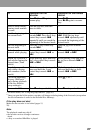
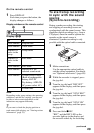
Display window on the remote control
Display: D/E
Note
Depending on the group settings, the operating
conditions, and the disc settings, you may not
be able to select certain indications or the
indications may appear differently.
z
If you want to check the playing position or
track name while playing, see “Viewing various
information” (page 35).
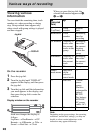
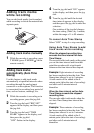
To start/stop recording
in sync with the sound
source
(Synchro-recording)
During synchro-recording, the starting
and stopping of recording occurs are
synchronized with the sound source. This
simplifies digital recordings (e.g., from a
CD player) since the need to operate the
recorder or the sound source is
eliminated. Synchro-recording is only
possible with the optical cable connected.
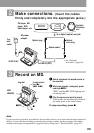
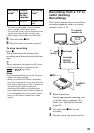
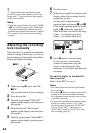
1 Make connections.
Use the appropriate optical cable to
suit the source equipment. For details,
see “Optional accessories” (page 80).
2 While the recorder is stopped, press
the jog dial.
3 Turn the jog dial until “REC SET”
appears in the display, and then press
the jog dial.
4 Turn the jog dial until “SYNC REC”
appears in the display, and then press
the jog dial.
5 Turn the jog dial until “SYNC ON”
appears in the display, and then press
the jog dial.
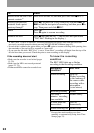
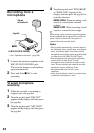
6 Press and slide zREC.
“REC” and the REC LED on the
recorder light up in the display and
the recorder stands by for recording.
DE
Track number Elapsed time
Track number Track name
Numbers of
tracks in the
group
Group name
Numbers of
tracks in the
disc
Disc name
Track number Disc name
Track number Indication of the
selected sound mode
Track number Current power source
(Built-in rechargeable
battery: BLT-IN
Dry battery: ADD-ON
AC power outlet: AC)
— Current time
D
E
Jog dial
zREC
continued