


[~1
——,.----
.
.
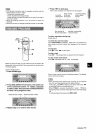
KARAOKE
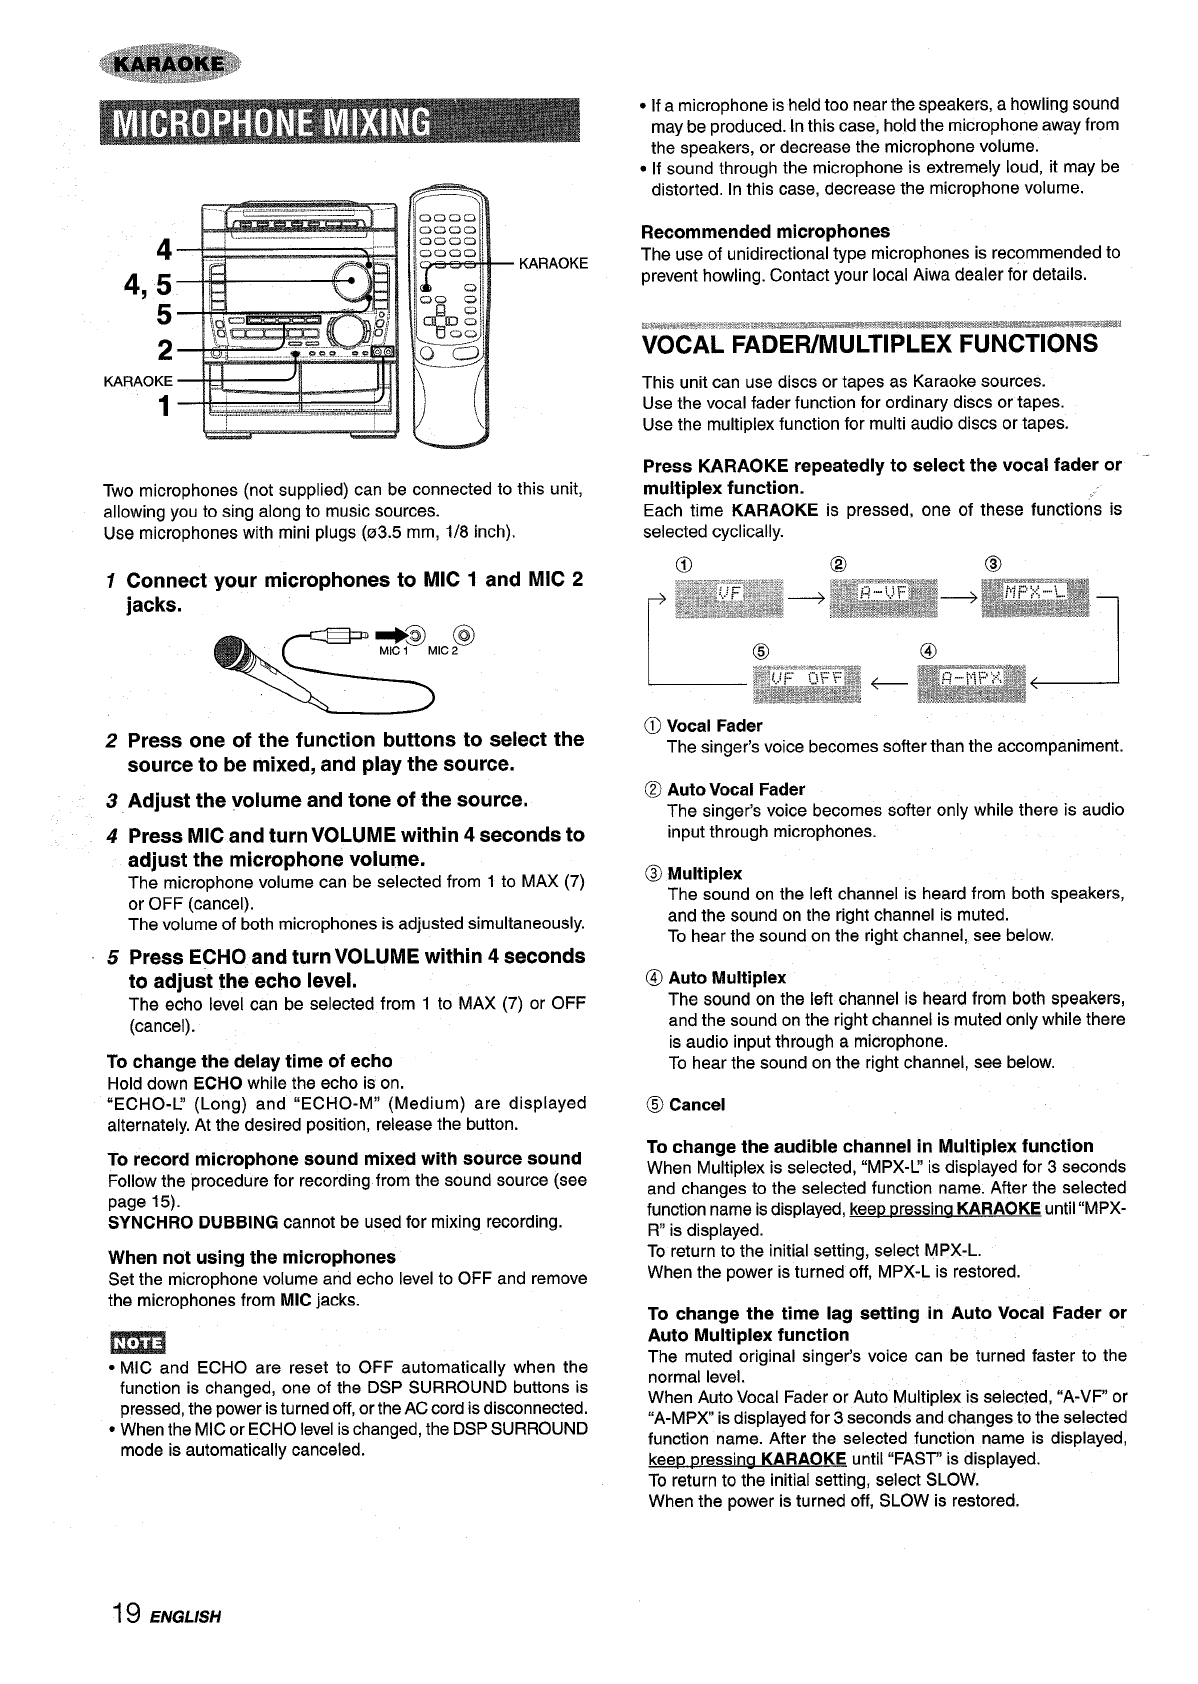
Two microphones (not supplied) can be connected to this unit,
allowing you to sing along to music sources.
Use microphones with mini plugs (03.5 mm, 1/8 inch).
1
2
3
4
5
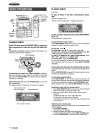
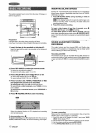
Connect your microphones to MIC 1 and MIC 2
jacks.
=2
/
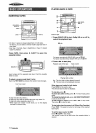
Press one of the function buttons to select the
source to be mixed, and play the source.
Adjust the volume and tone of the source.
Press MIC and turn VOLUME within 4 seconds to
adjust the microphone volume.
The microphone volume can be selected from 1 to MAX (7)
or
OFF (cancel).
The volume of both microphones is adjusted simultaneously.
Press ECHO and turn VOLUME within 4
seconds
to adjust the echo level.
The echo level can be selected from 1 to MAX (7) or OFF
(cancel).
To change the delay time of echo
Hold down ECHO while the echo is on.
“ECHO-C’ (Long) and “ECHO-M” (Medium) are displayed
alternately. At the desired position, release the button.
To record microphone SOund mixed with source sound
Follow the procedure for recording from the sound source (see
page 15).
SYNCHRO DUBBING cannot be used for mixing recording.
When not using the microphones
Set the microphone volume and echo level to OFF and remove
the microphones from MIC jacks.
m
● MIC and ECHO are reset to OFF automatically when the
function is changed, one of the DSP SURROUND buttons is
pressed, the power is turned off, or the AC cord is disconnected.
● When the MIC or ECHO level is changed, the DSP SURROUND
mode is automatically canceled.
● If a microphone is held too near the speakers, a howling sound
may be produced. In this case, hold the microphone away from
the speakers, or decrease the microphone volume.
● If sound through the microphone is extremely loud, it may be
distorted. In this case, decrease the microphone volume.
Recommended microphones
The use of unidirectional type microphones is recommended to
prevent howling. Contact your local Aiwa dealer for details.
This unit can use discs or tapes as Karaoke sources.
Use the vocal fader function for ordinary discs or tapes.
Use the multiplex function for multi audio discs or tapes.
Press KARAOKE repeatedly to select the vocal fader or -
multiplex function.
Each time KARAOKE is pressed, one of these functions is
selected cyclically.
O Vocal Fader
The singer’s voice becomes softer than the accompaniment.
@ Auto Vocal Fader
The singer’s voice becomes softer only while there is audio
input through microphones.
@ Multiplex
The sound on the left channel is heard from both speakers,
and the sound on the right channel is muted.
To hear the sound on the right channel, see below.
@)Auto Multiplex
The sound on the left channel is heard from both speakers,
and the sound on the right channel is muted only while there
is audio input through a microphone.
To hear the sound on the right channel, see below
@ Cancel
To change the audible channel in Multiplex function
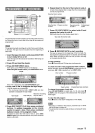
When Multiplex is selected, “MPX-L’ is displayed for 3 seconds
and changes to the selected function name. After the selected
function name is displayed, keep pressing KARAOKE until “MPX-
R“ is displayed.
To return to the initial setting, select MPX-L.
When the power is turned off, MPX-L is restored.
To change the time lag setting in Auto Vocal Fader or
Auto Multiplex function
The muted original singer’s voice can be turned faster to the
normal level.
When Auto Vocal Fader or Auto Multiplex is selected, “A-VF or
“A-MPX is displayed for 3 seconds and changes to the selected
function name. After the selected function name is displayed,
keeg tIressina KARAOKE until “FAST” is displayed.
To return to the initial setting, select SLOW.
When the power is turned off, SLOW is restored.
19 ENGLISH