23
SETUP, cont
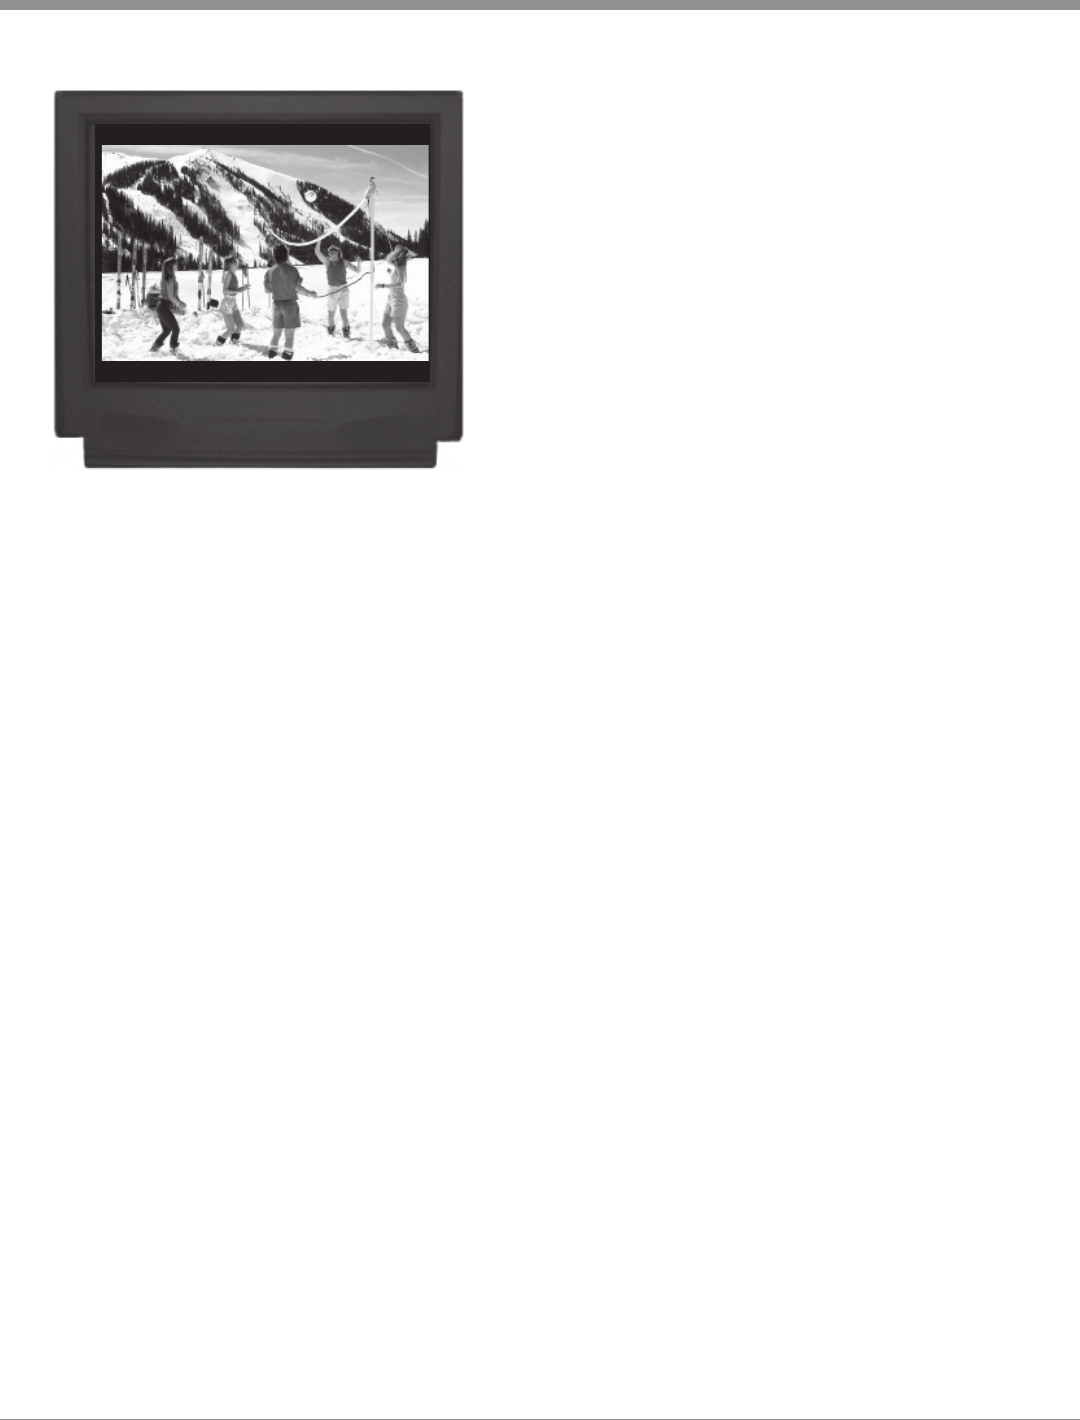
Figure 21
(Pan&Scan) and figure 21 (Letterbox).
Some two layer discs display their own unique Video
Format Selection Menu, every time the disc is loaded into
the player. If you do not make a choice from this menu, the
disc will revert to its default Video Format when play is
started. The Format selected from this menu remains in ef-
fect as long as that disc is loaded into the player. If you
wish to change the Video Format after disc play has
started, the disc tray must be opened and closed again, with
a new selection made from the menu. If a disc is loaded,
the player must be in STOP mode before any SETUP op-
eration can occur. If the two layer disc does not have a For-
mat Menu, follow the instructions below to select the de-
sired video format for your TV.
Press push-button Number 3 and the following two
submenu choices will appear.
Press 1 to select Pan and Scan.
Press 2 to select Letterbox.
After a selection is made, the Other Settings Menu will re-
appear. If all setup adjustments are complete, press push-
button Number 0 to exit to the Initial Setup Menu. Press 0
again to exit the Initial Setup Menu.
D. Range Compression
With certain selected DVDs the Dolby Digital Sound
Tracks include an encoded signal that can reduce the dy-
namic range of the audio signals. The loudest passages are
reduced in volume, while the softer passages are increased
so they are still audible. This feature is useful for late night
listening so others arent disturbed.
Press push-button Number 4 to access the Range Com-
pression Submenu.
Press 1 to turn Dynamic Range Compression Off.
Press 2 to turn Dynamic Range Compression On.
After a selection is made the Other Settings Menu will
reappear.
Still Picture Mode
The Still Picture Display Mode allows selection of three
different Still Picture Image qualities. The I Image offers
the best picture quality, the P and B Images are gener-
ated from the differences between successive I Images.
Press push-button Number 5 to access the Still Picture
Display Mode Submenu.
Press 1 to turn Still Picture Mode Off.
Press 2 to turn Still Picture Mode On.
After a selection is made the Other Settings Menu will
reappear.
Black Level Control
There are two different overall picture Back Level (contrast
level) choices, Lighter and Darker. When the MVP841 is
connected via the Composite and/ S-Video Outputs the
Lighter Black Level setting usually works best. Likewise
when the Component Video Output is used the select the
Darker Black Level setting.
Press push-button Number 6 to access the Black Level
Control Submenu.
Press 1 to Select the Lighter Black Level Setting.
Press 2 to Select the Darker Black Level Setting.
After a selection is made the Other Settings Menu will
reappear.
Press 0 to return to the Initial Settings Menu. After a se-
lection is made, the Initial Setup Menu will reappear. If all
setup adjustments are complete, press push-button Number
0 to exit the Initial Setup Menu.
